
Linux-based Installation
CST Studio Suite 2026 Installation Instructions in Ubuntu
Note: For the latest version of CST Studio Suite, check the CIC software repository
(http://swrepo.iitkgp.ac.in).
This guide explains the installation of CST Studio Suite 2026 on an Ubuntu/Linux system.
The CST Studio Suite license is configured through the institute license server.
The license server used in this installation guide is:
cststudio.iitkgp.ac.in.
Users should remain connected to the IIT Kharagpur network or the approved institute VPN while installing and running the software.
Prerequisites
- Use a 64-bit Ubuntu/Linux system.
- Ensure that you have administrator privilege on the system. The installation requires sudo access.
- Ensure sufficient free disk space. The Linux installer archive is around 9.7 GB and the extracted folder is around 10.5 GB.
- Ensure network connectivity to CIC software repository and the CST license server.
- Close other heavy applications before installation.
Download the CST Studio Linux Installer
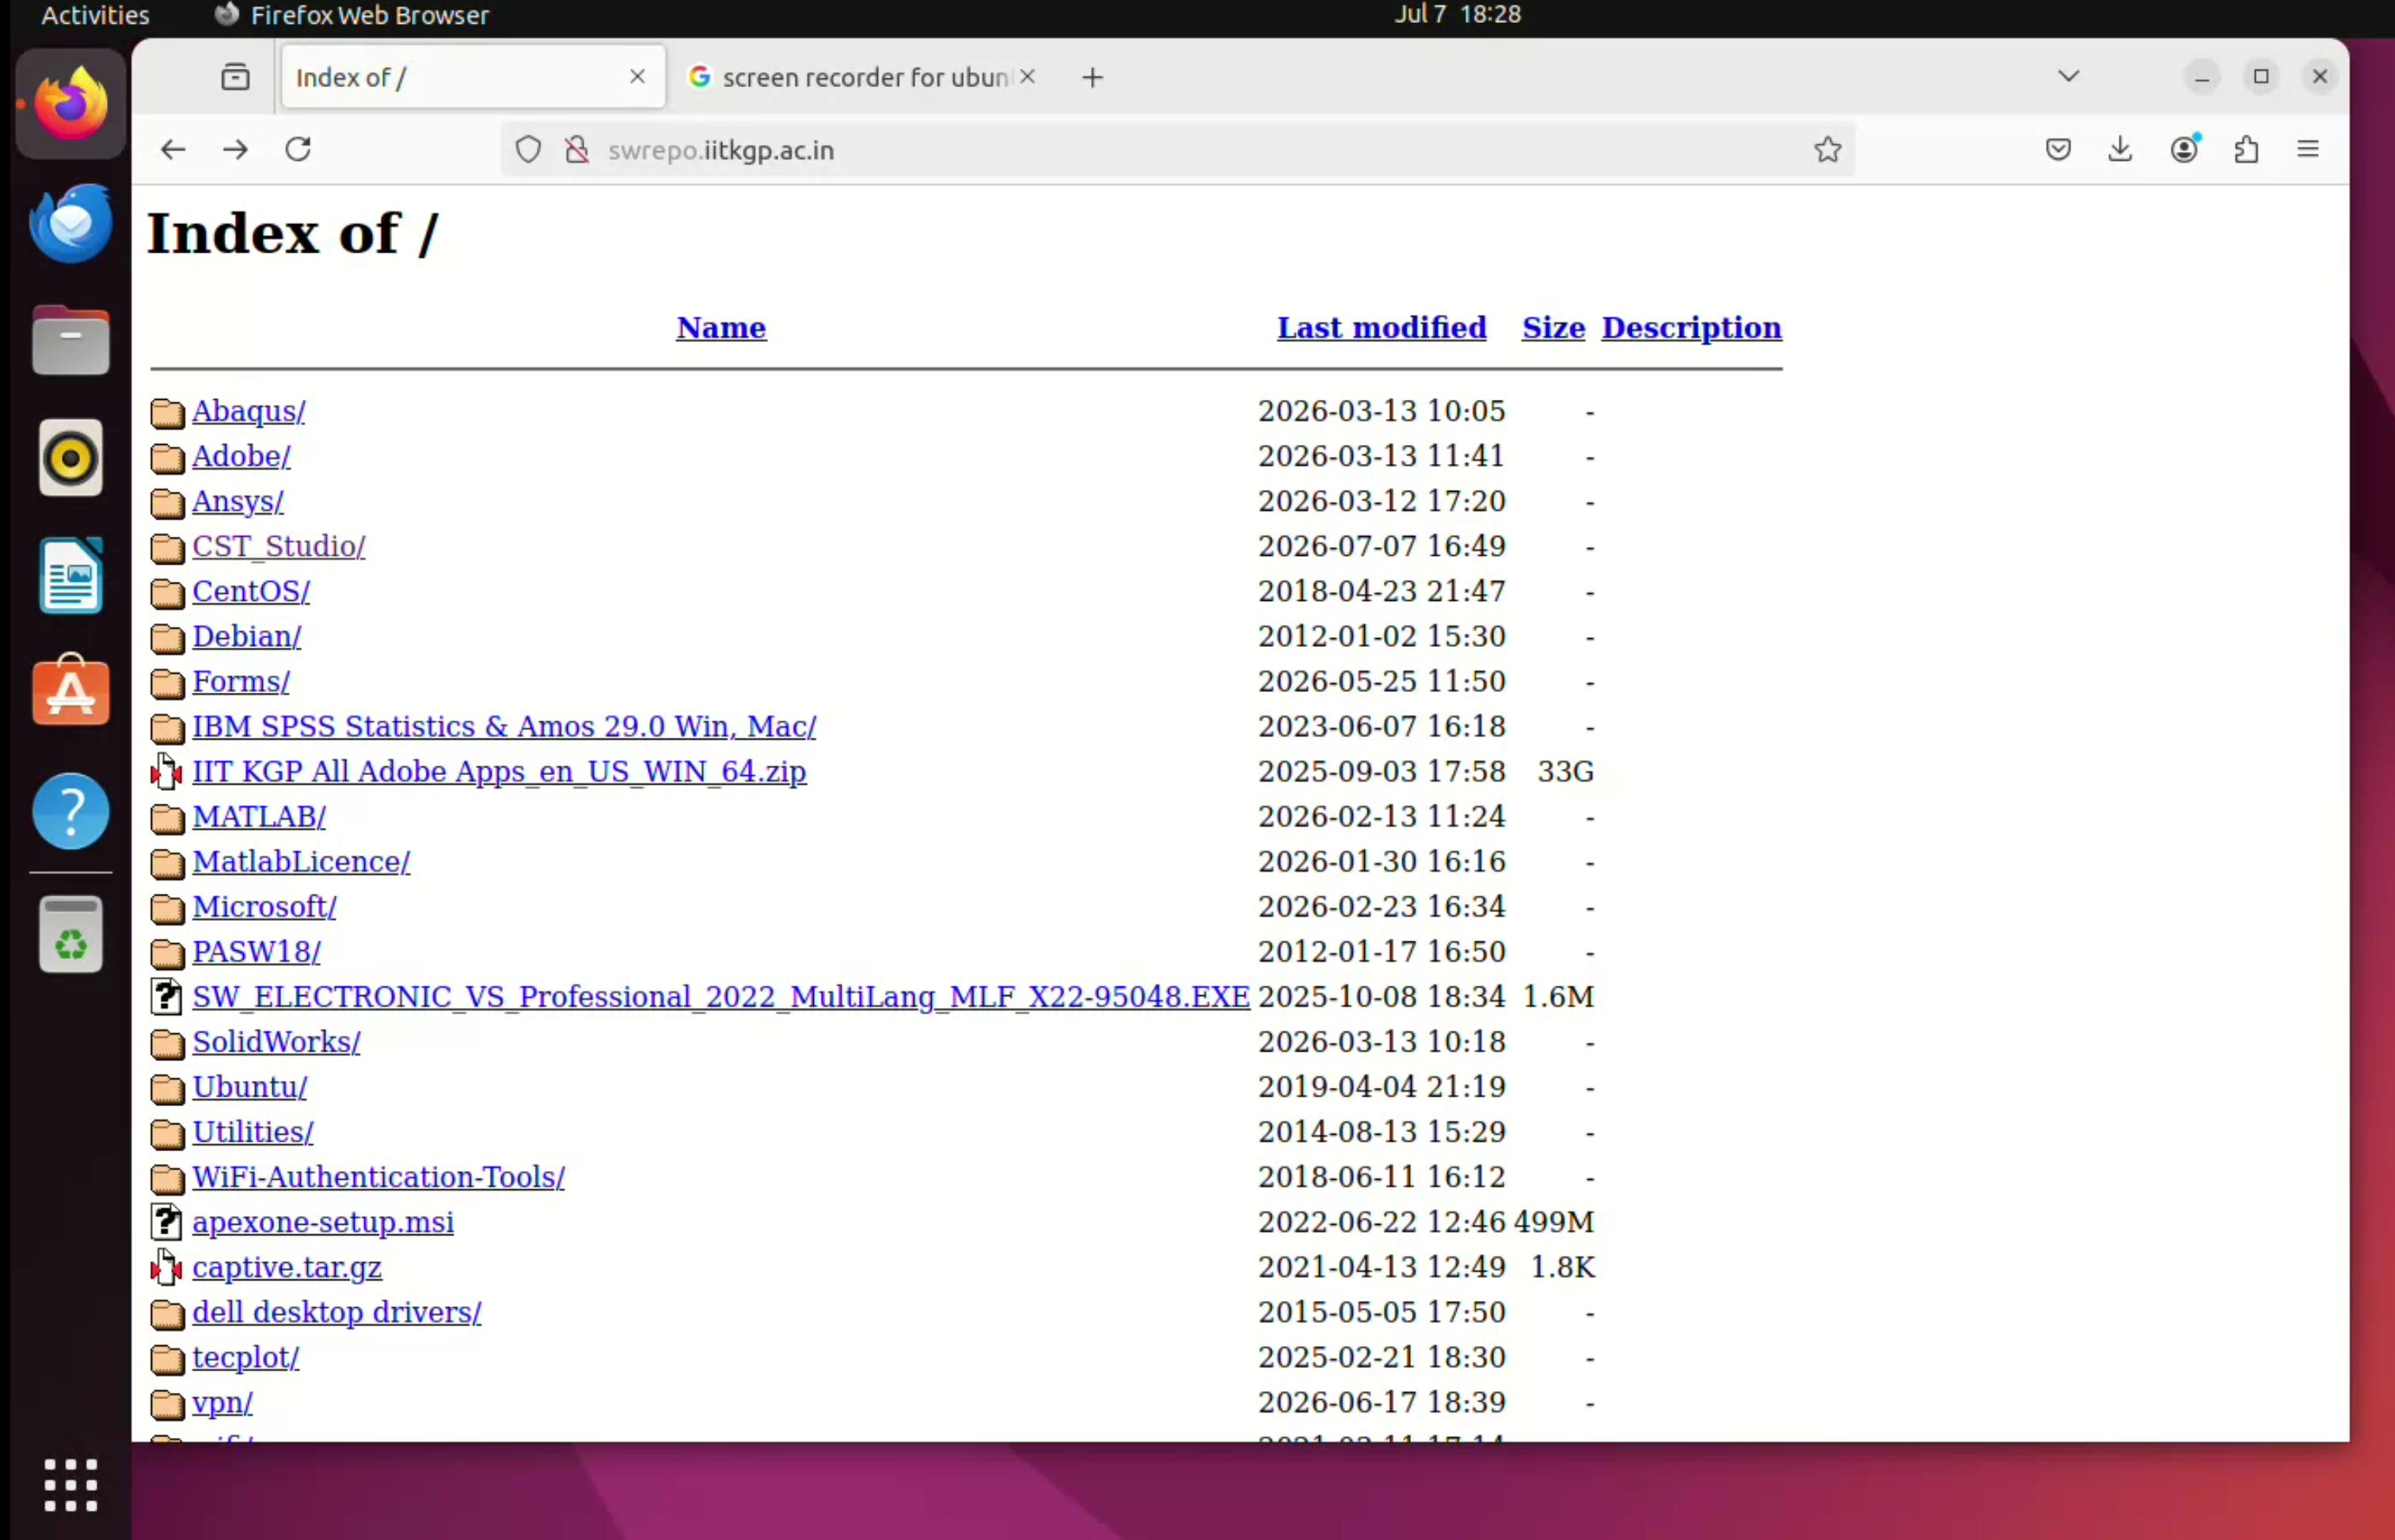
- Open the CIC software repository from a browser: http://swrepo.iitkgp.ac.in.
- Go to the CST_Studio folder.
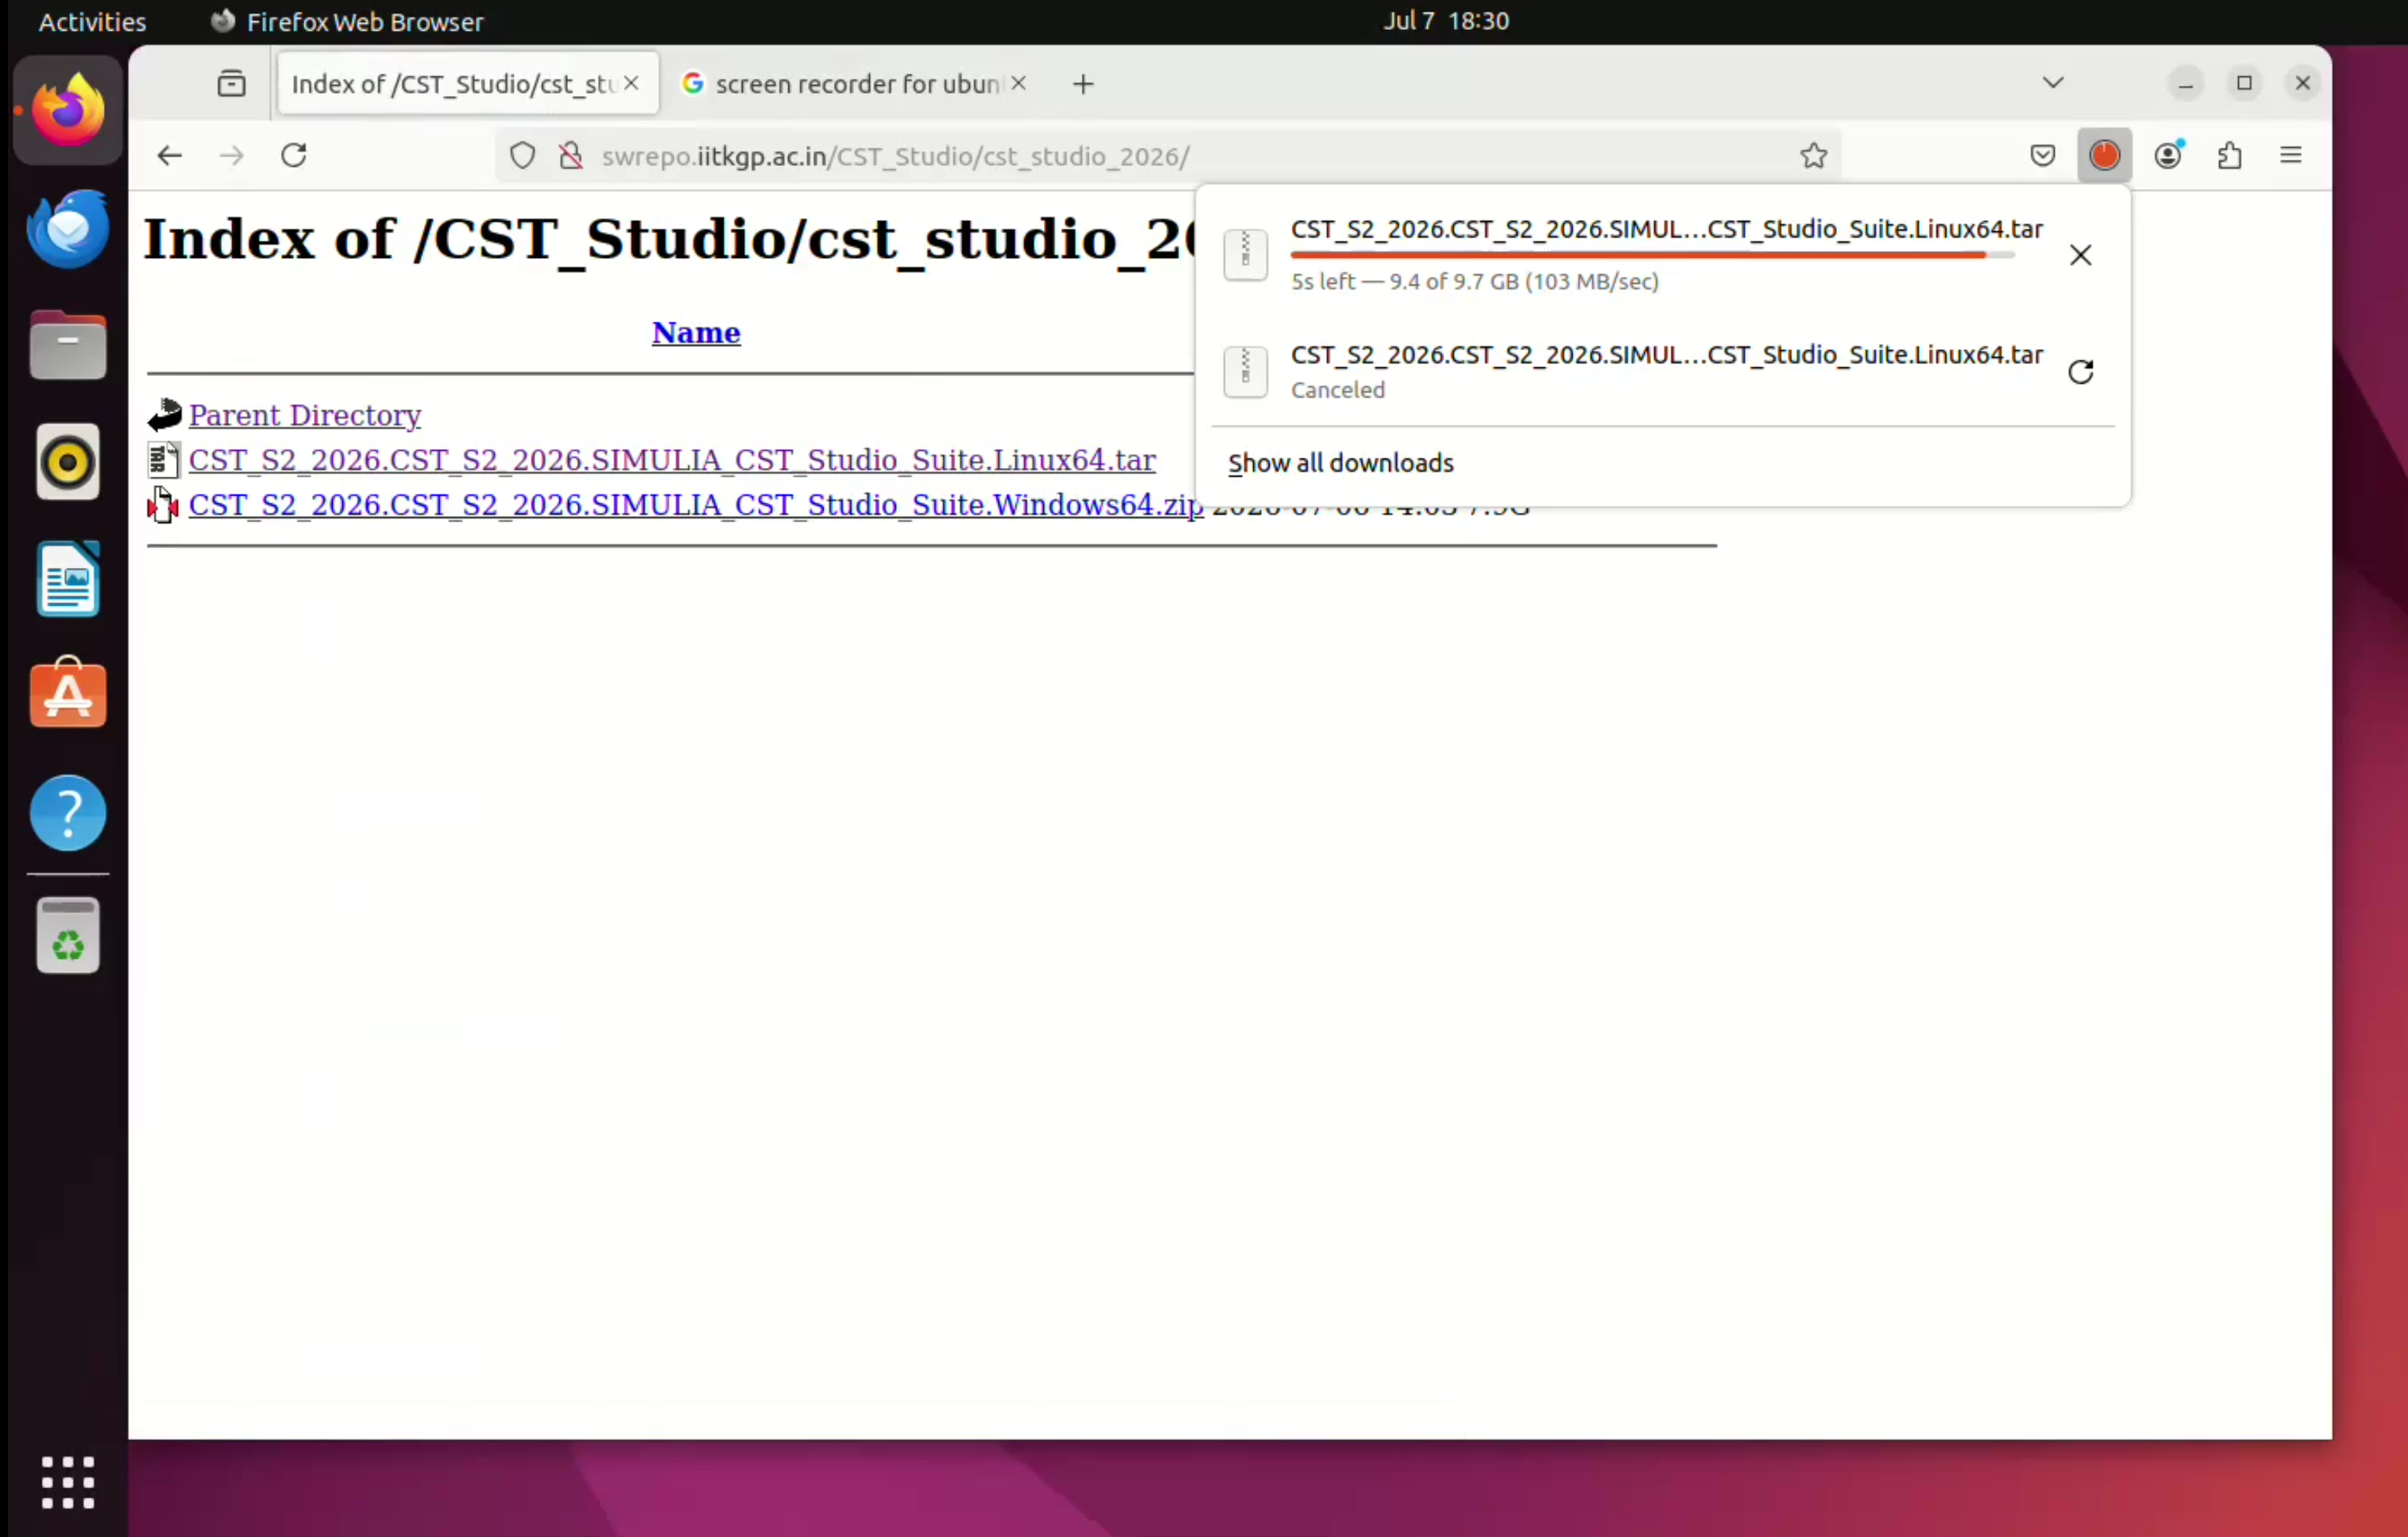
- Open the CST Studio 2026 folder.
- Download the Linux installer archive:
CST_S2_2026.CST_S2_2026.SIMULIA_CST_Studio_Suite.Linux64.tar - Do not download the Windows installer for Ubuntu installation.
Extract the Installer Archive
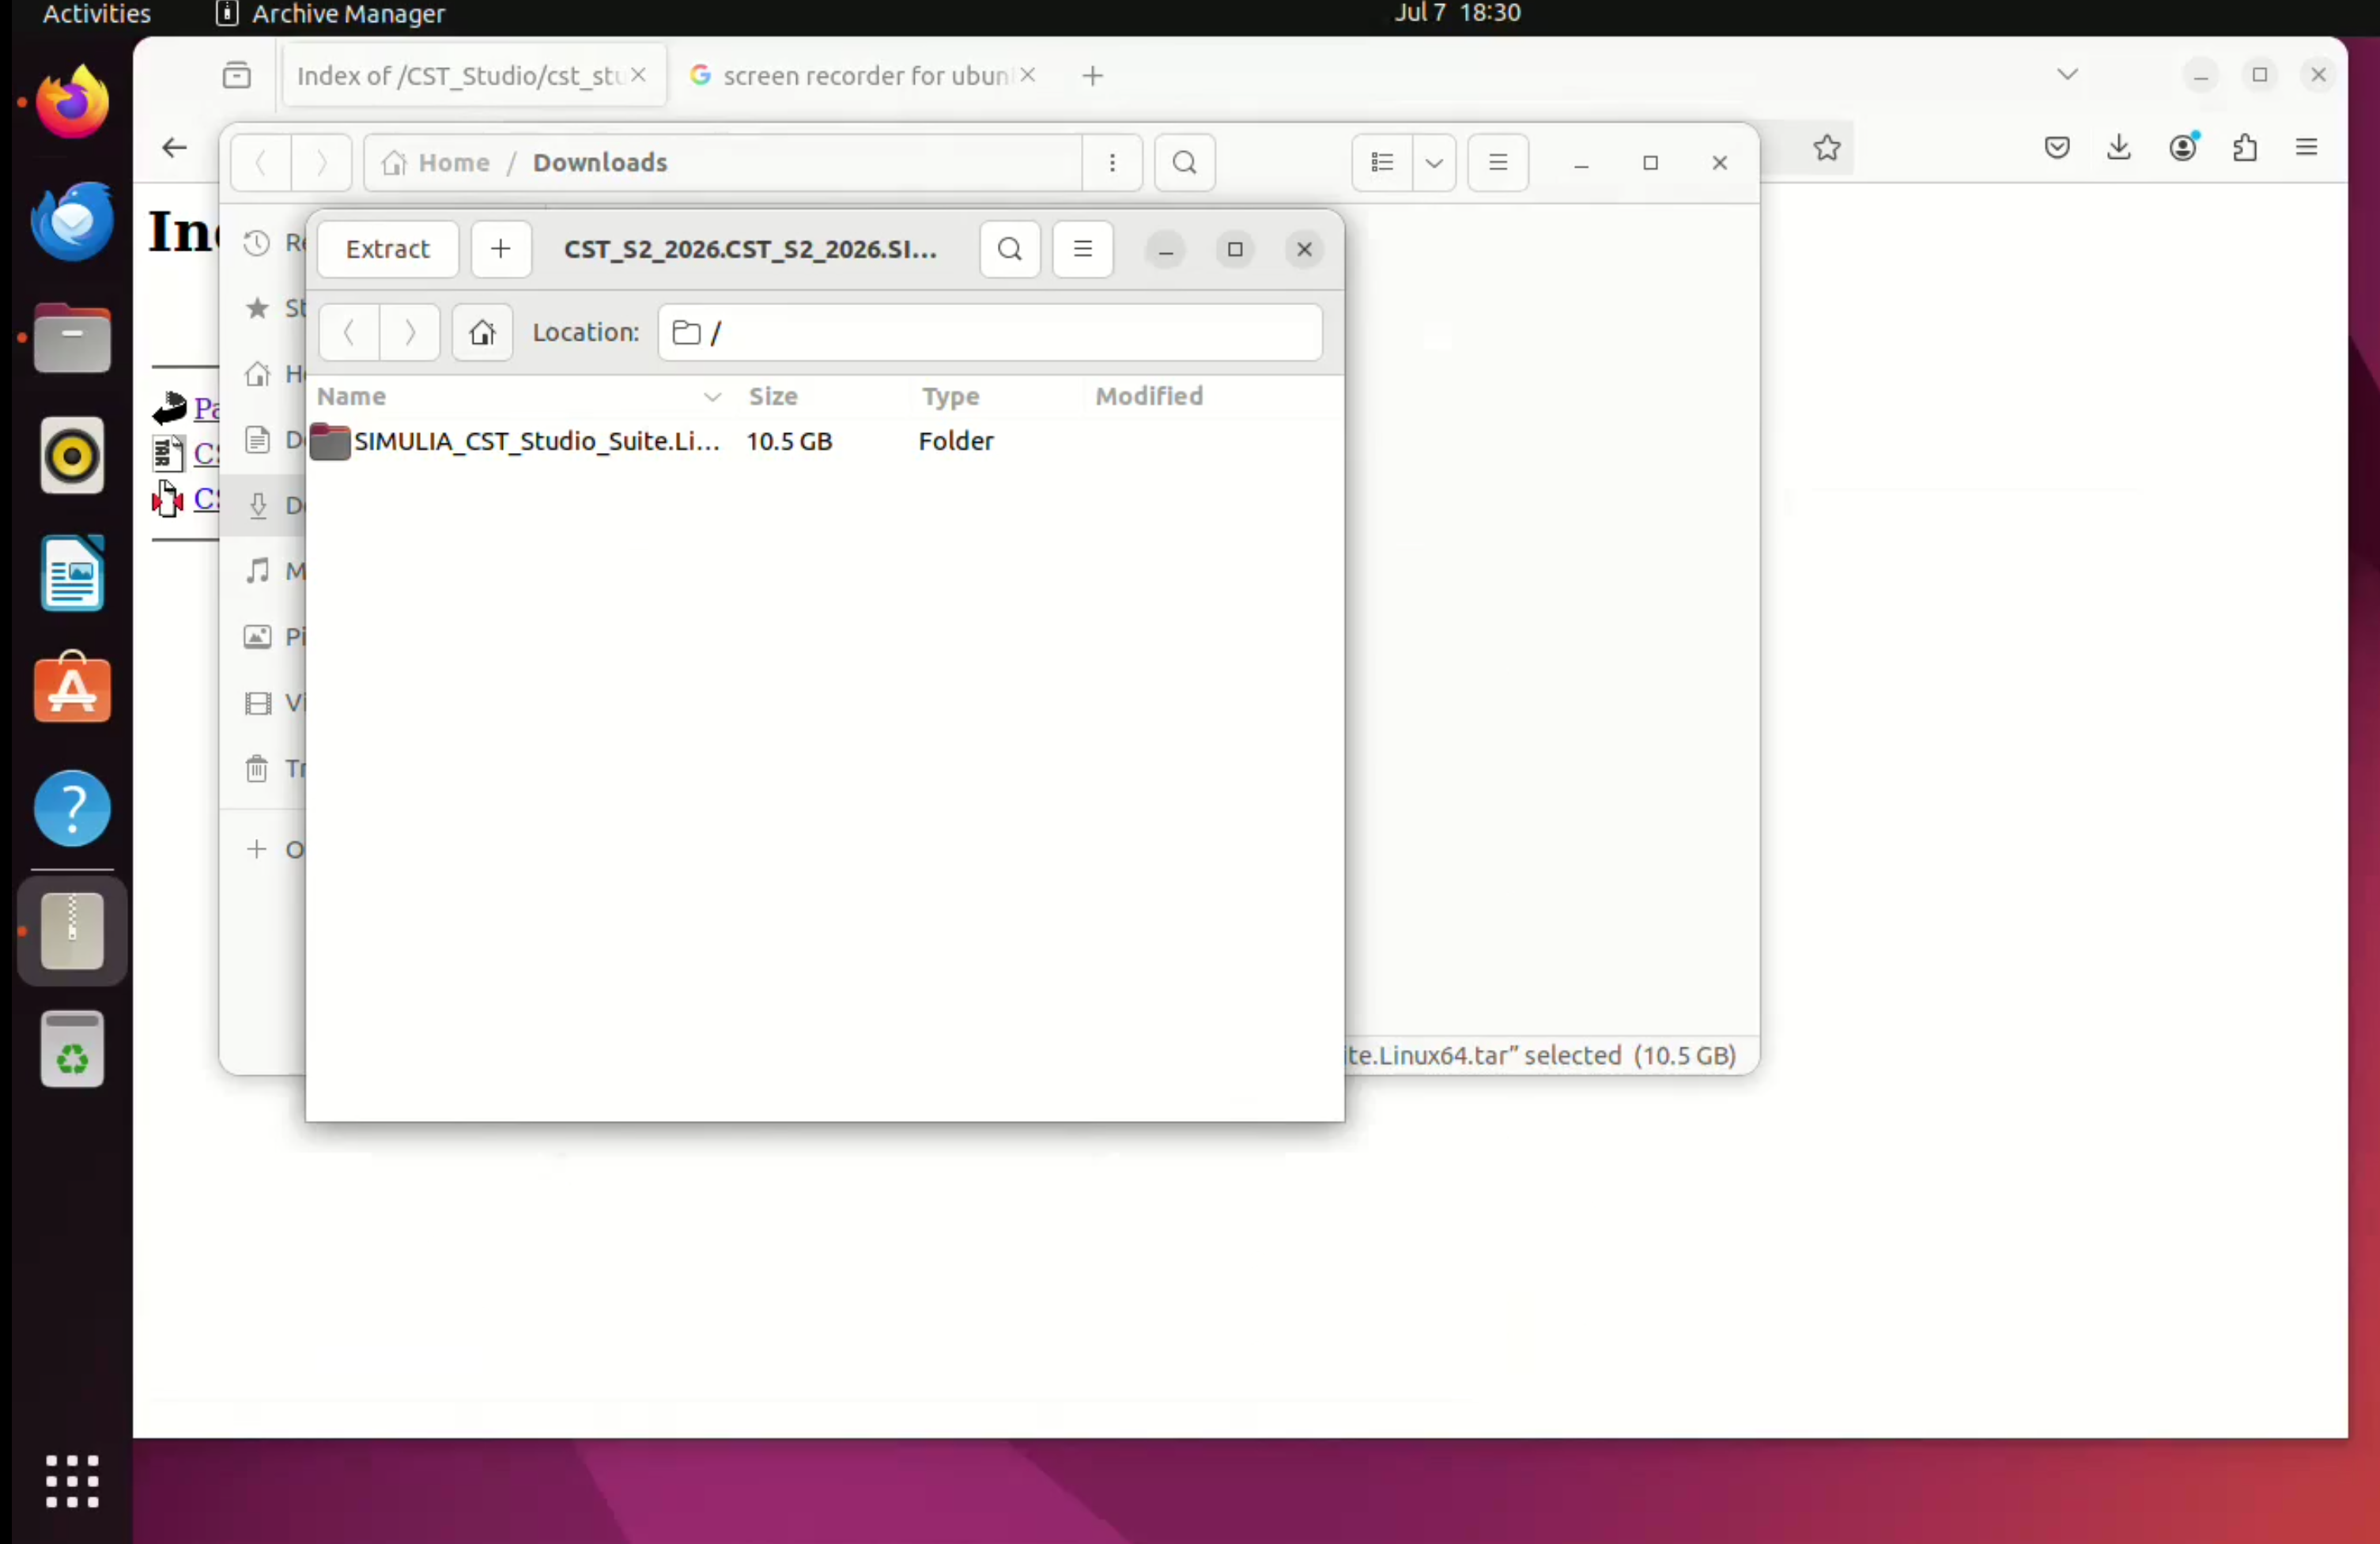
- After the download is complete, open the downloaded archive from the Downloads folder.
- The archive will open in Ubuntu Archive Manager.
- Click Extract.
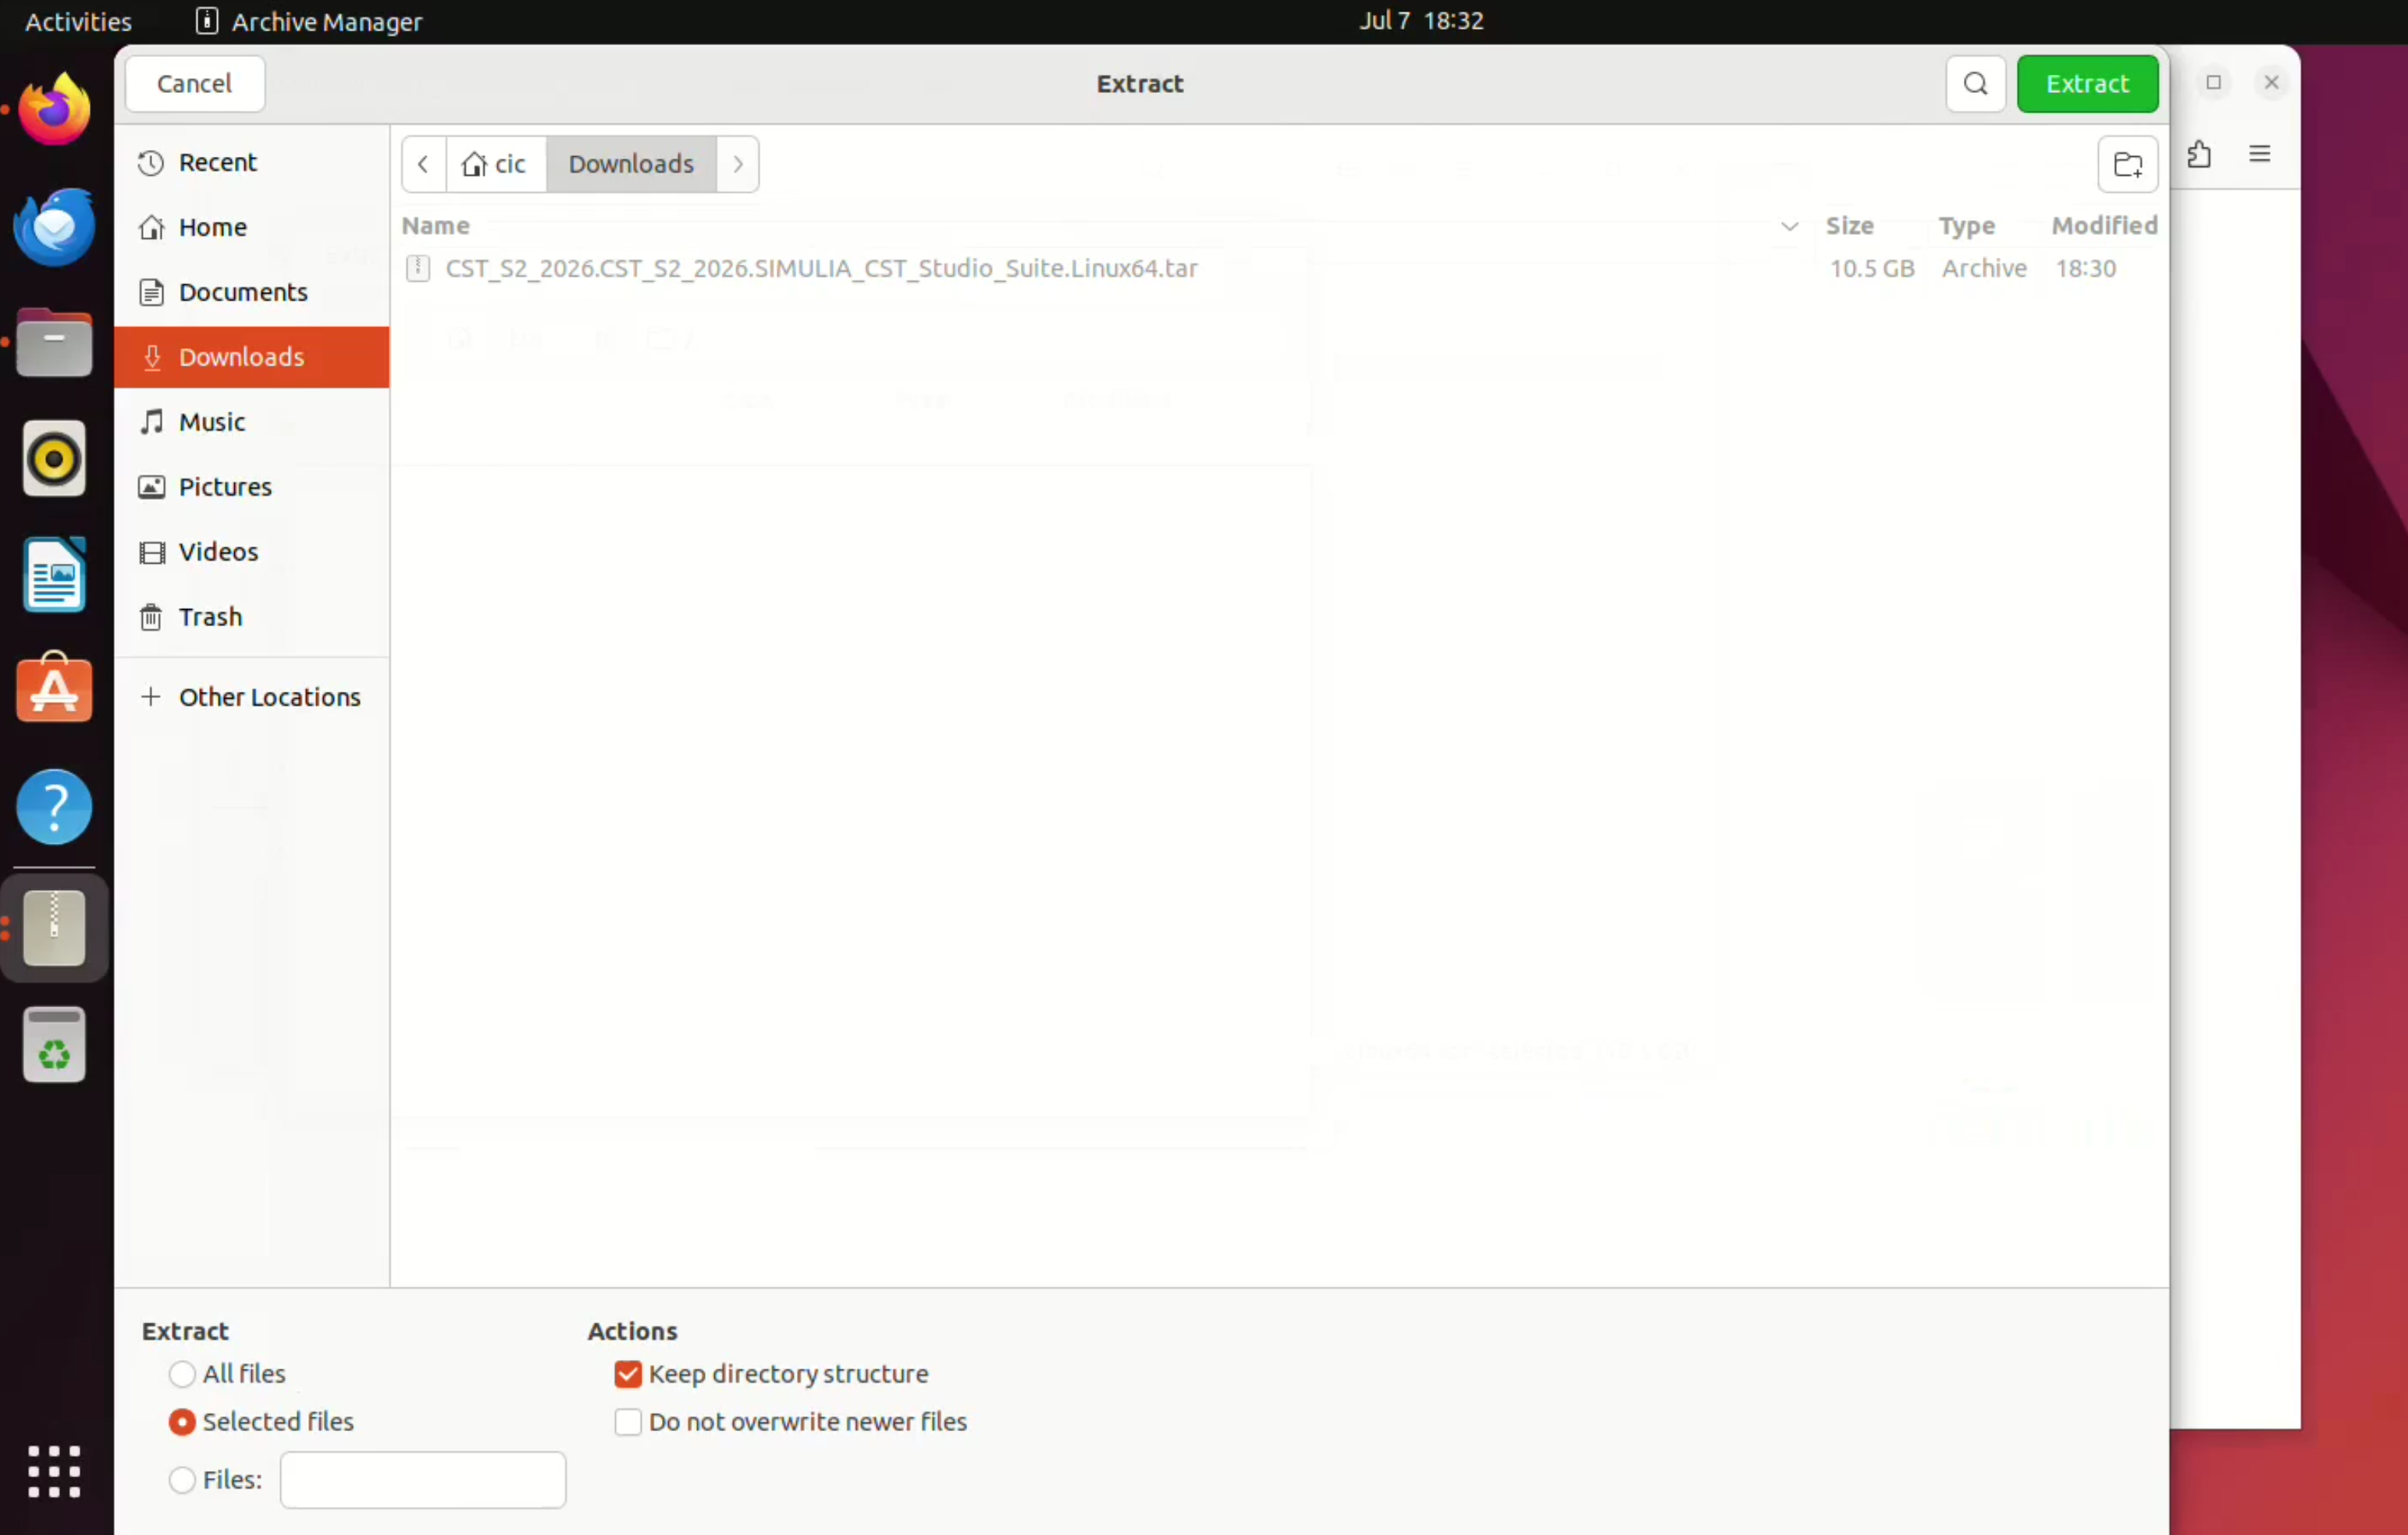
- Select the destination folder where the installer should be extracted.
- In this guide, the installer is extracted inside the Downloads folder.
- Click Extract.
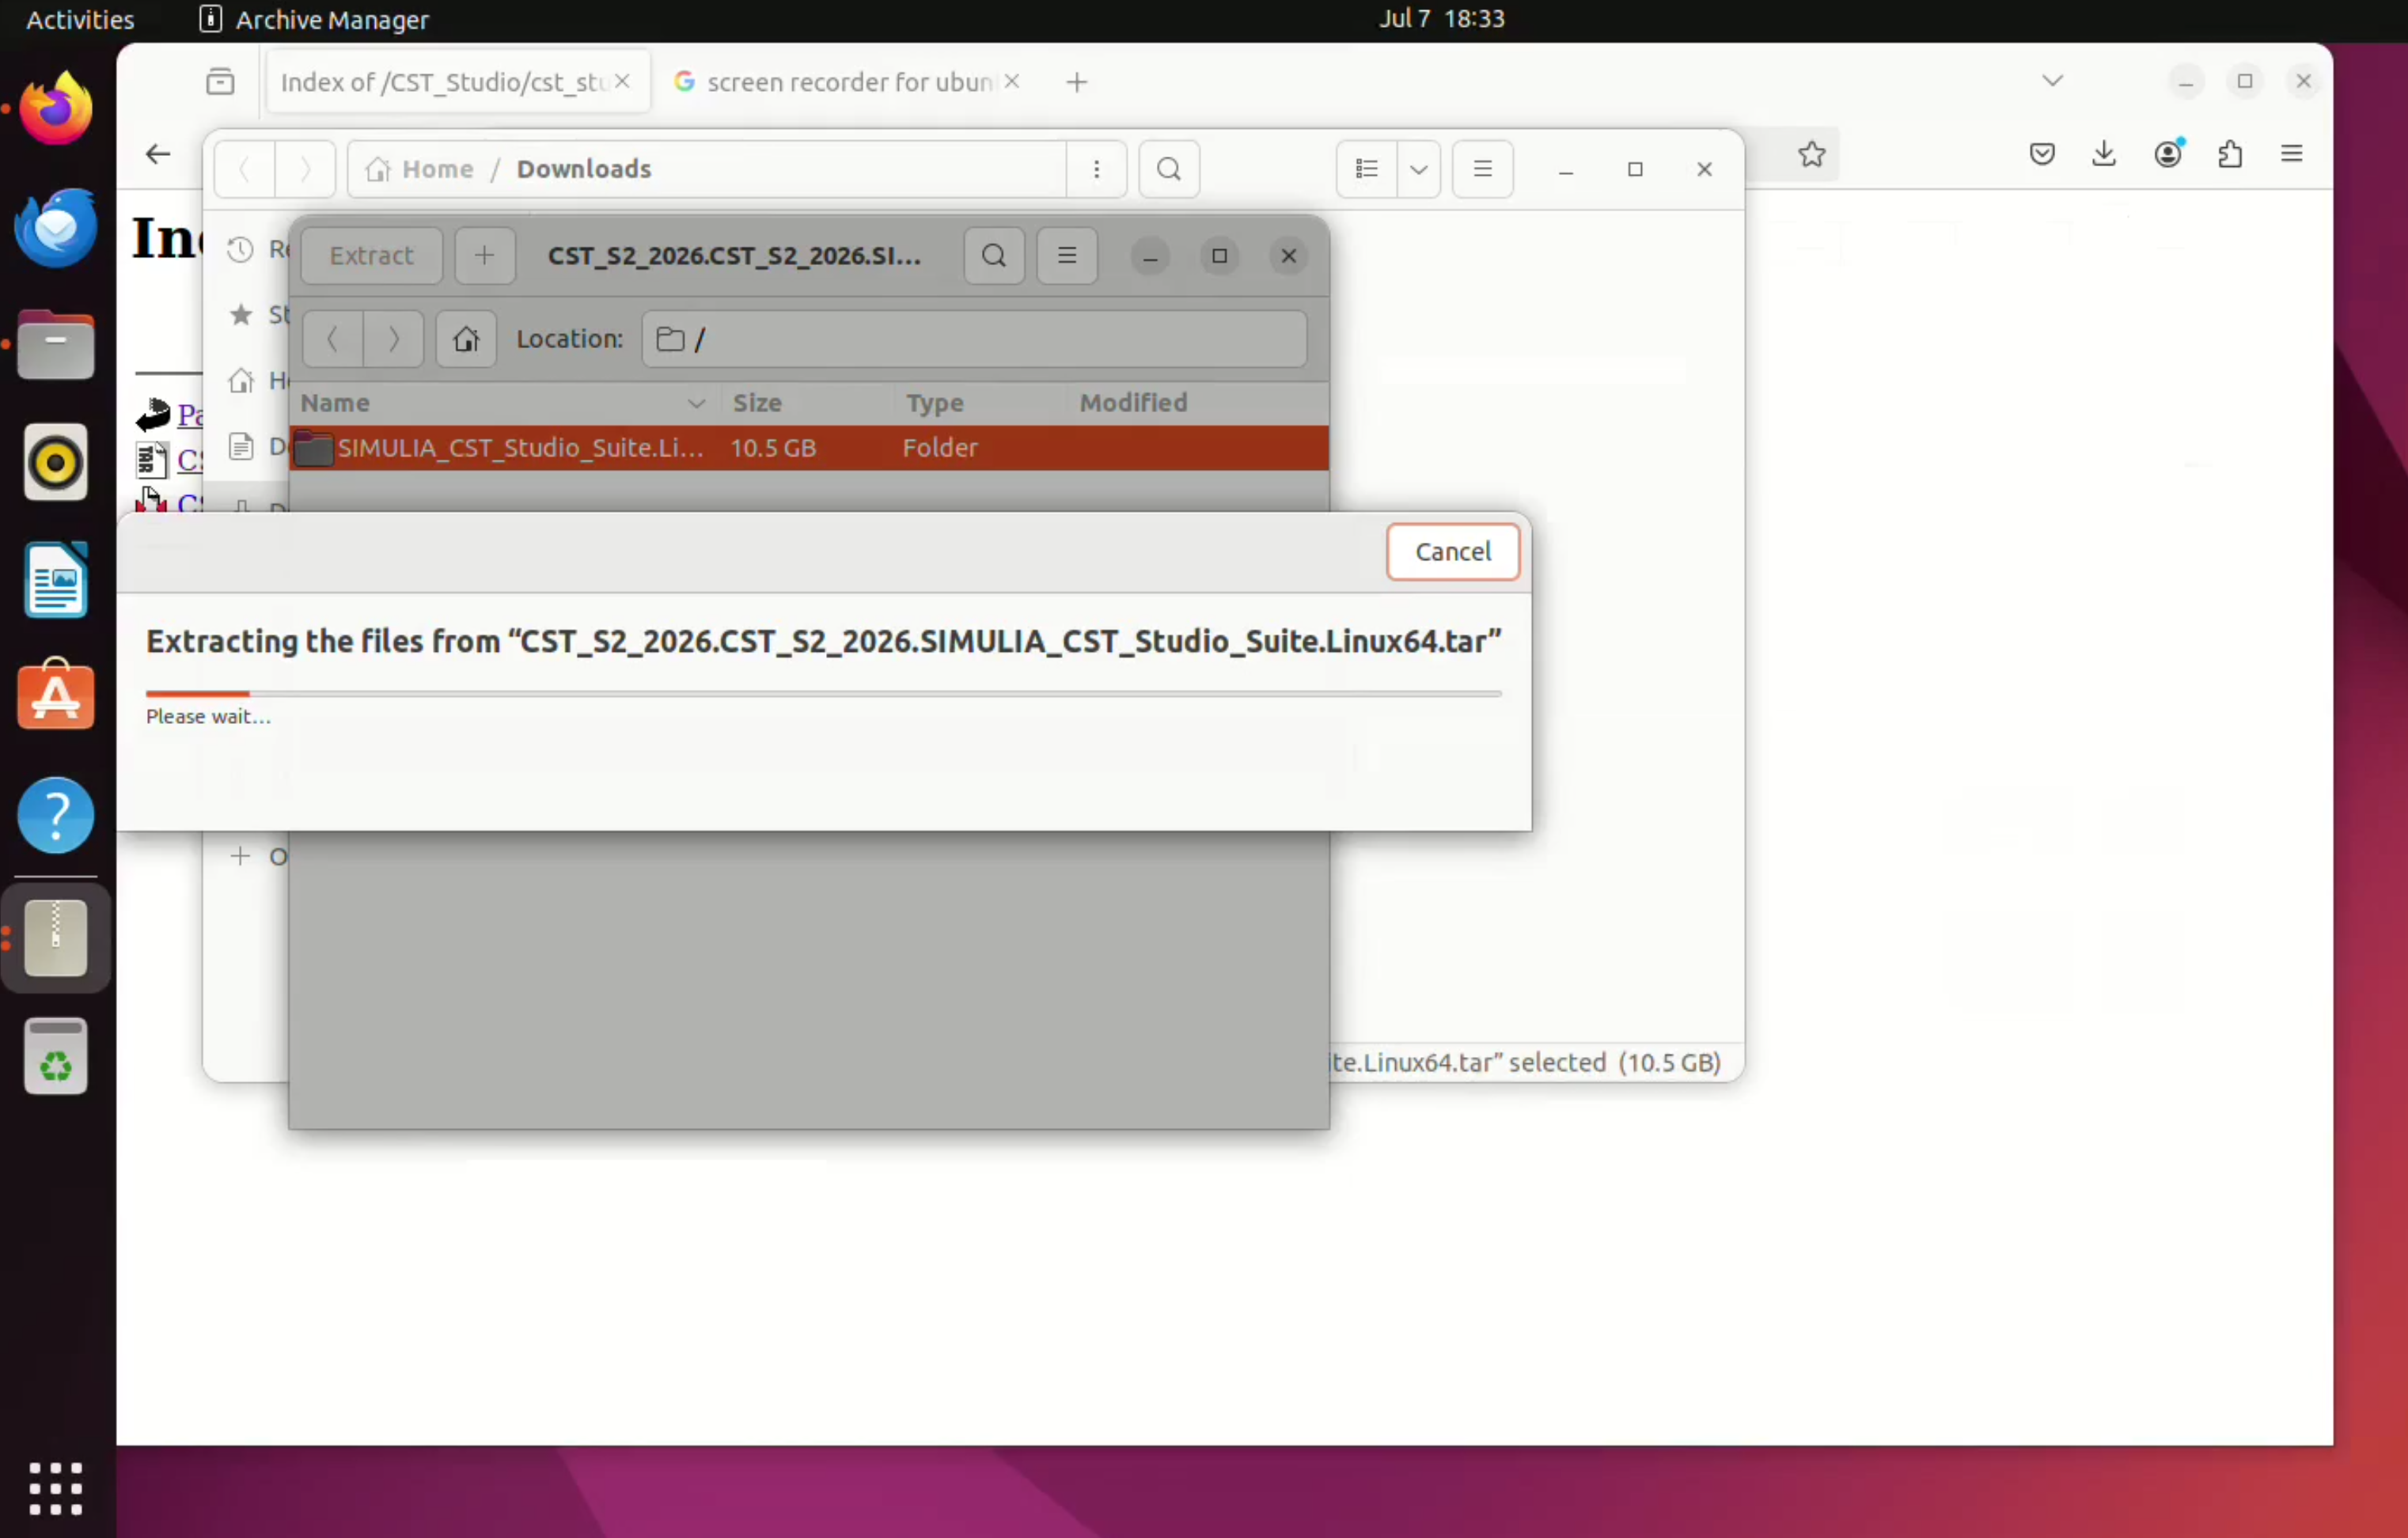
Wait until the extraction process is completed. Since the installer archive is large, this may take several minutes.
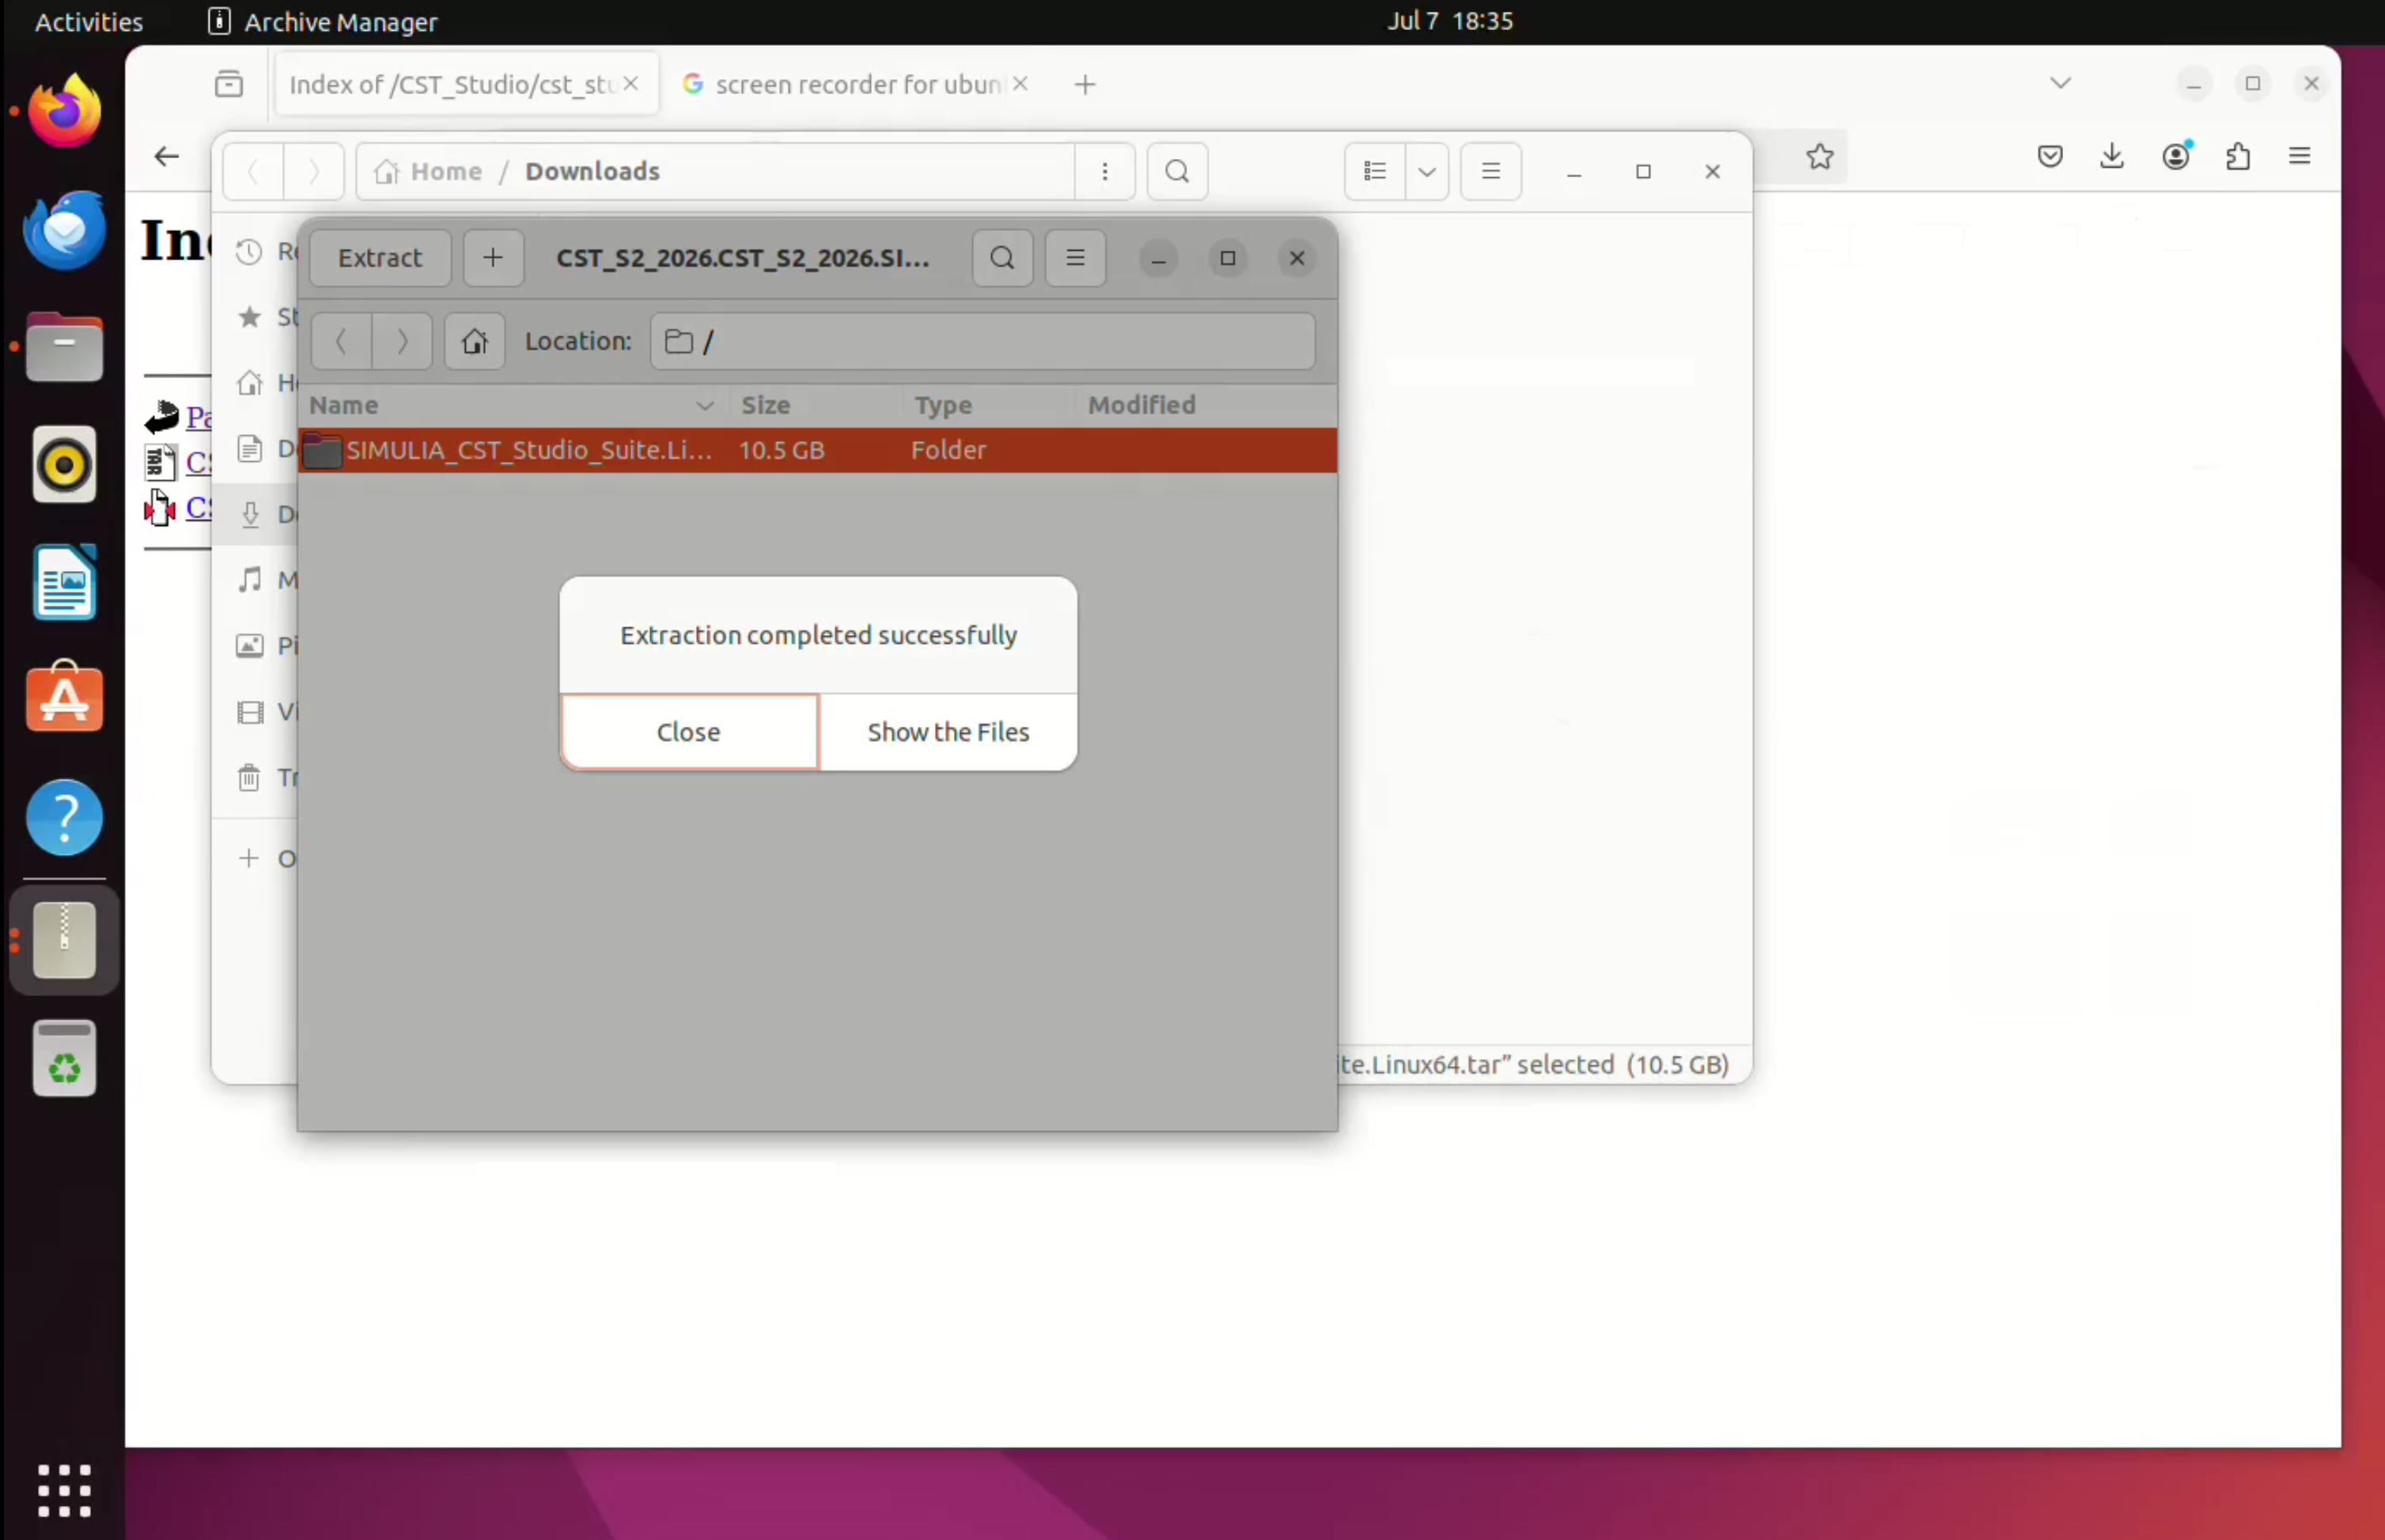
After successful extraction, click Show the Files or manually open the extracted folder.
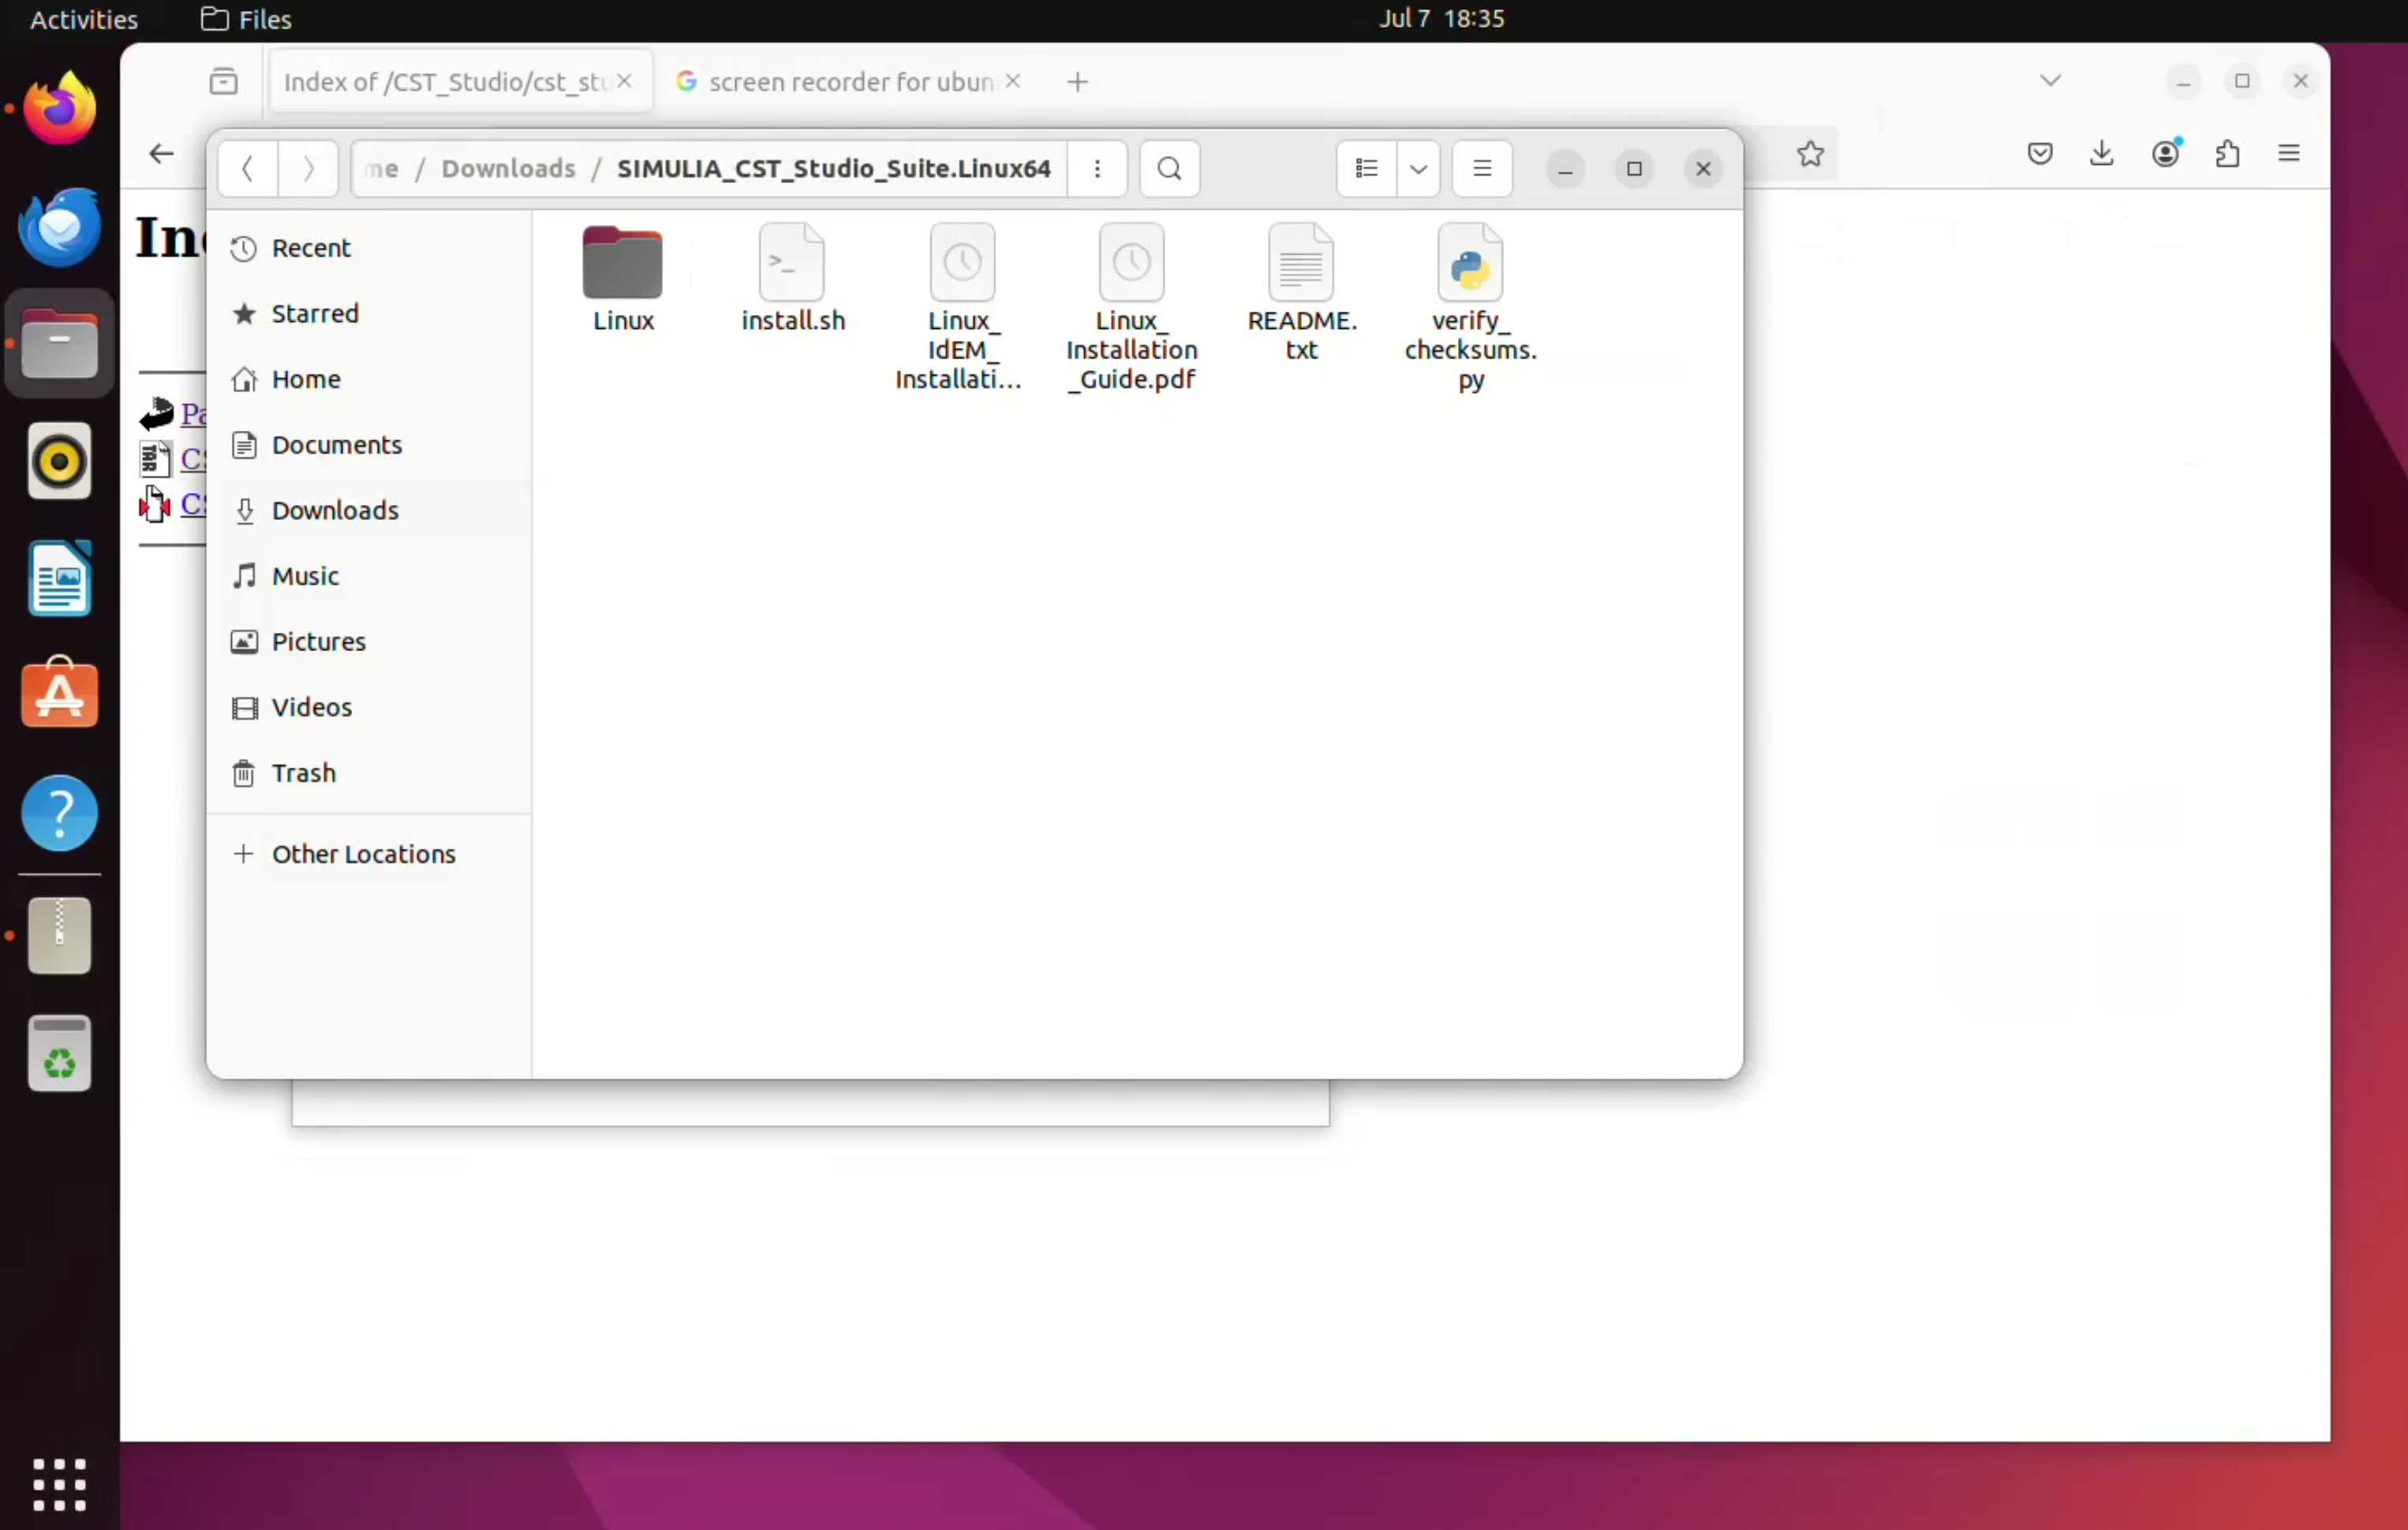
The extracted installer folder should contain files and folders such as:
- Linux
- install.sh
- Linux_Installation_Guide.pdf
- README.txt
- verify_checksums.py
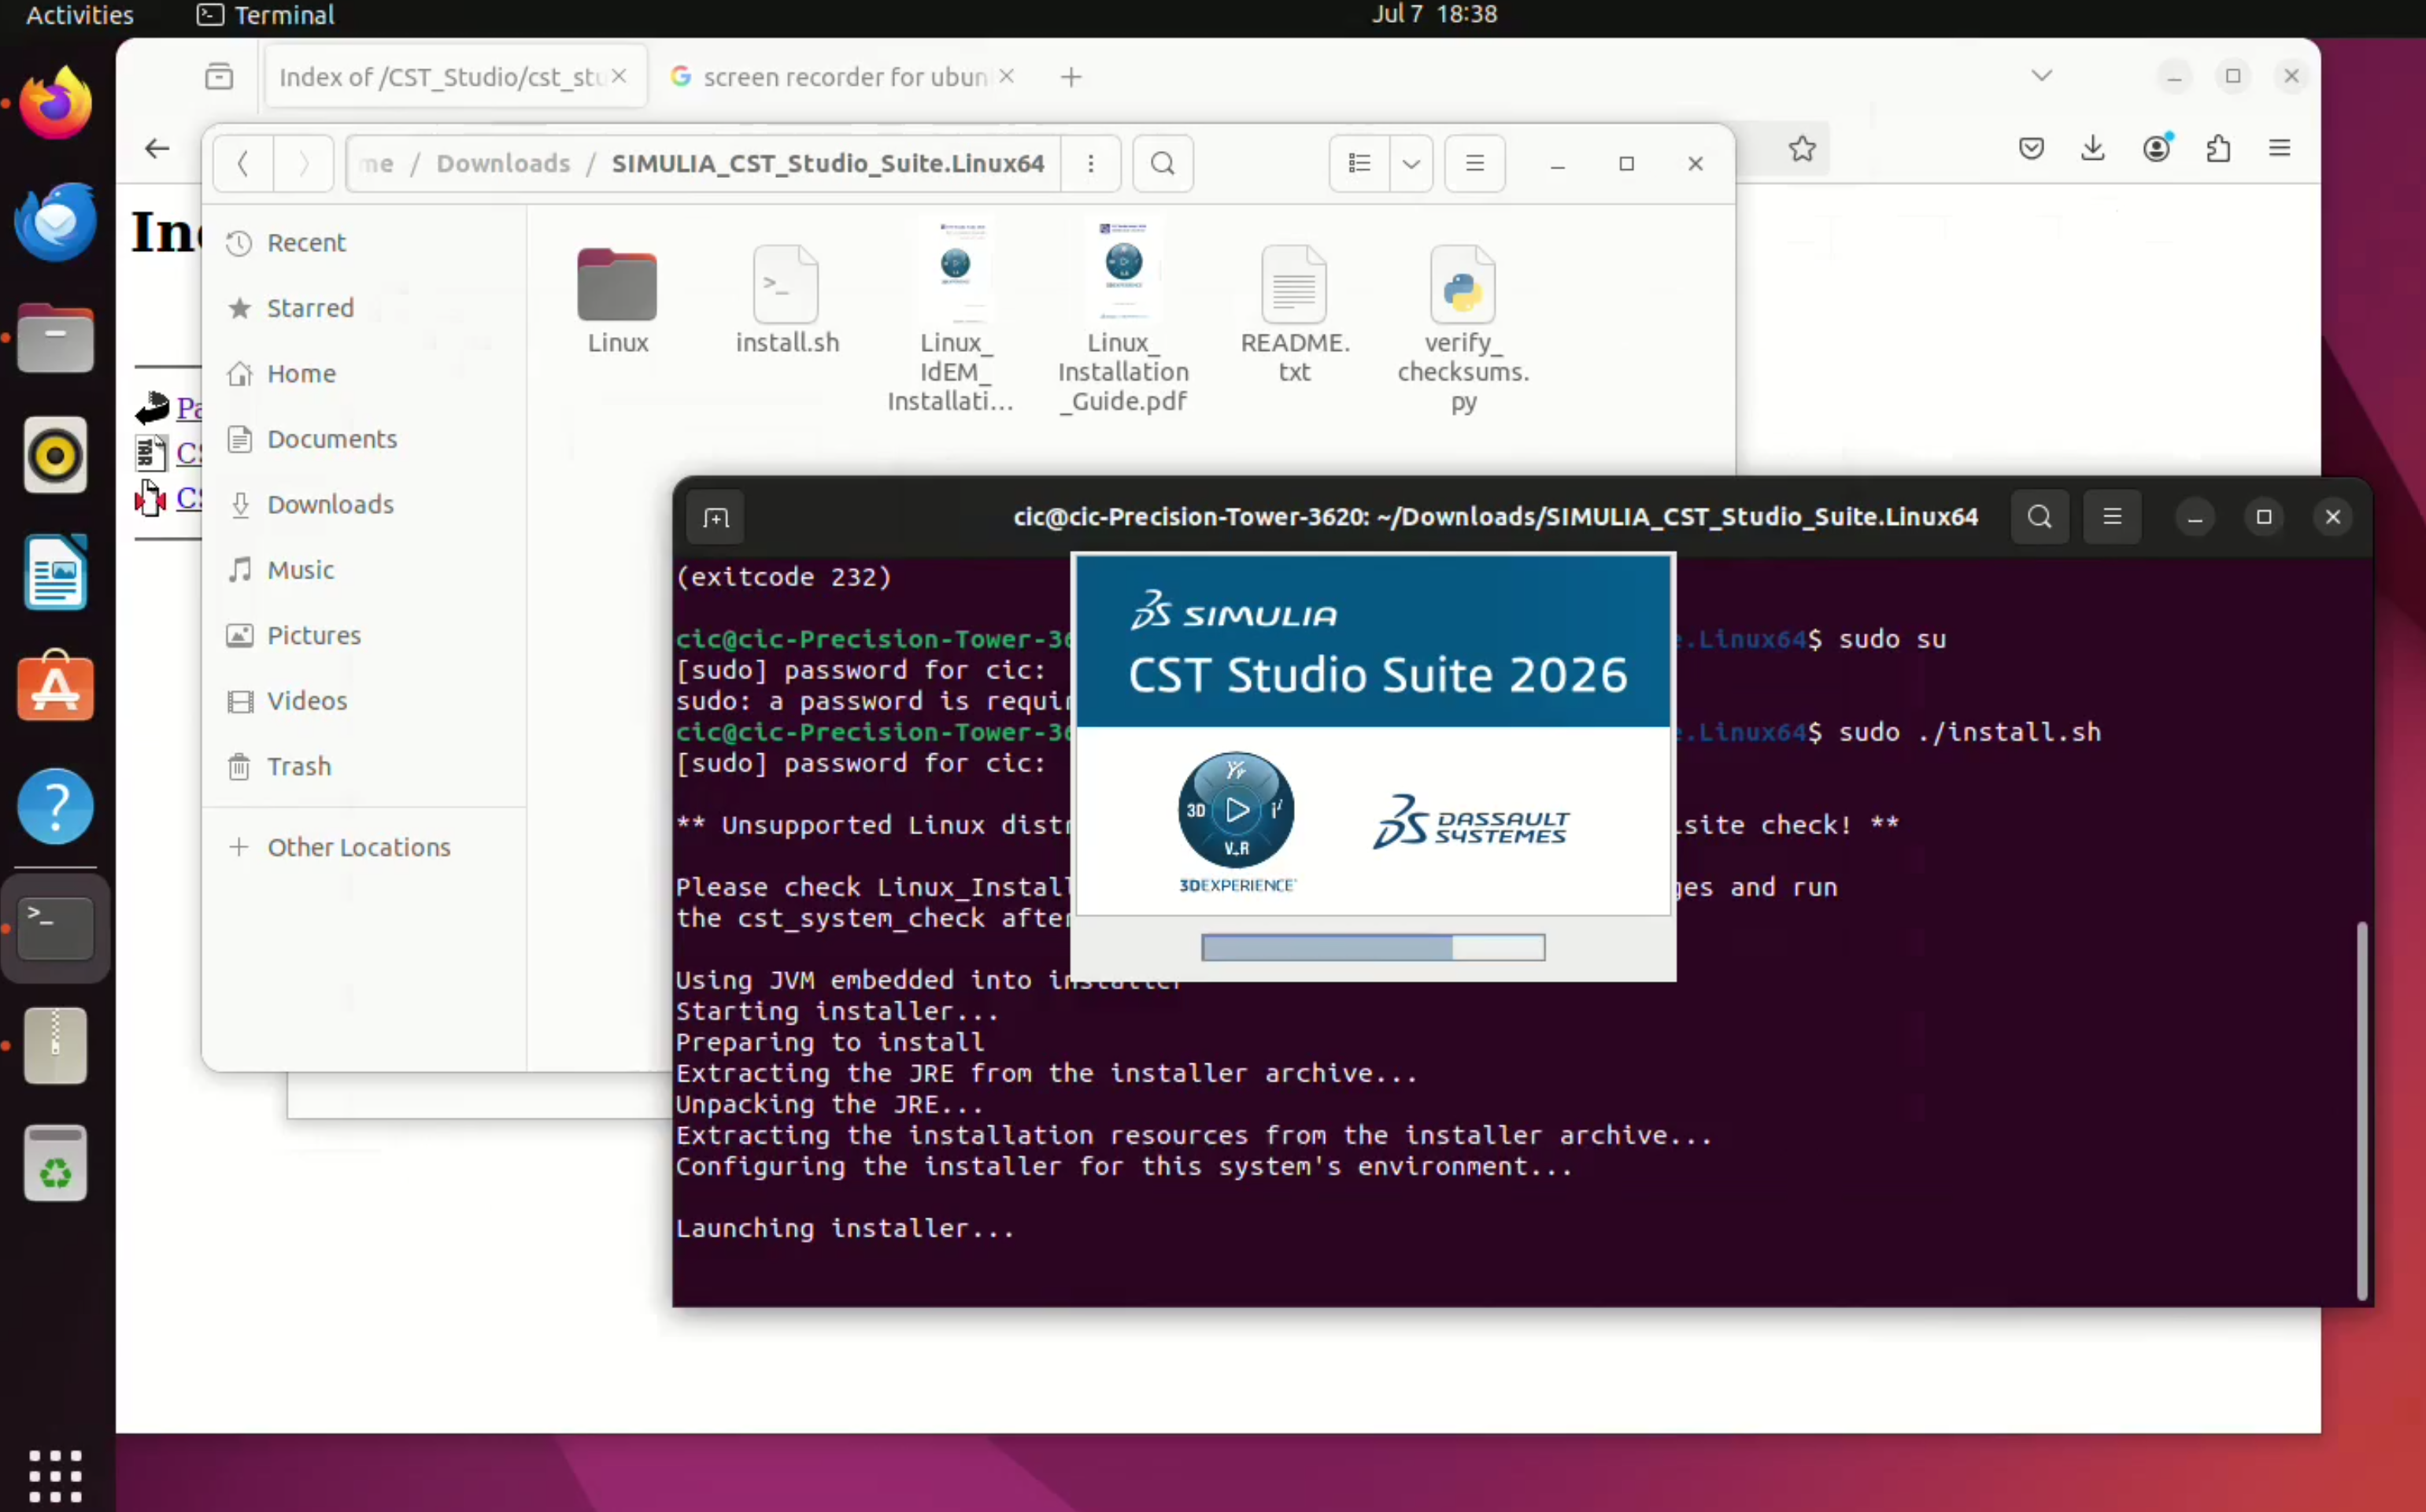
Start the CST Studio Installer
- Open a terminal in the extracted installer folder.
- If the folder is inside Downloads, go to the folder using a command similar to:
cd ~/Downloads/SIMULIA_CST_Studio_Suite.Linux64
- Start the installer with administrator privilege:
sudo ./install.sh
- Enter the system password when prompted.
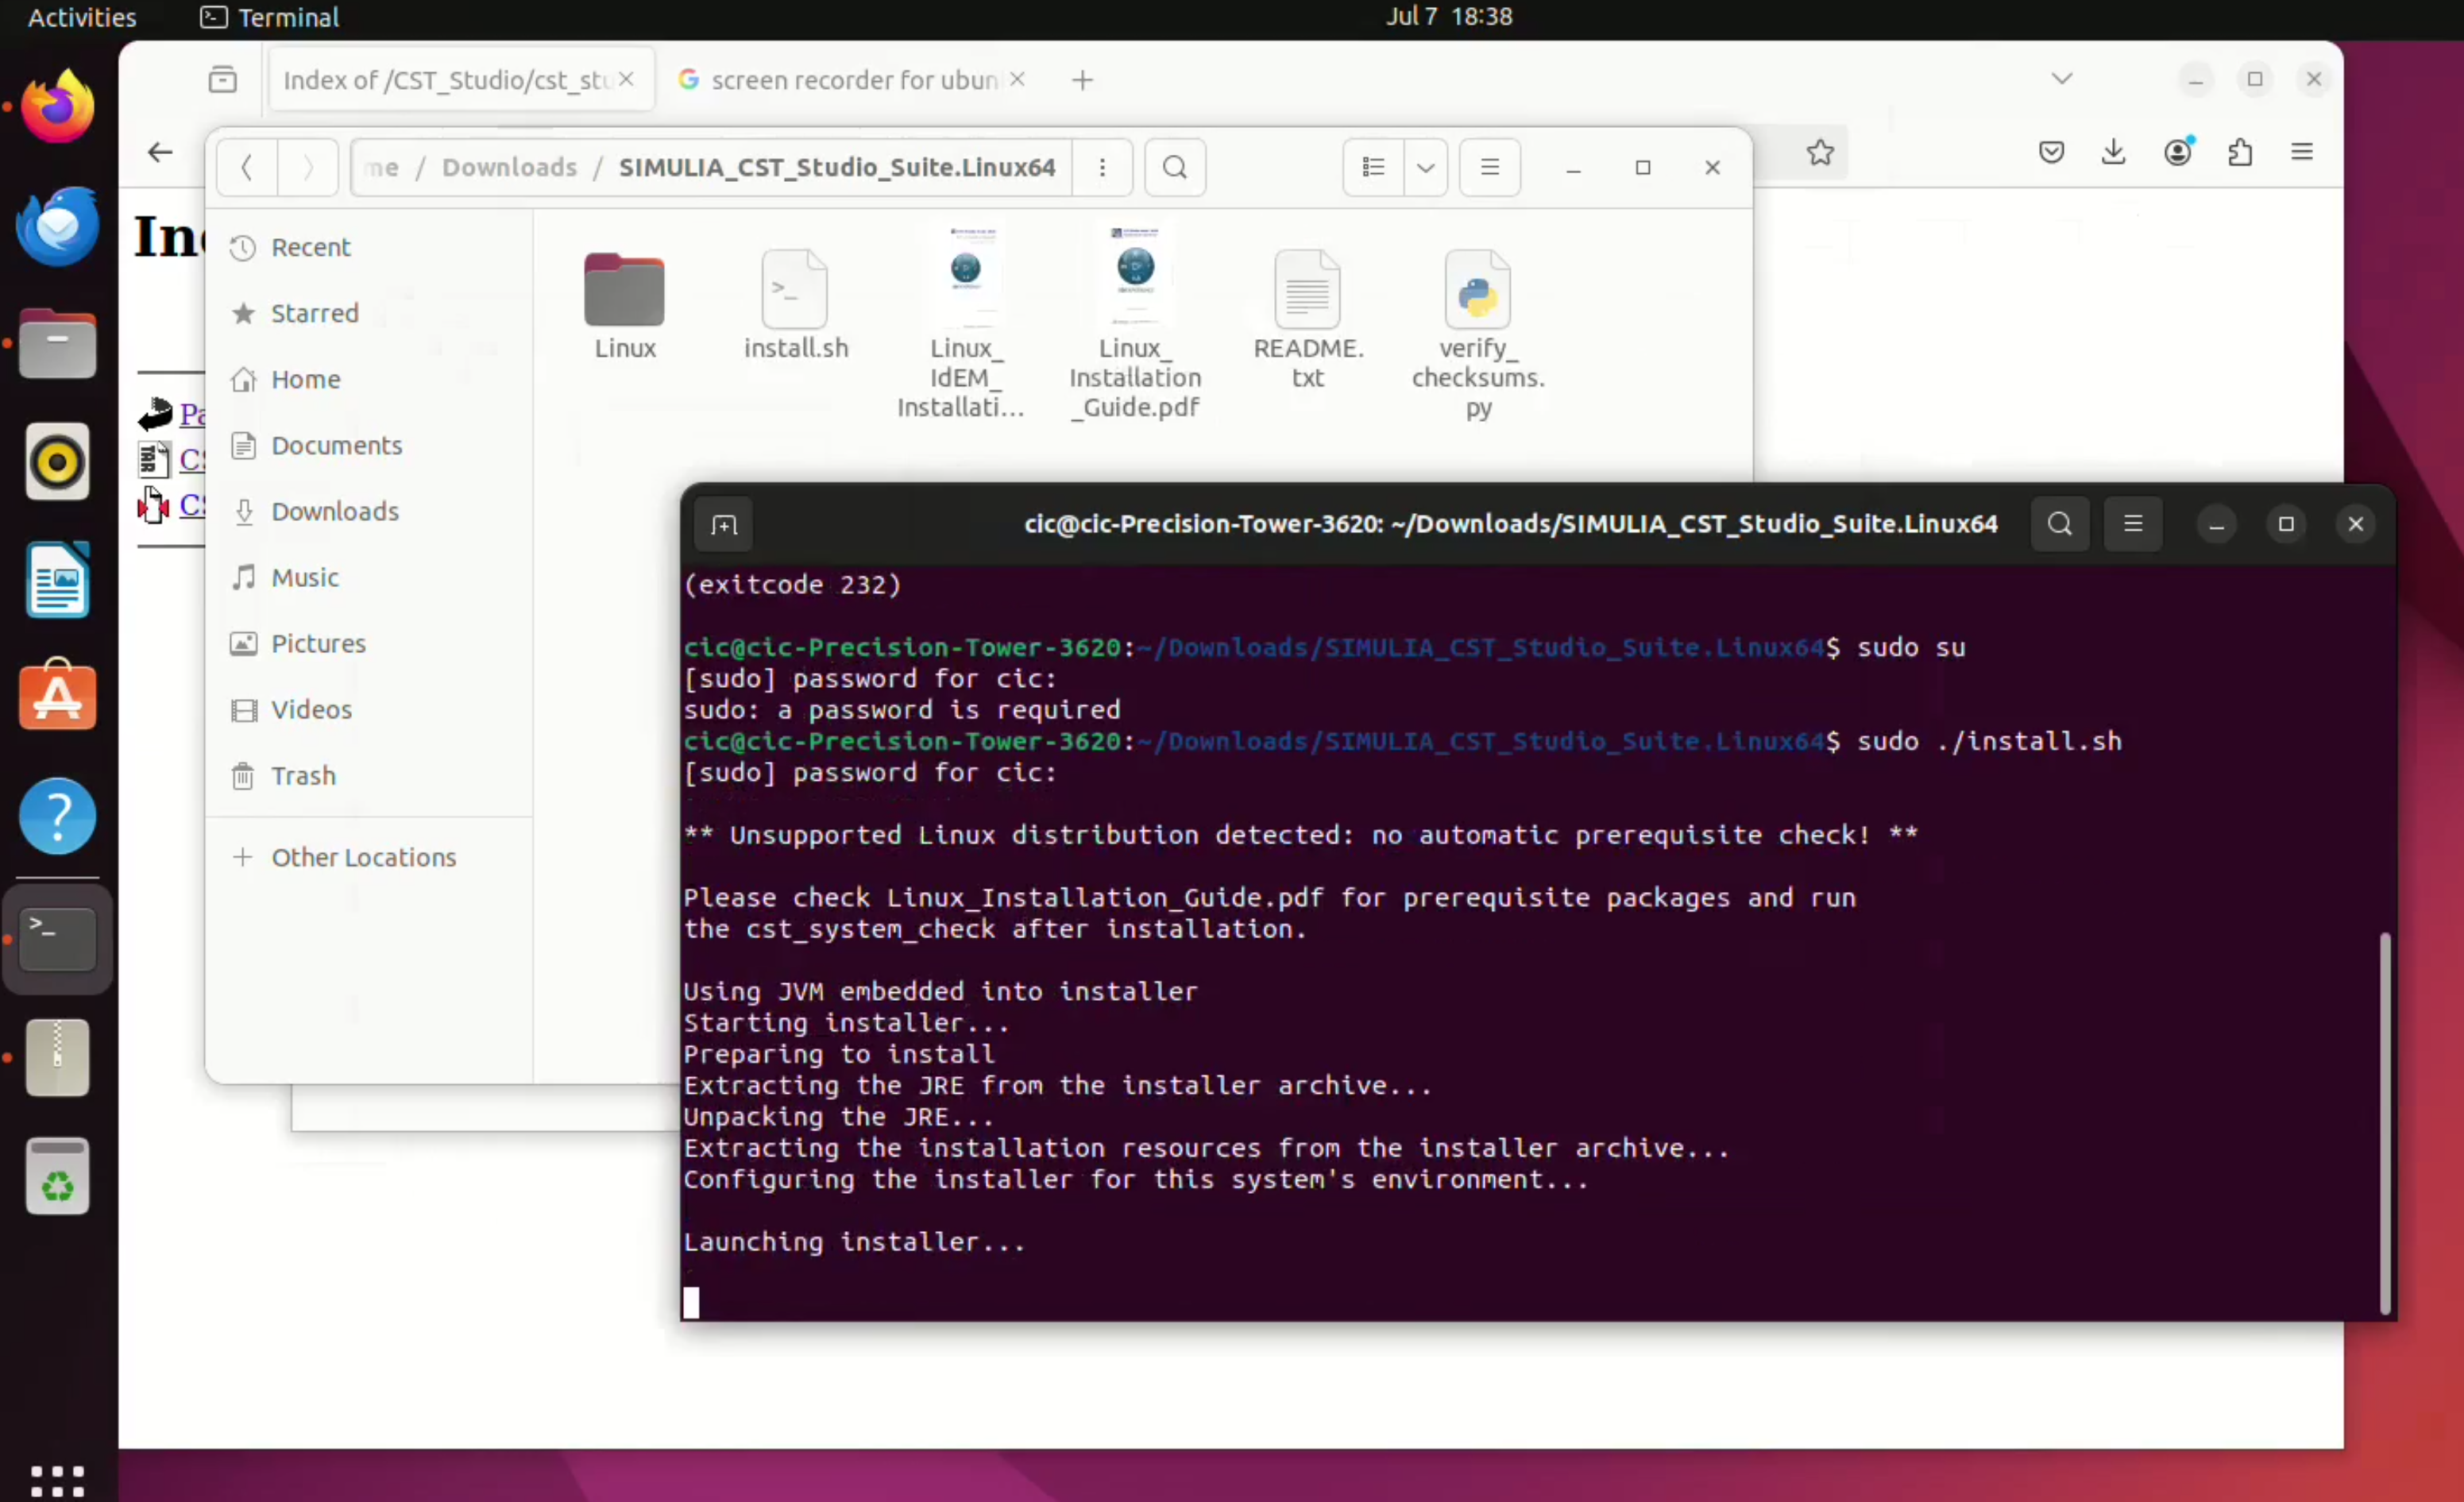
The installer will prepare the installation files and launch the graphical CST Studio Suite 2026 installer.
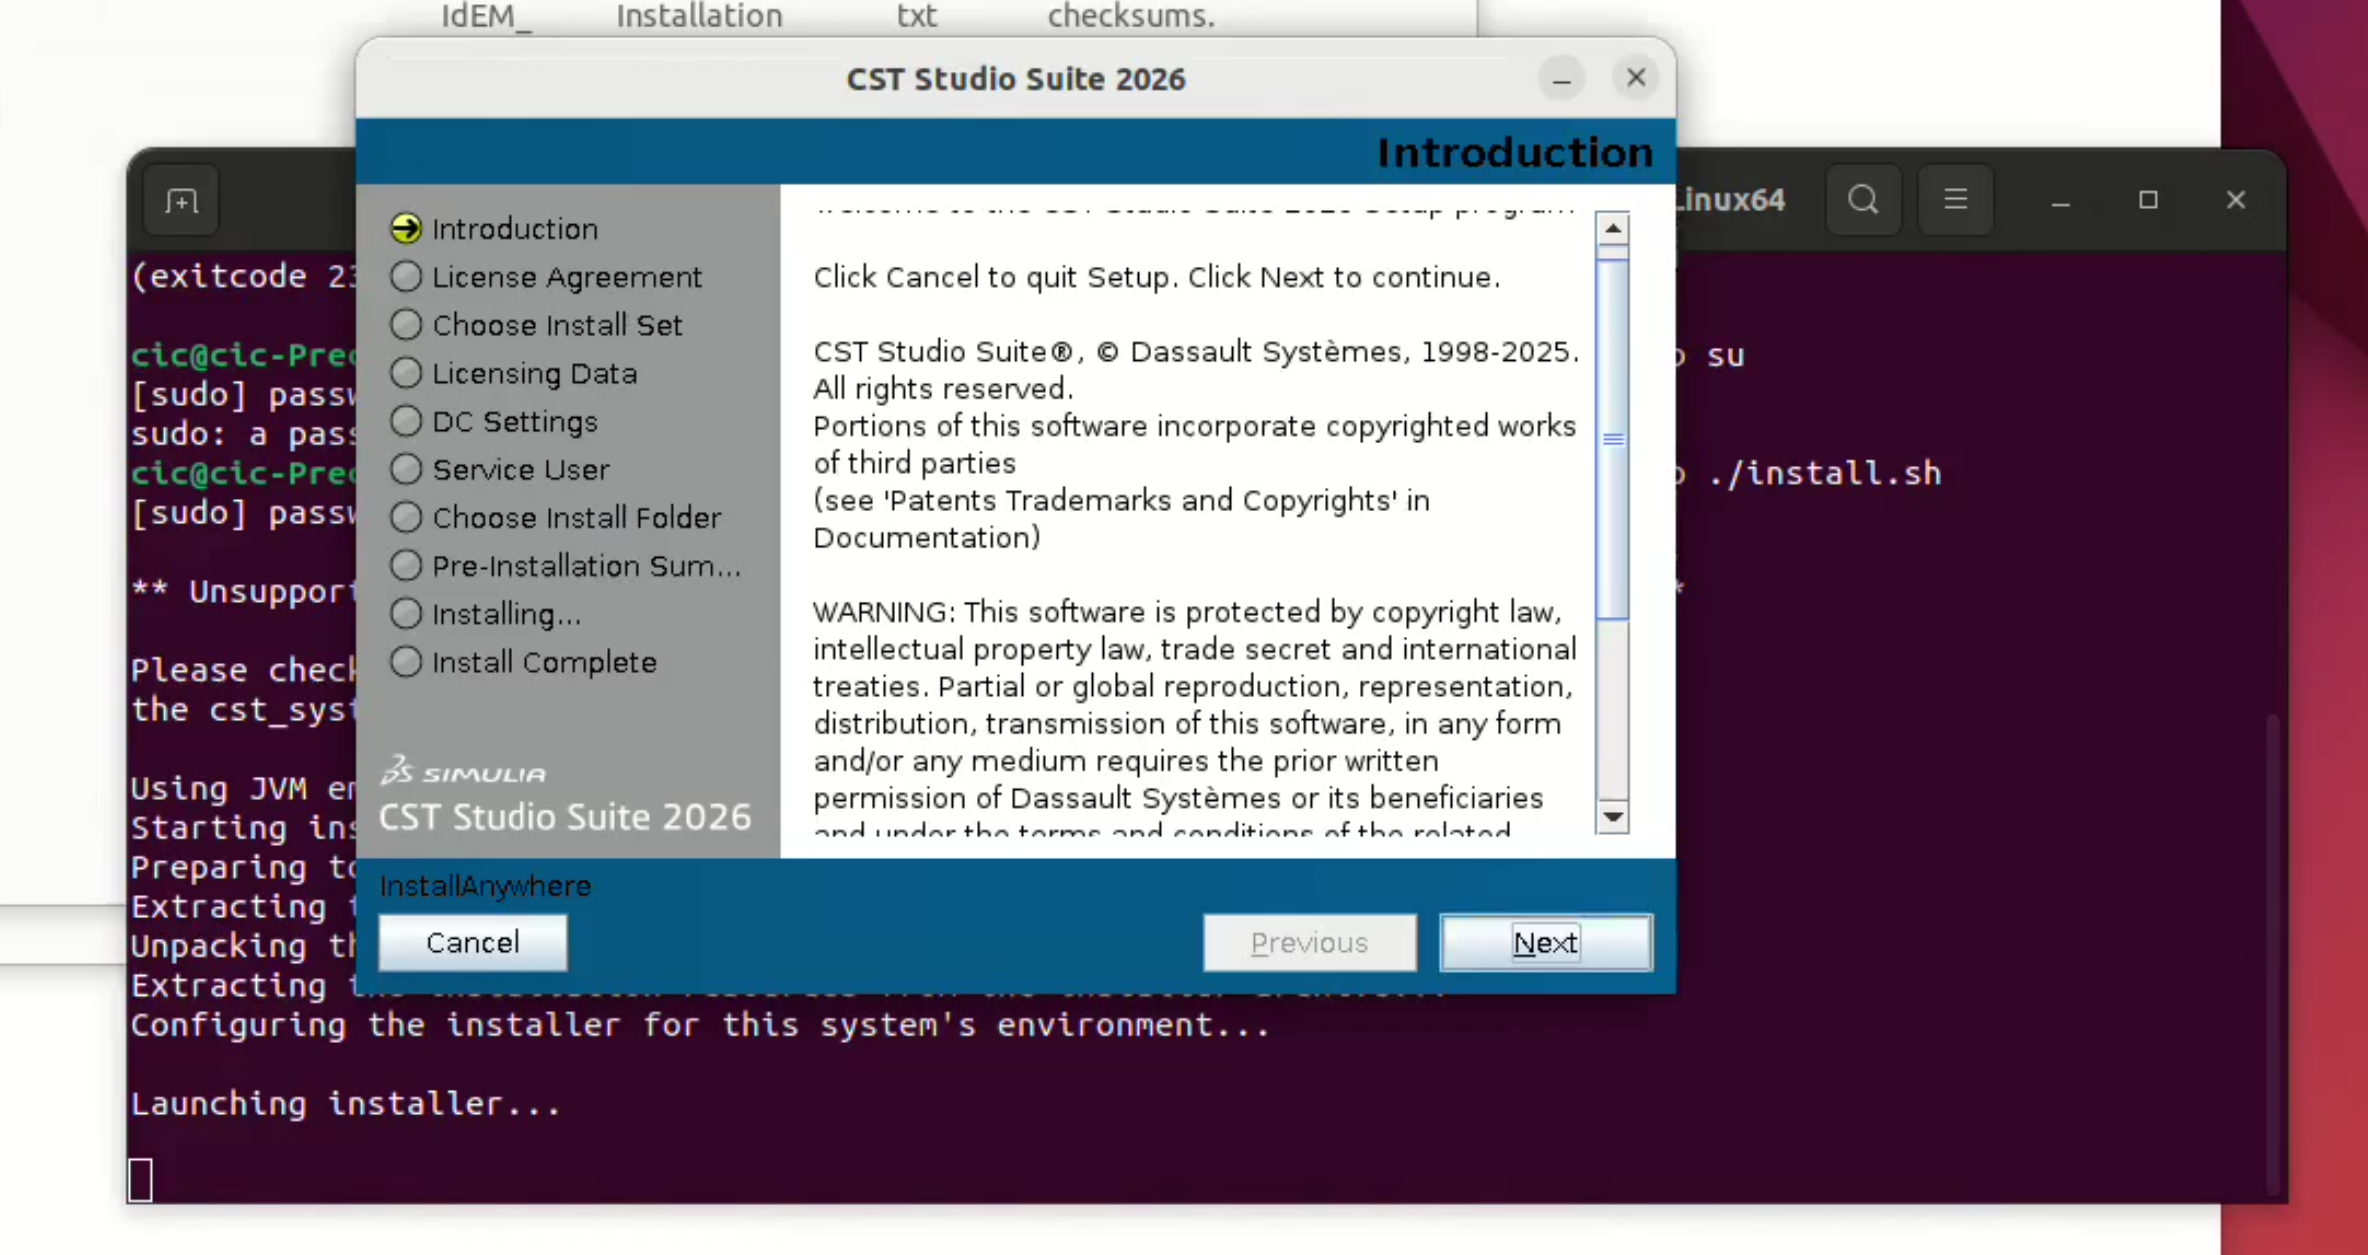
Proceed Through the Graphical Installer
- On the Introduction page, click Next.
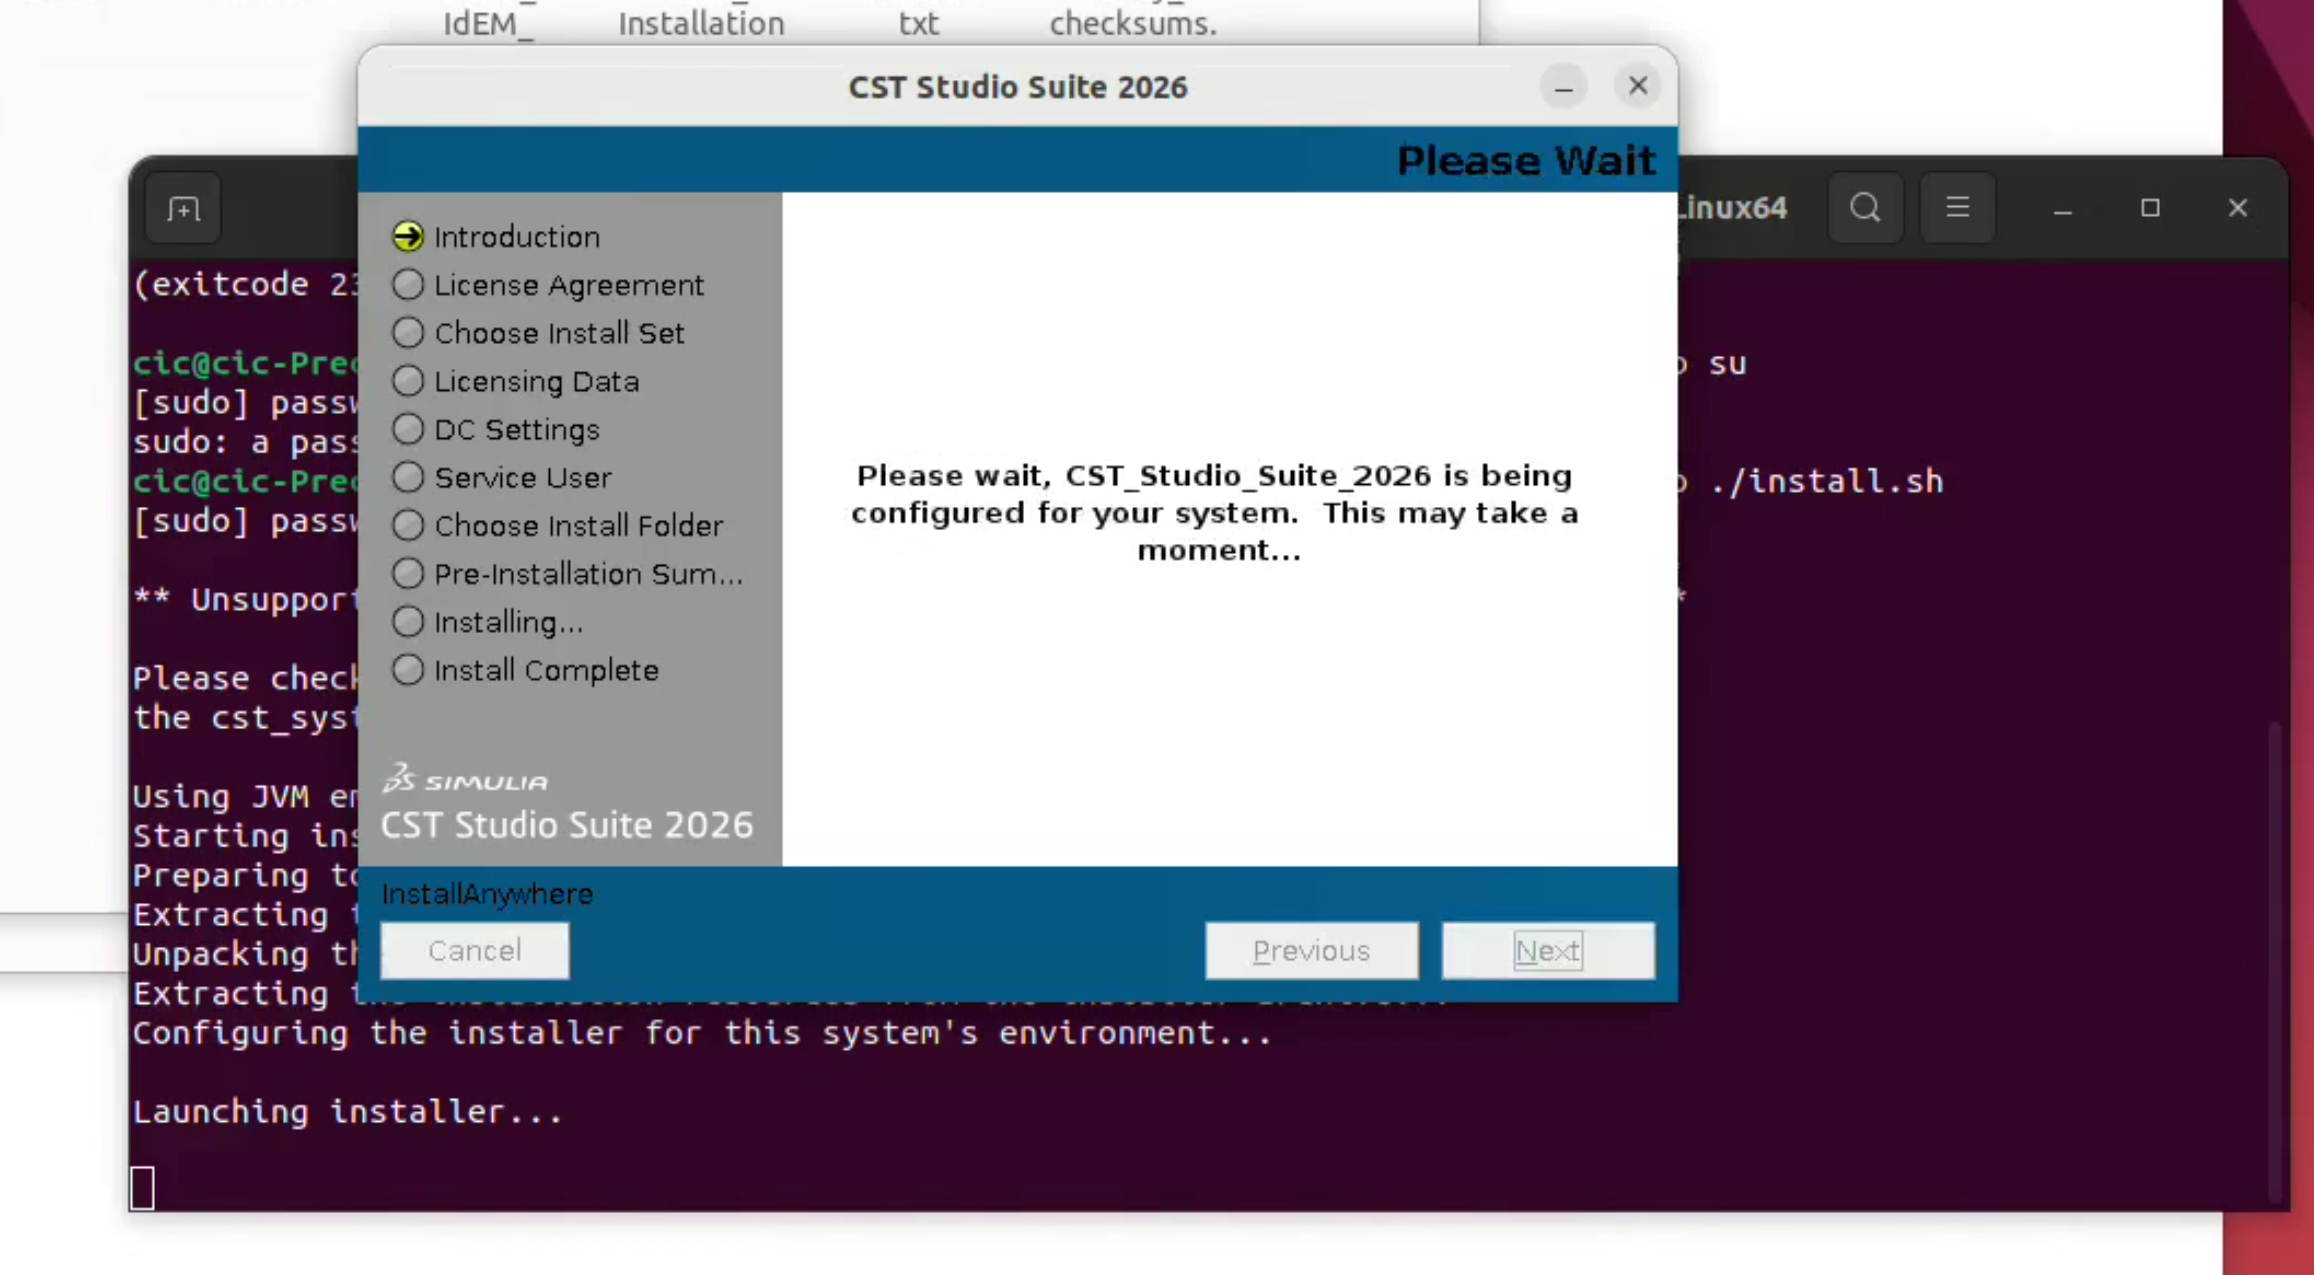
The installer may show a configuration or loading screen. Wait for the next screen to appear.
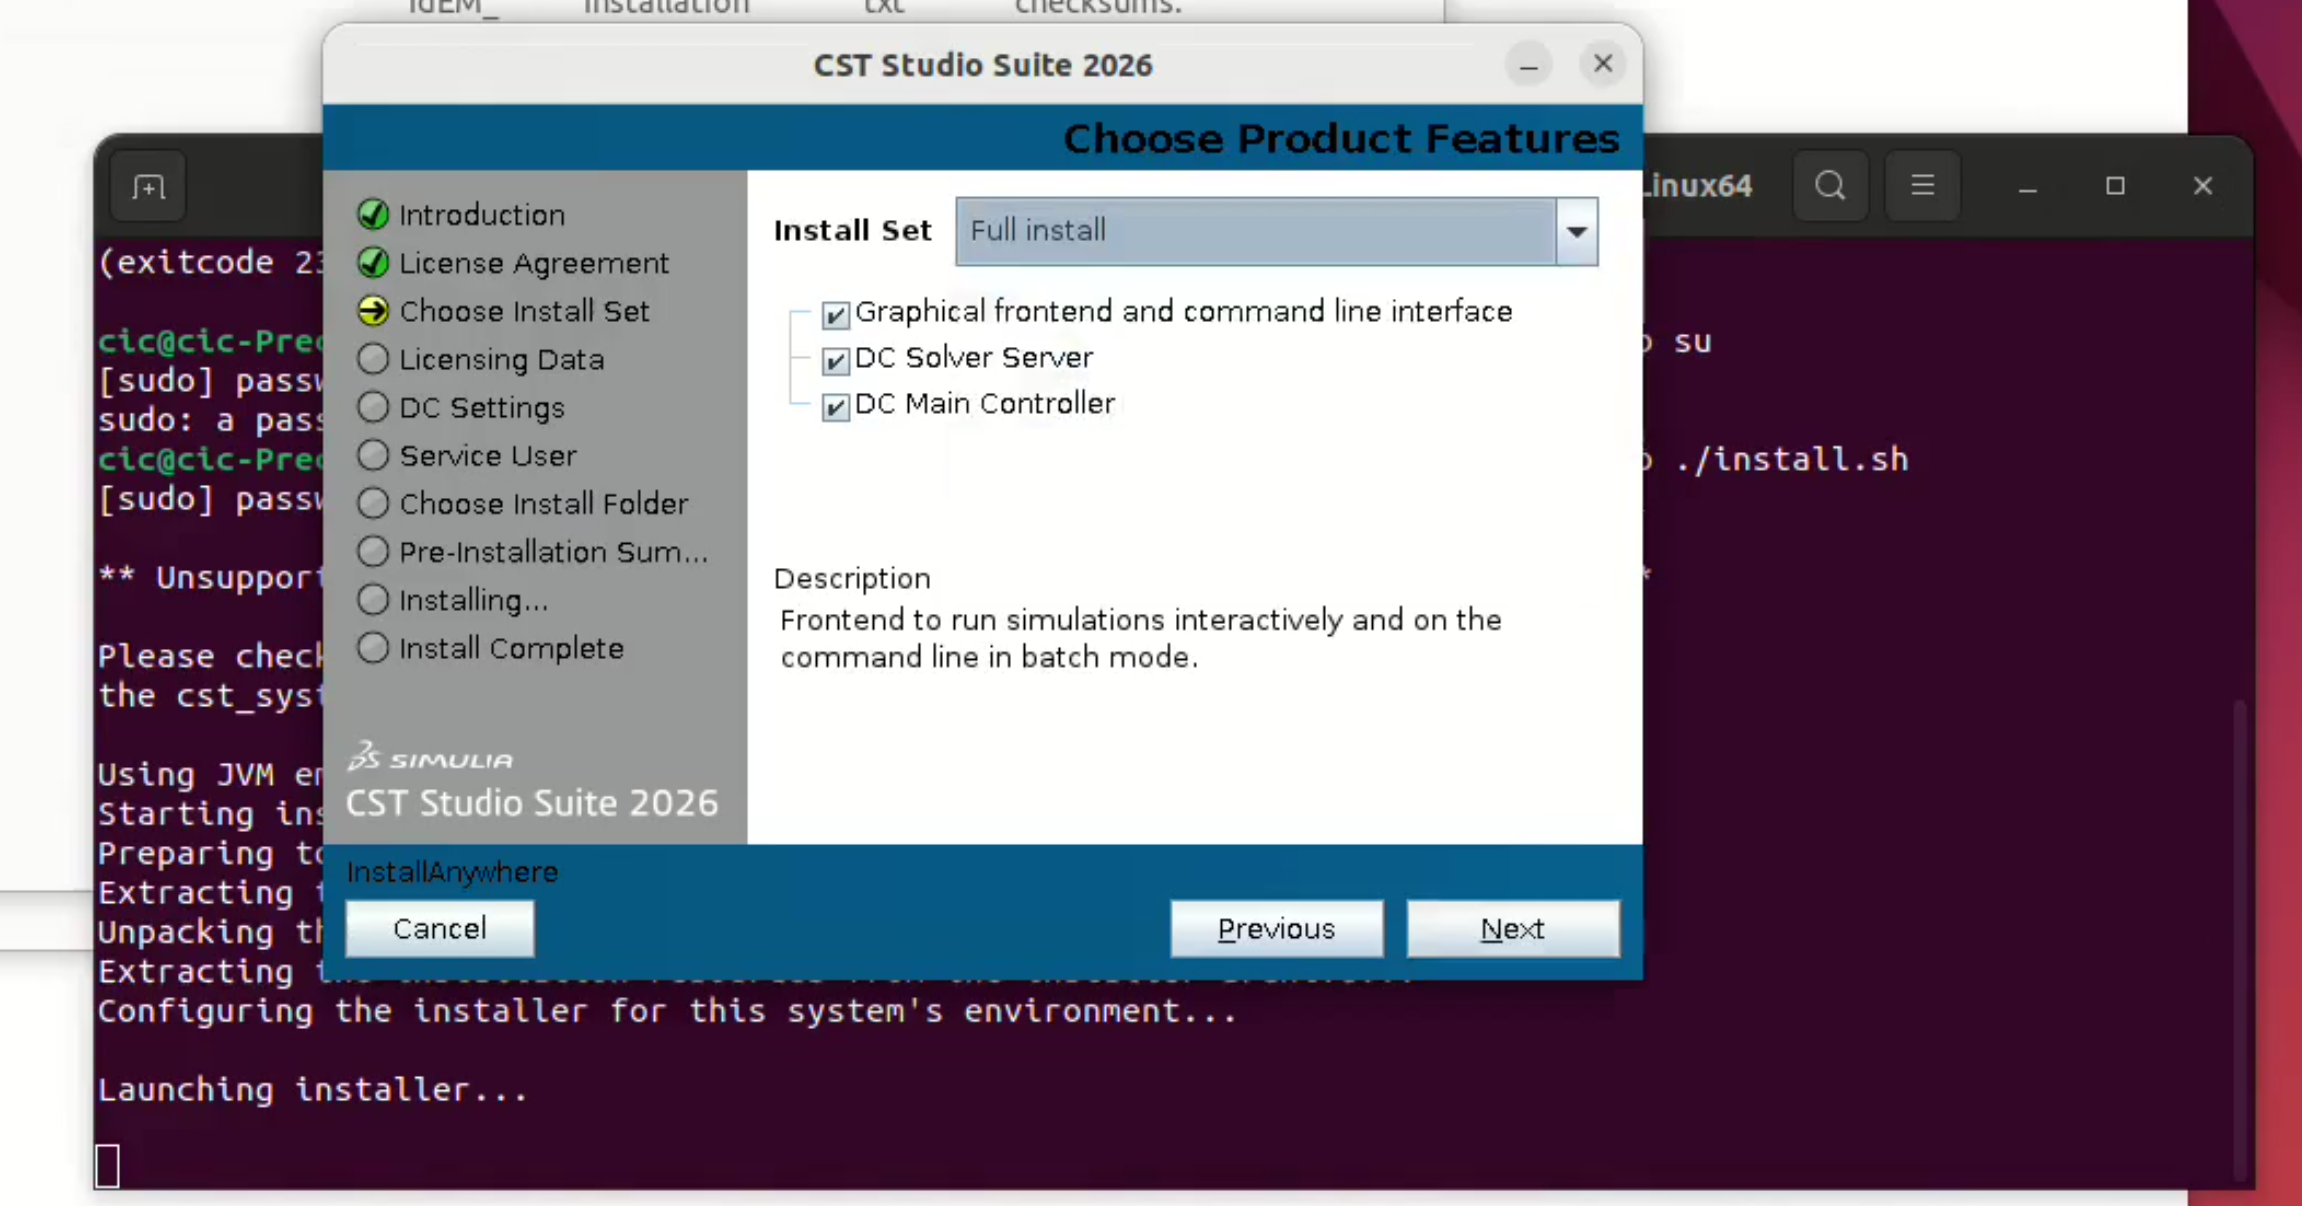
Select Product Features
- On the Choose Product Features page, keep Full install selected.
- The selected components should include the graphical frontend, command line interface, DC Solver Server and DC Main Controller.
- Click Next.
Configure Licensing
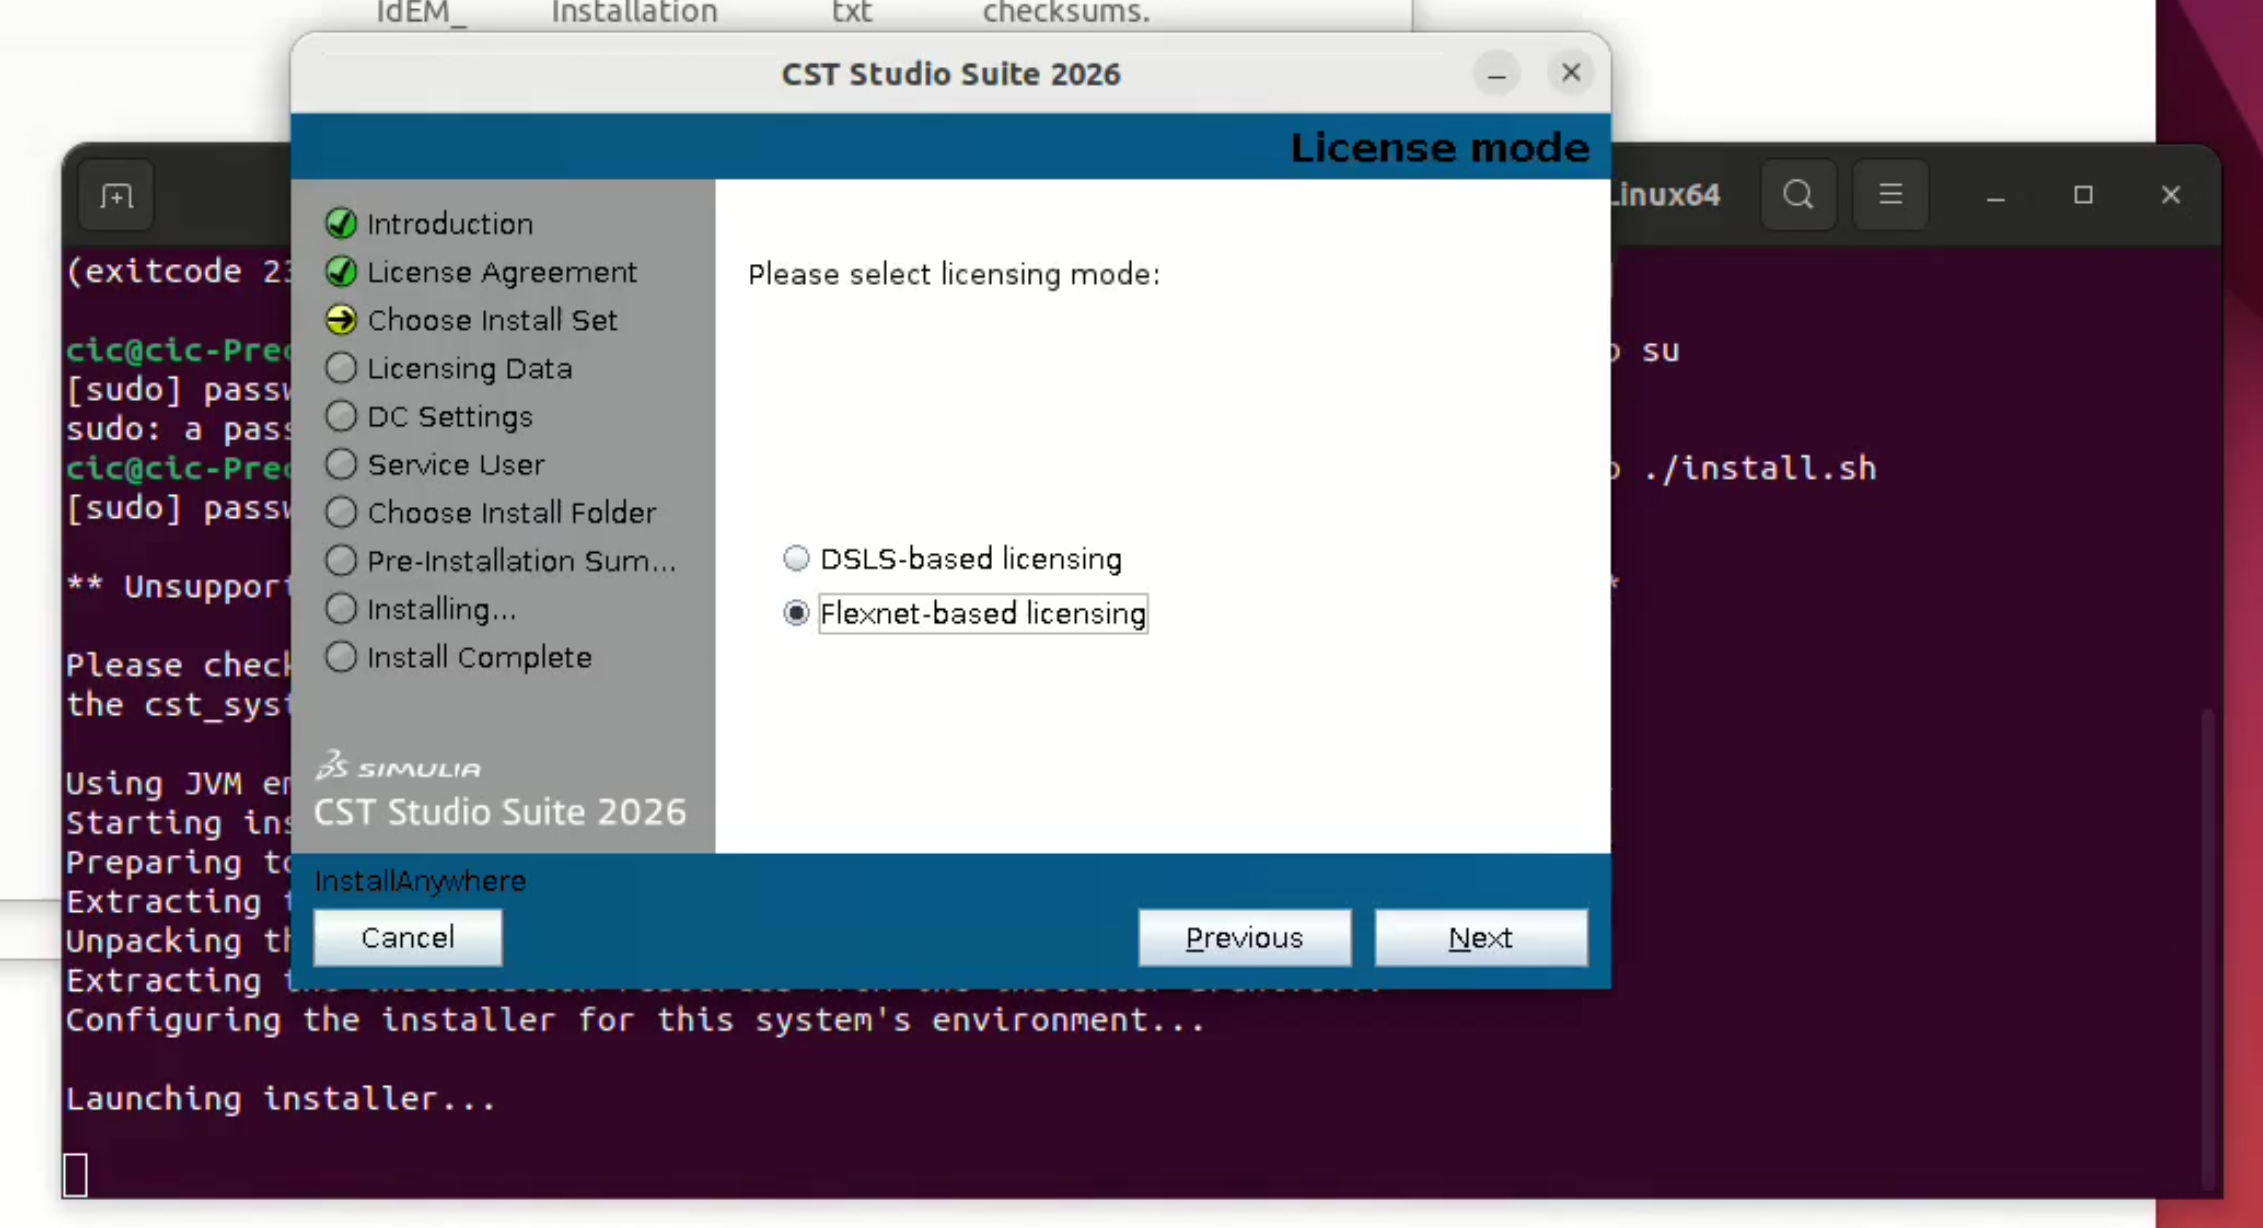
- On the License mode page, select Flexnet-based licensing.
- Click Next.
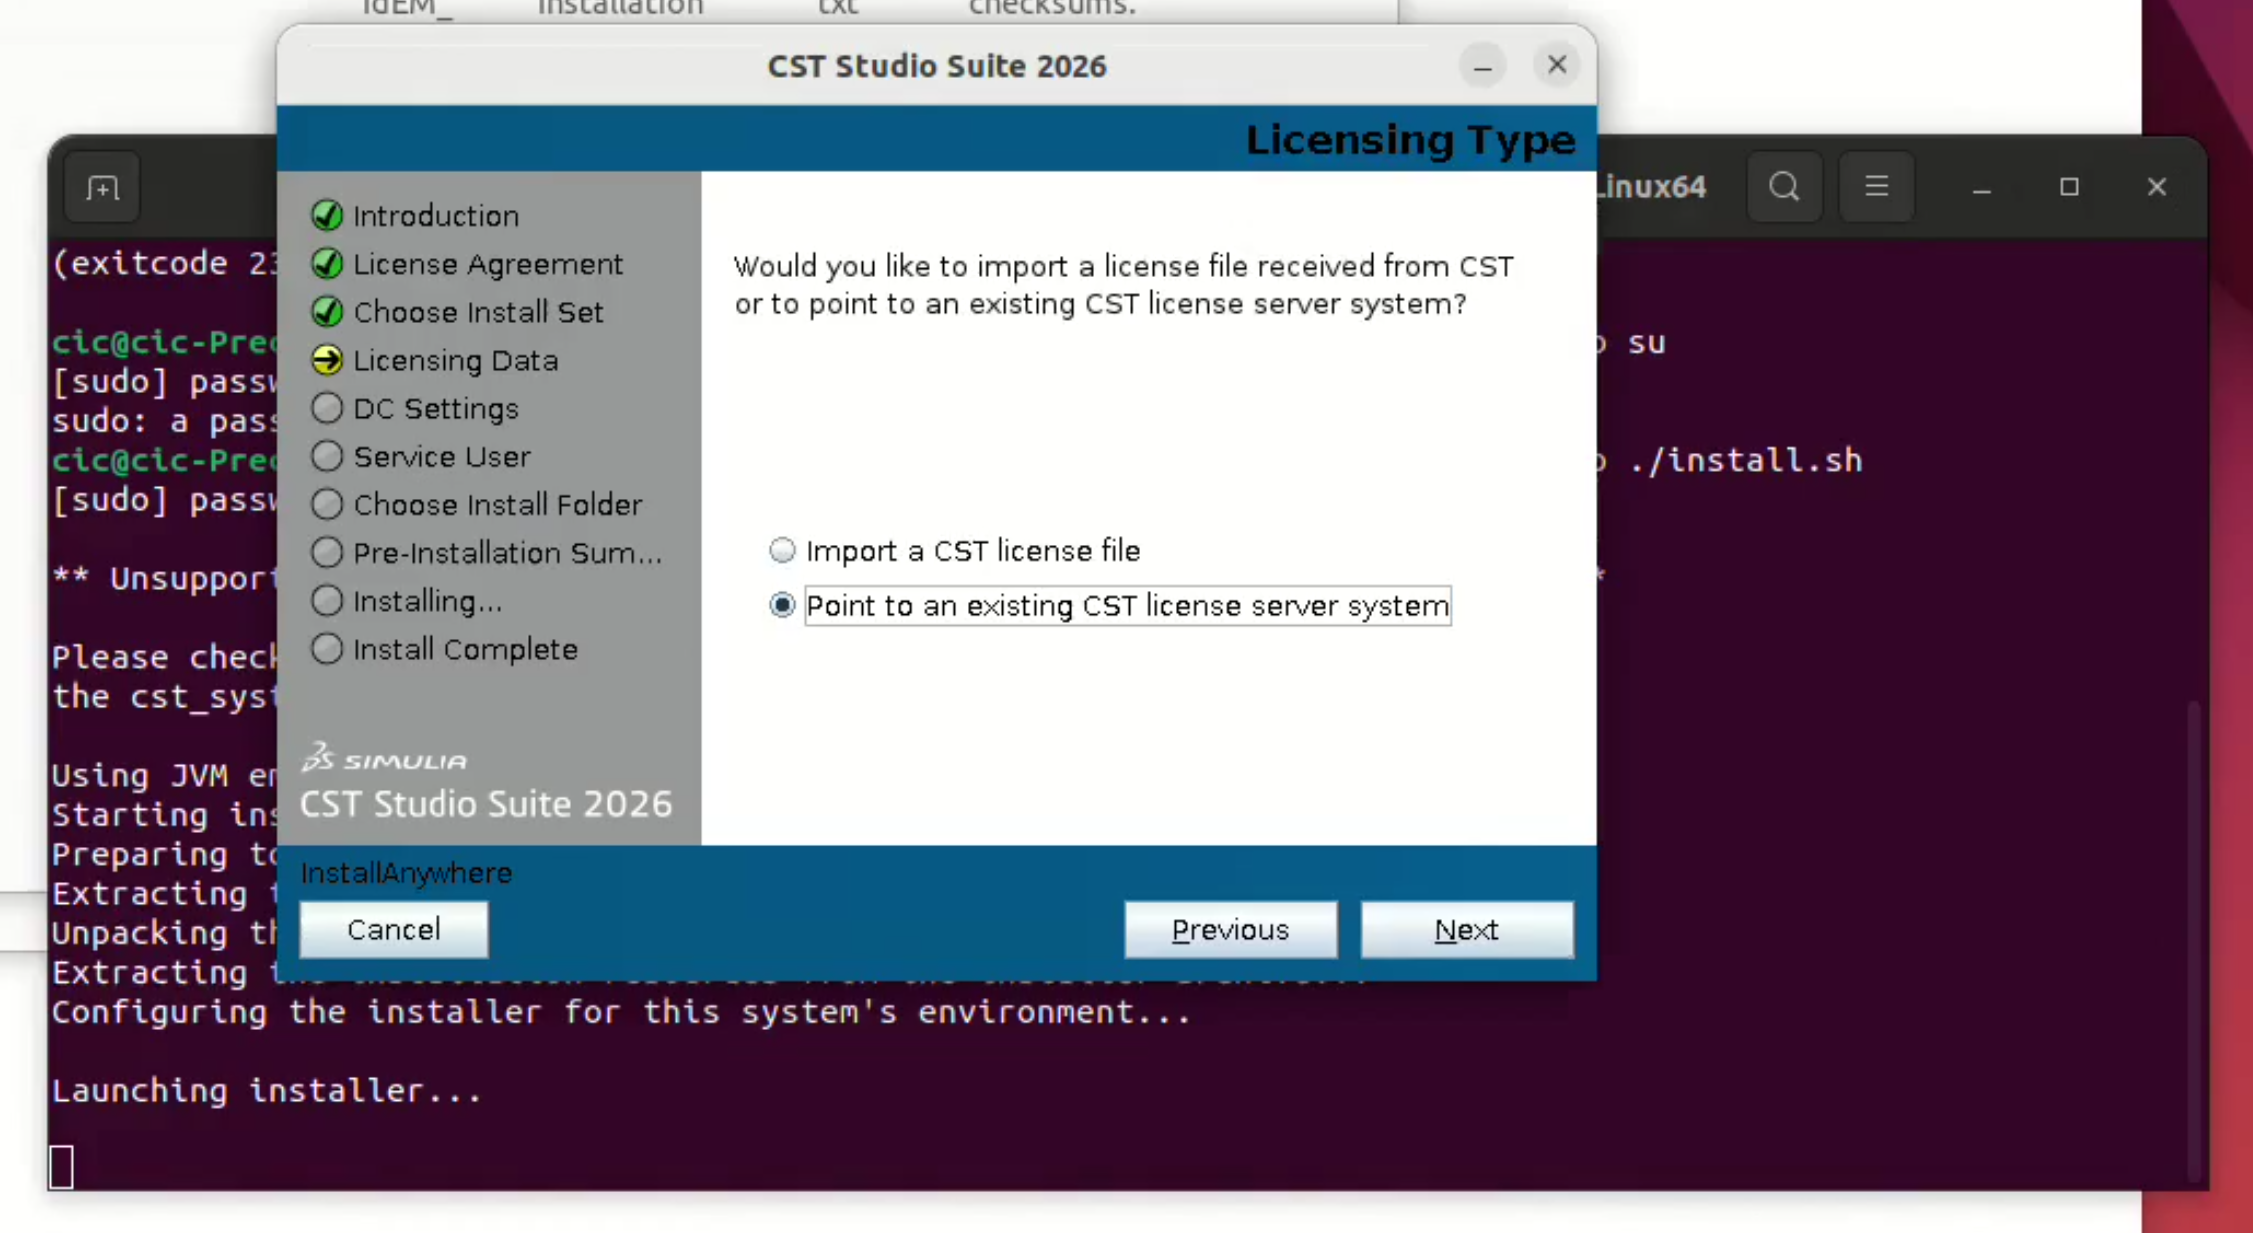
- Select Point to an existing CST license server system.
- Click Next.
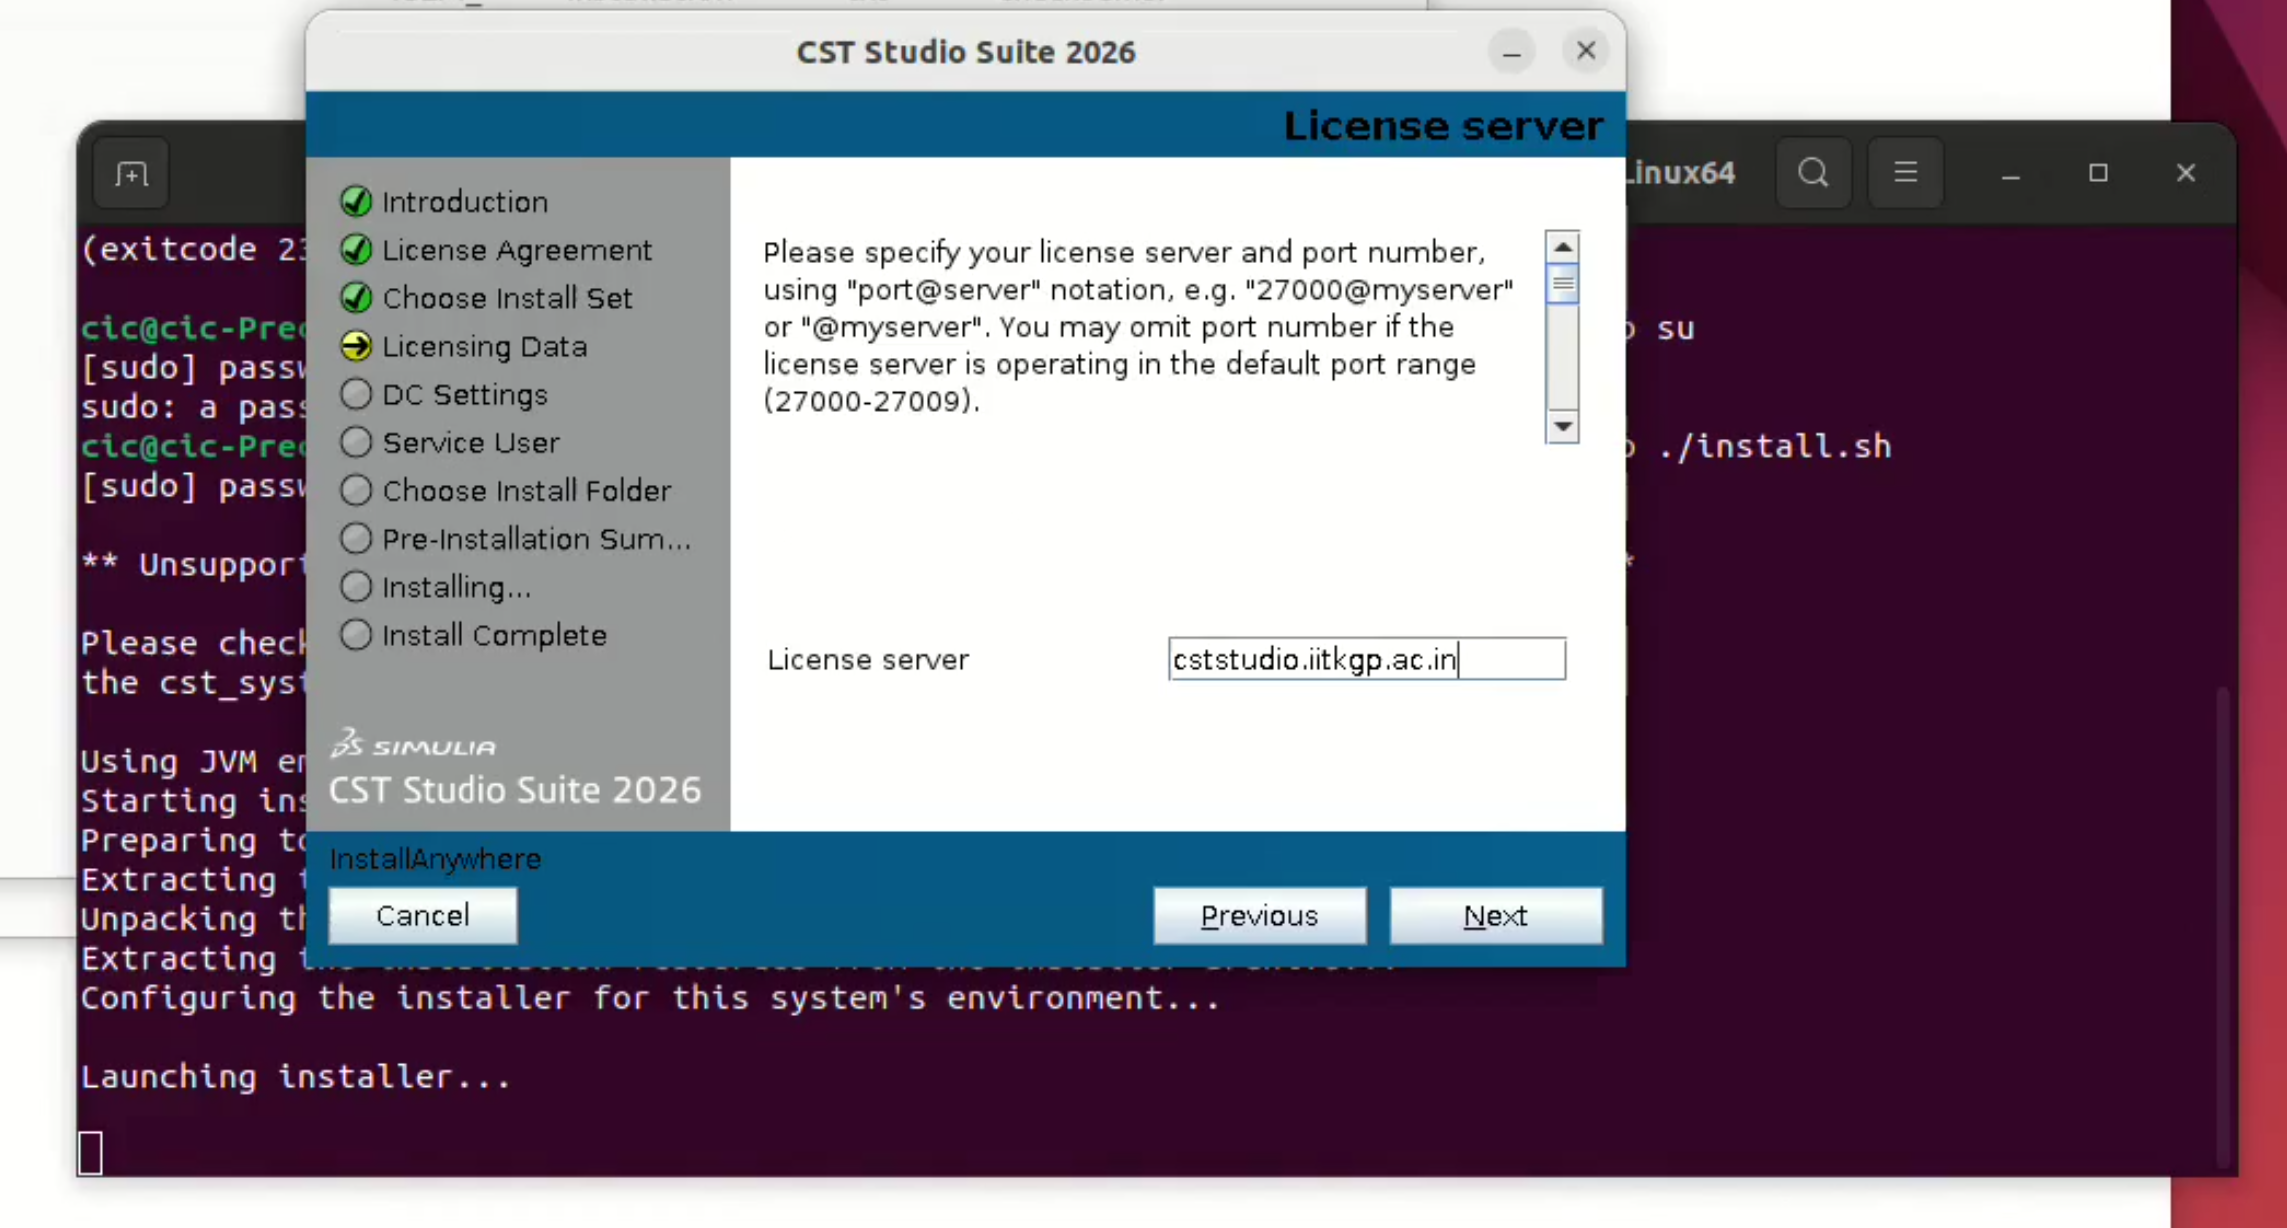
- Enter the CST license server name:
cststudio.iitkgp.ac.in
If a port-based format is required, enter it in the following format:
27000@cststudio.iitkgp.ac.in
- Click Next.
Installation Folder and Final Installation
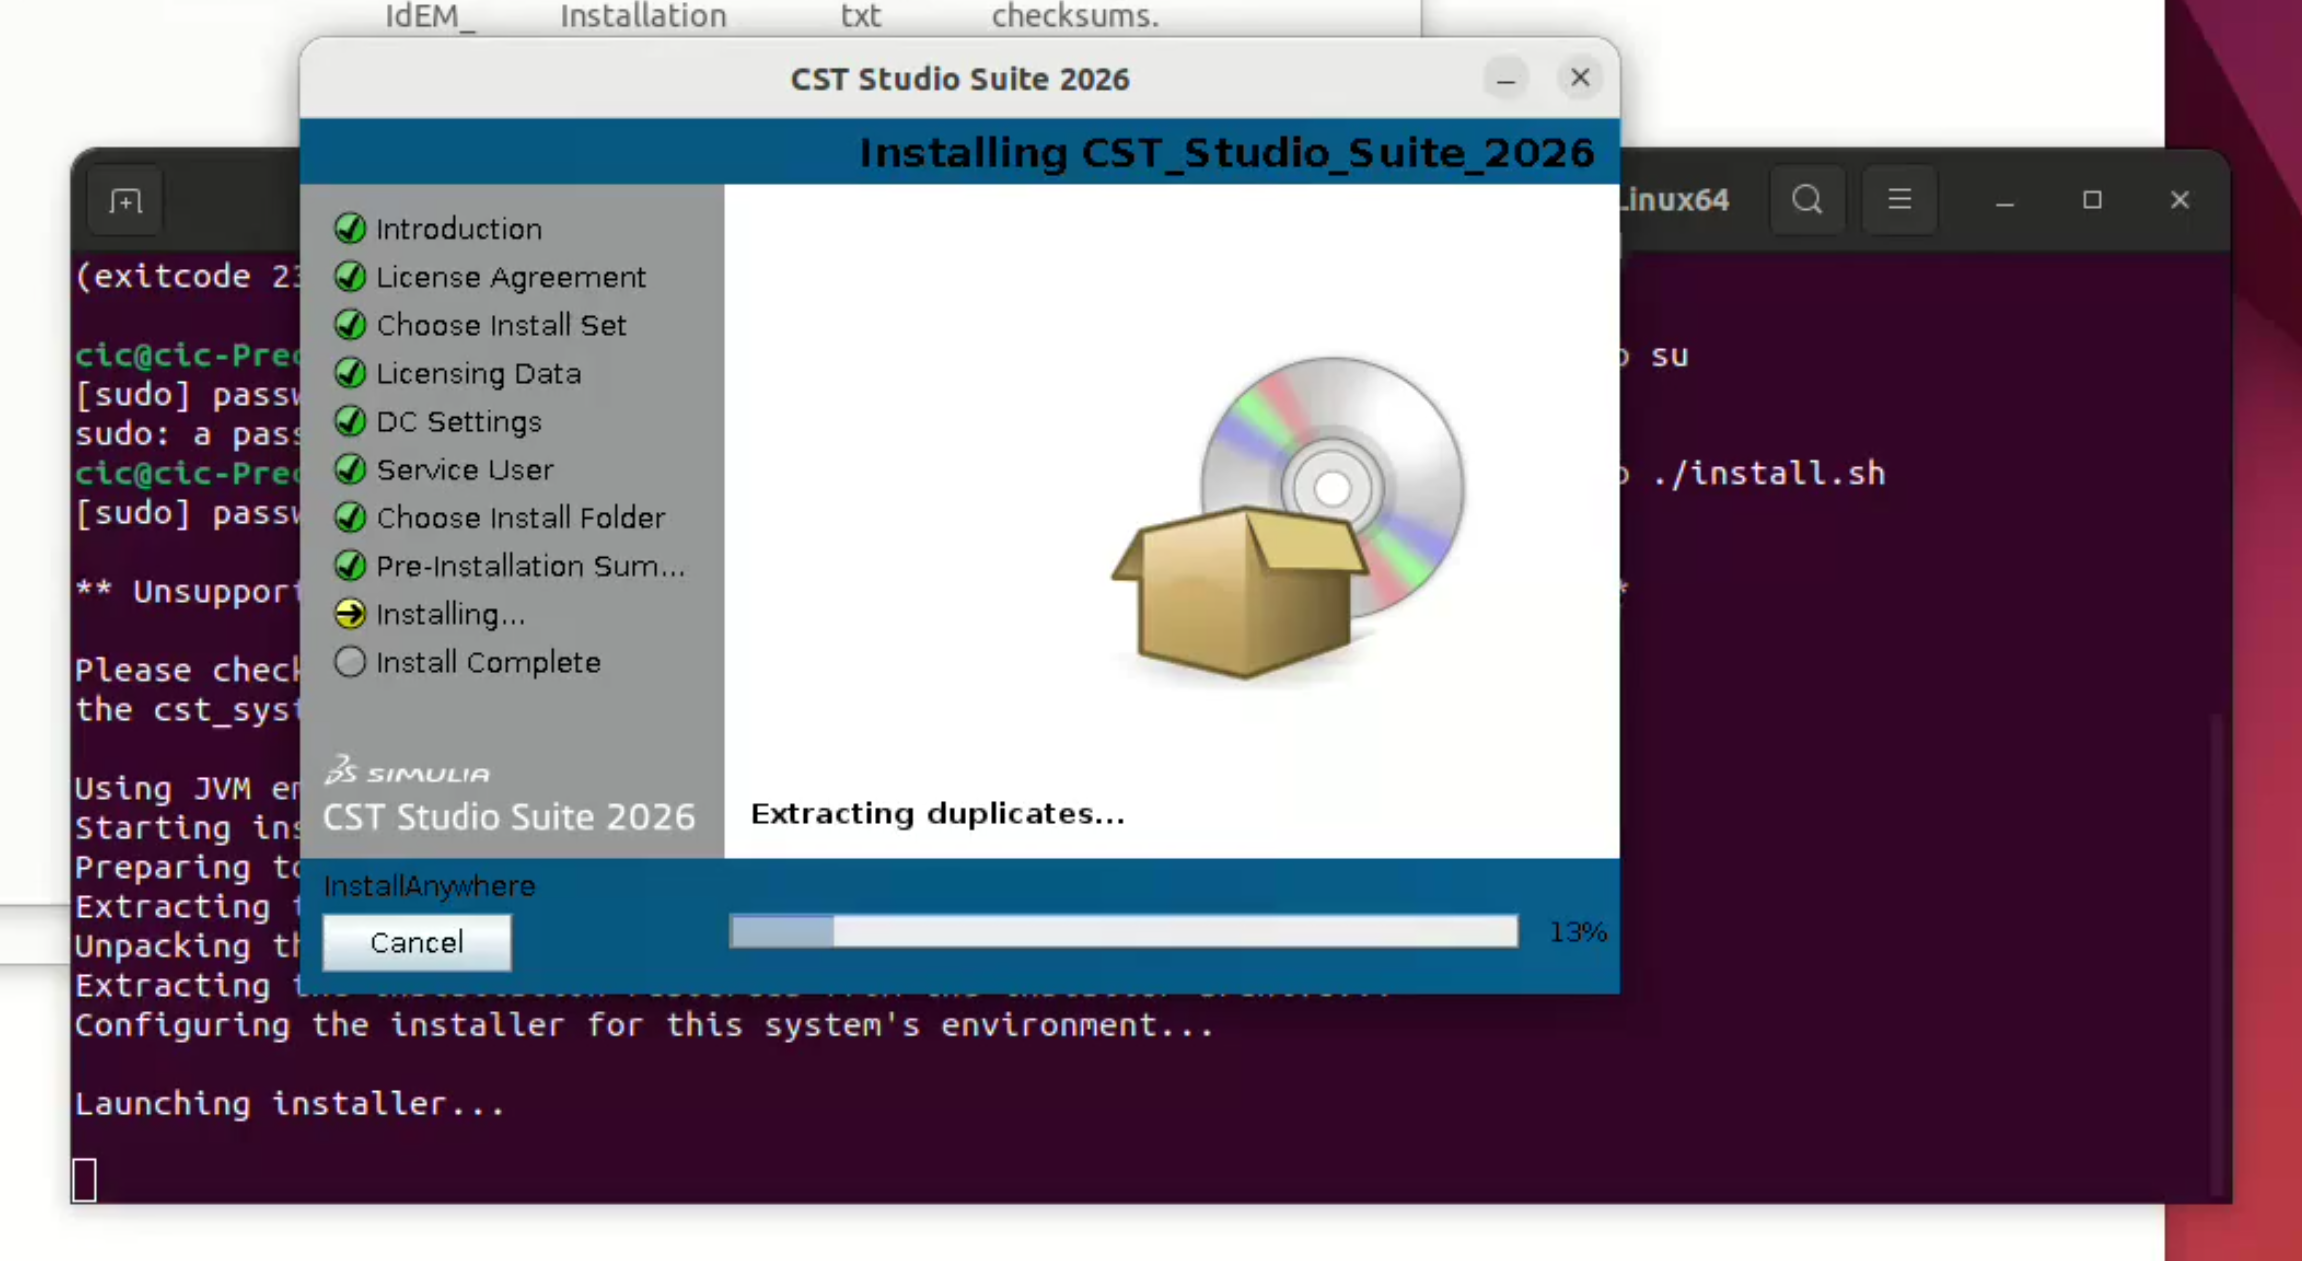
- Continue through the remaining pages such as DC Settings, Service User, Choose Install Folder and Pre-Installation Summary.
- Keep the default settings unless your system administrator has provided different values.
- The default installation path used in this guide is:
/opt/cst/CST_Studio_Suite_2026
- Click Install and wait until the installation is completed.
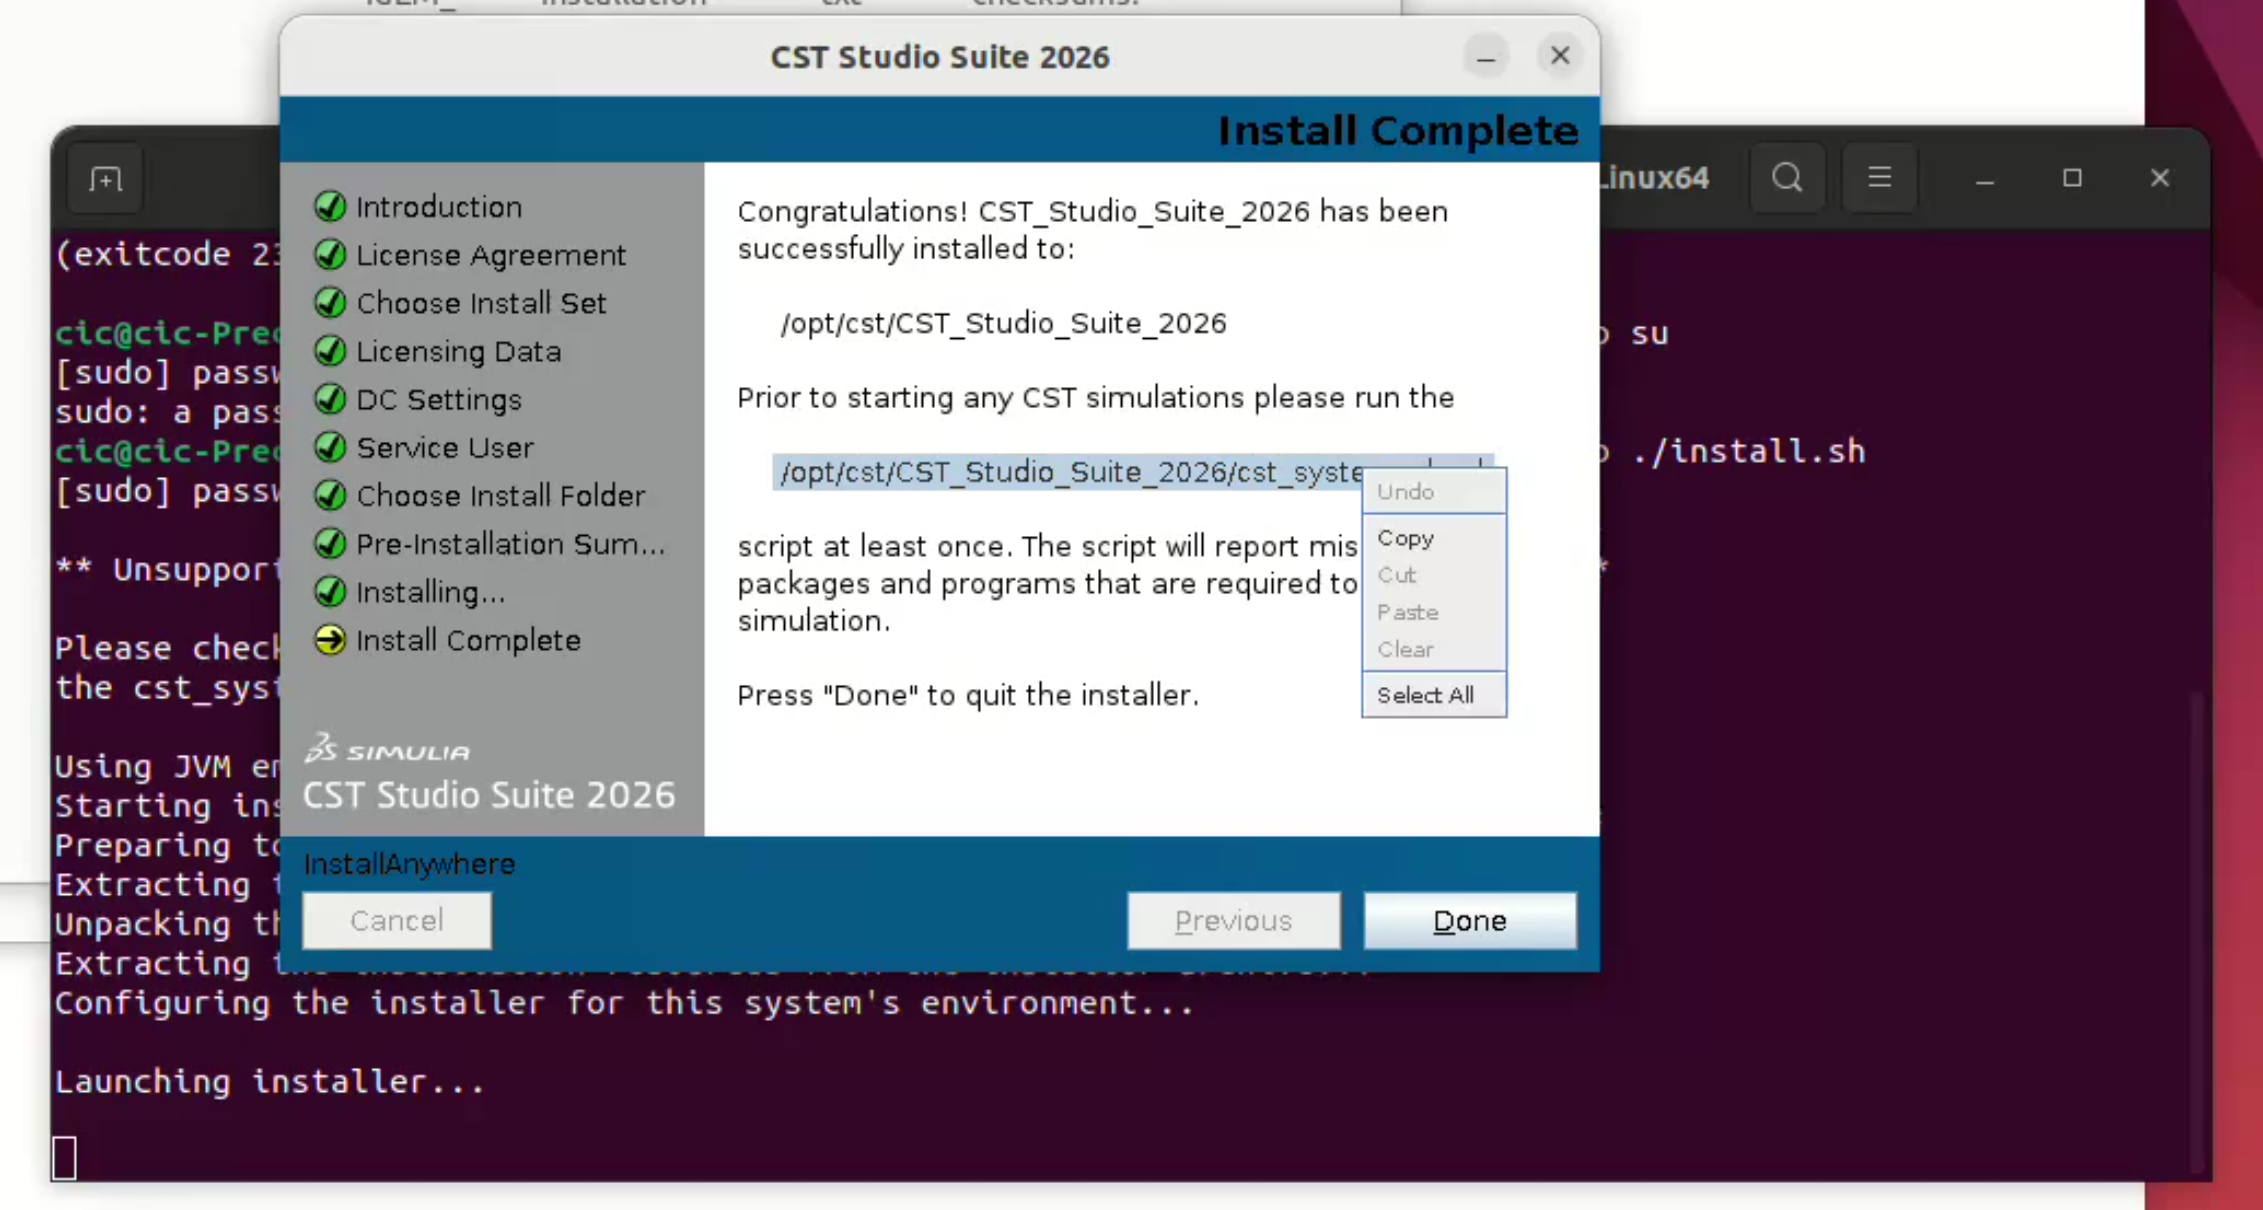
After completion, the installer will show the installation path and the post-installation system check command. Click Done.
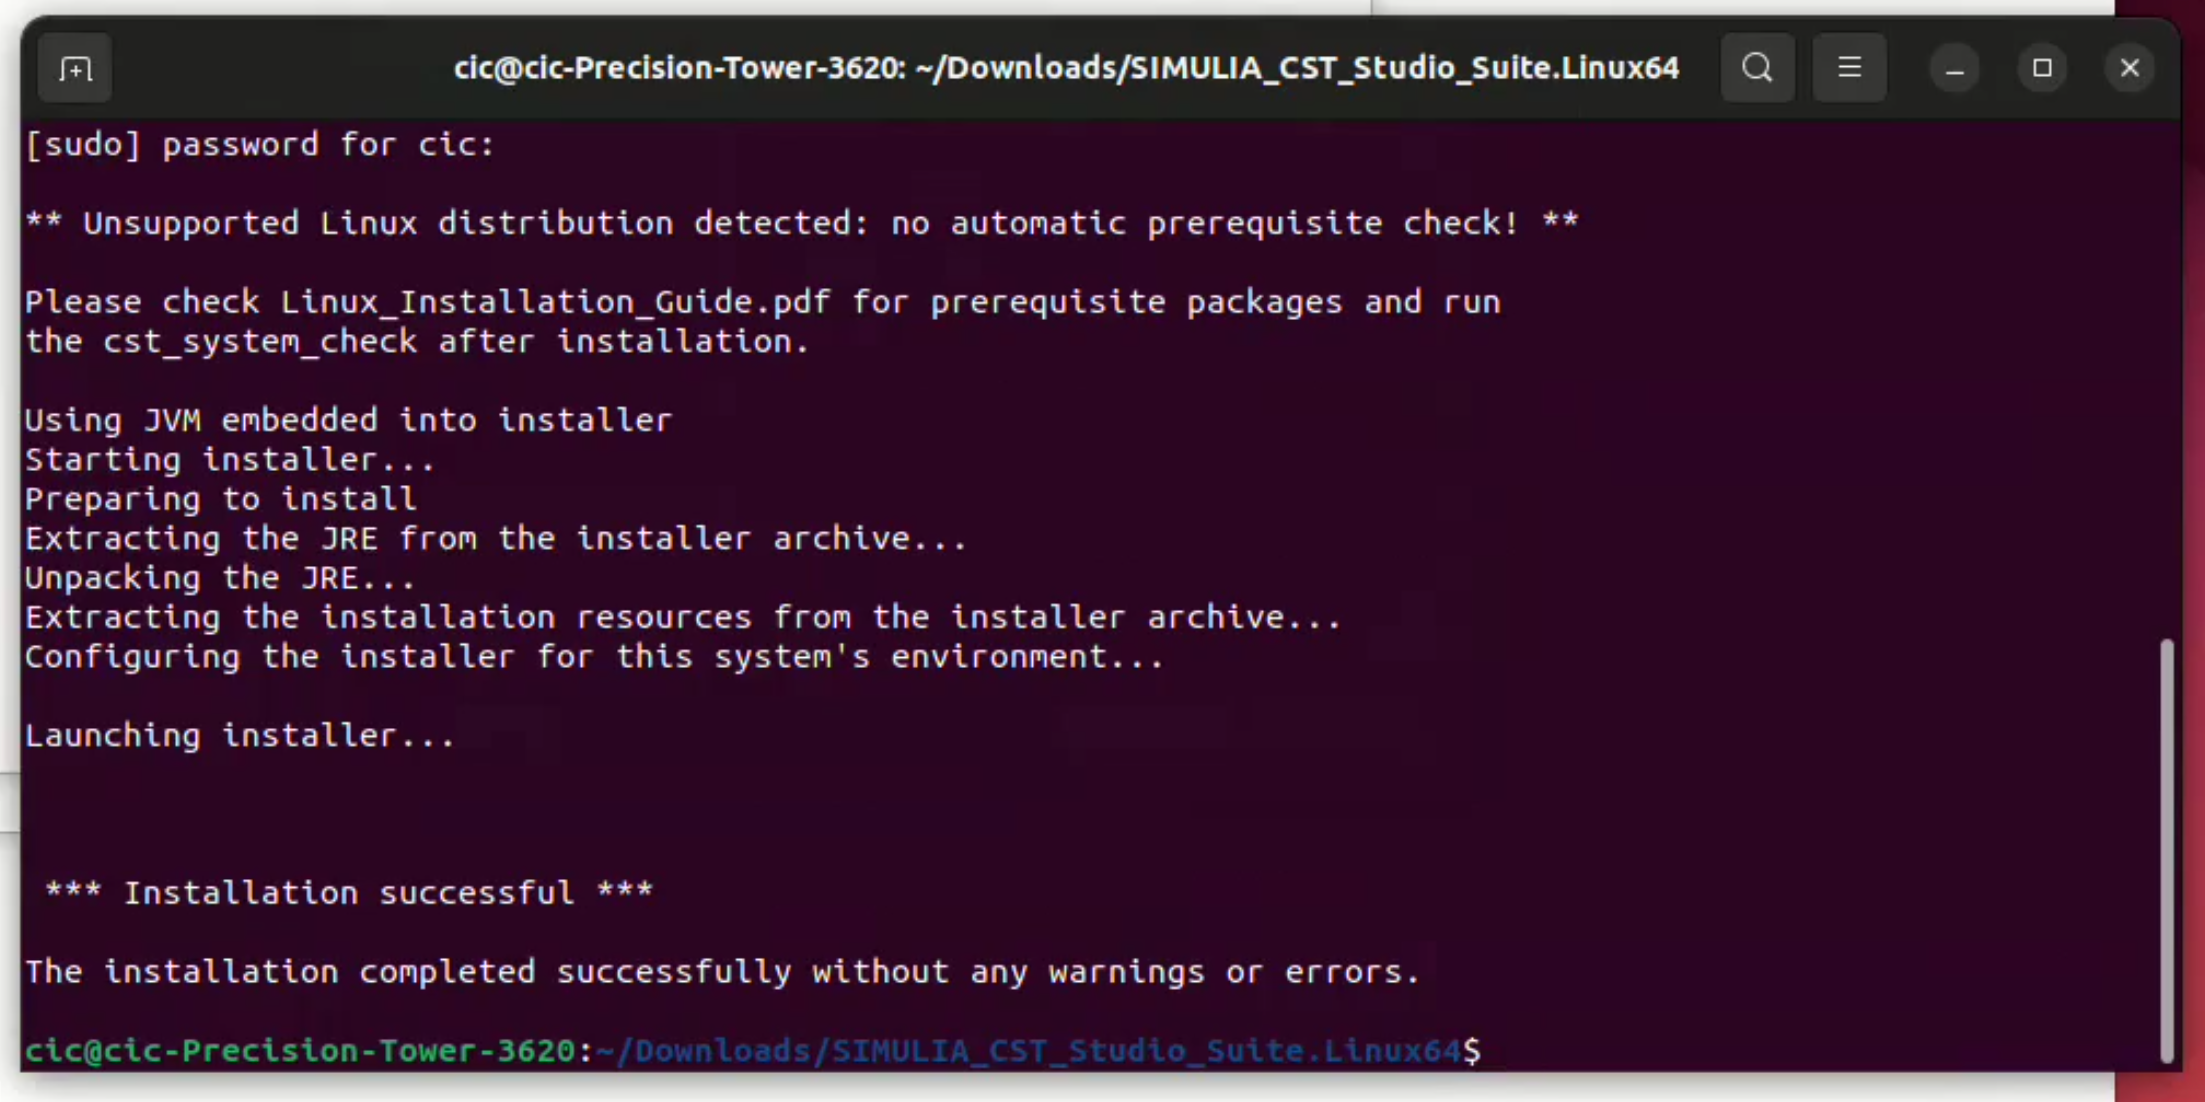
The terminal should show that the installation completed successfully.
Run CST System Check
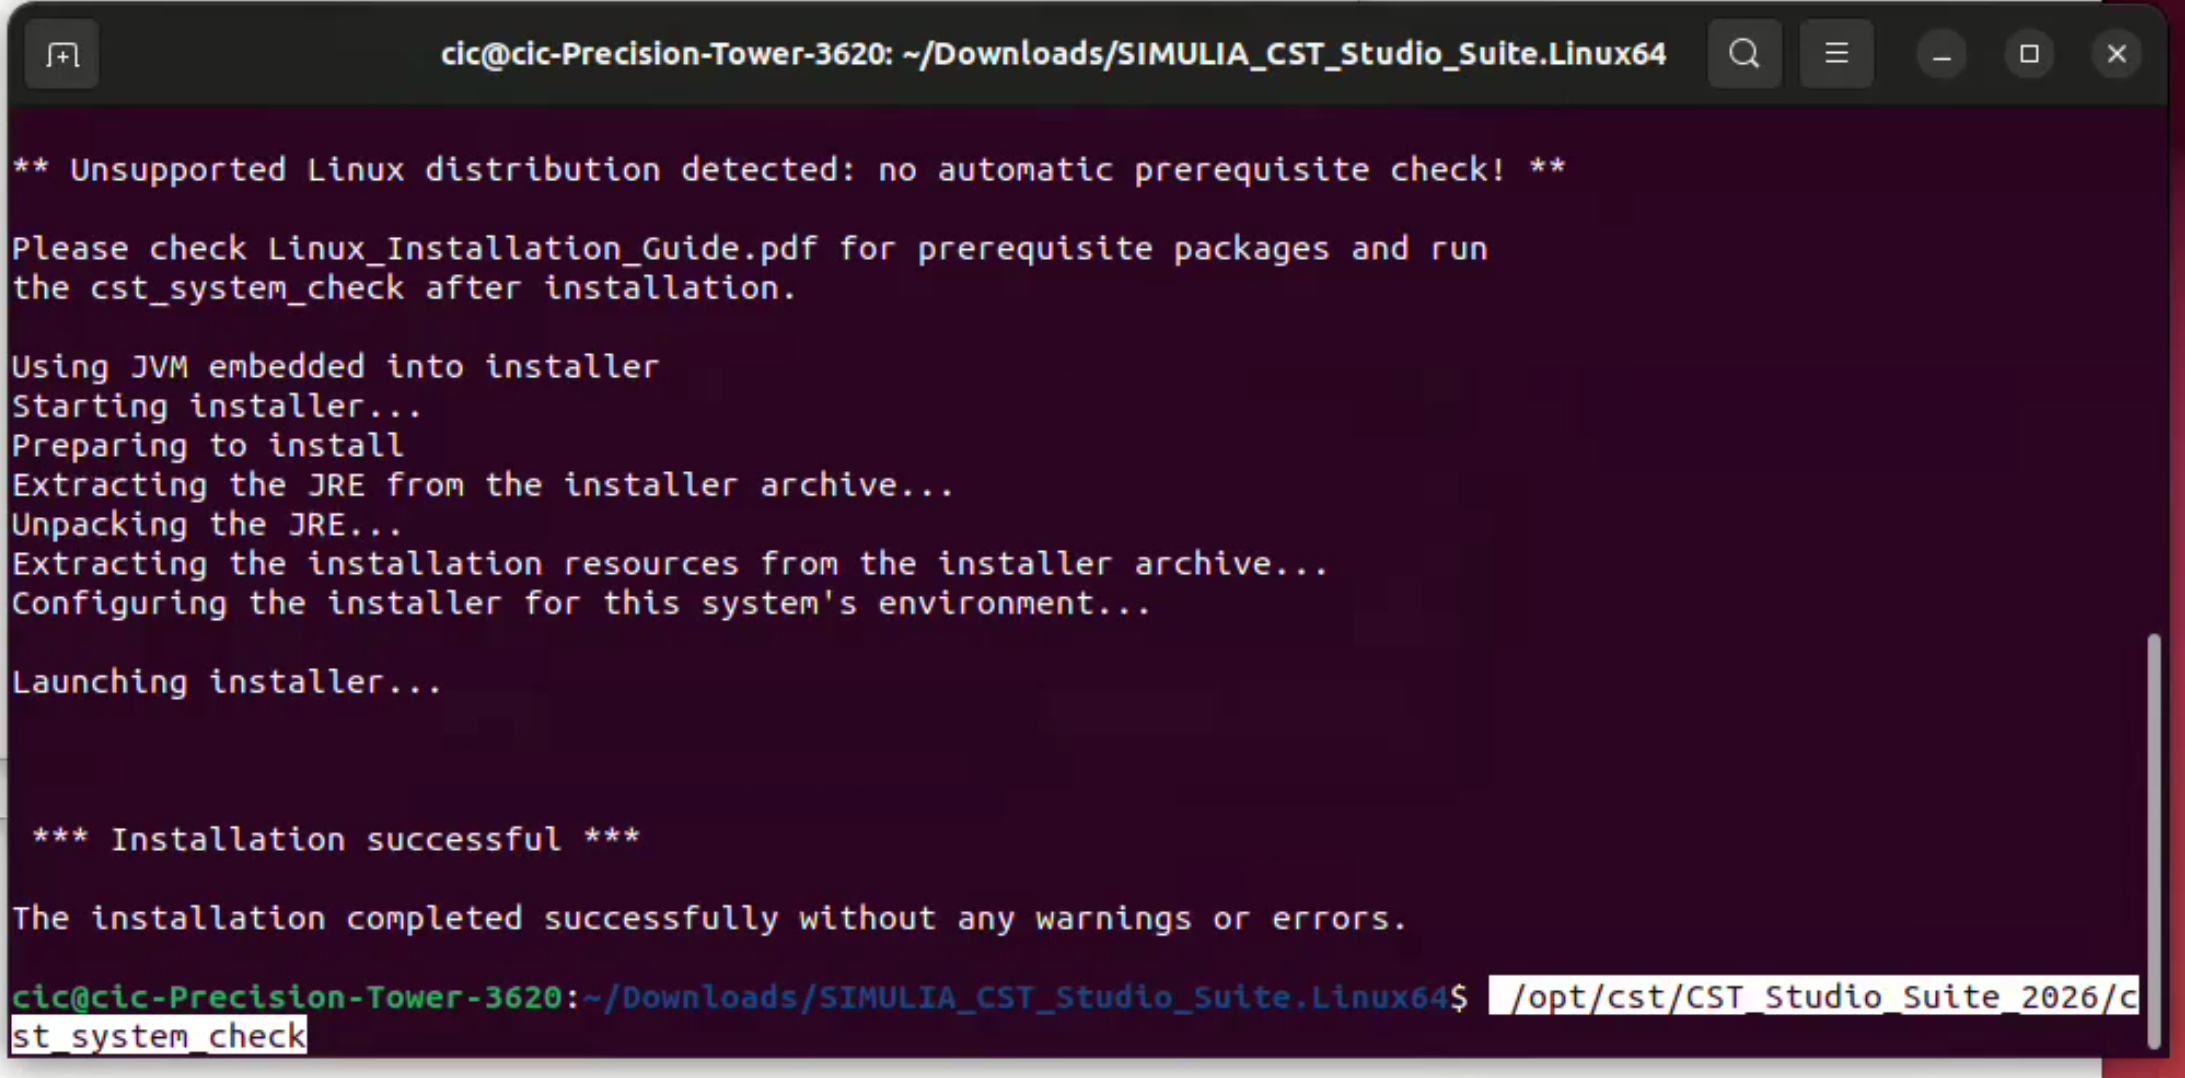
- After installation, run the CST system check command:
sudo /opt/cst/CST_Studio_Suite_2026/cst_system_check
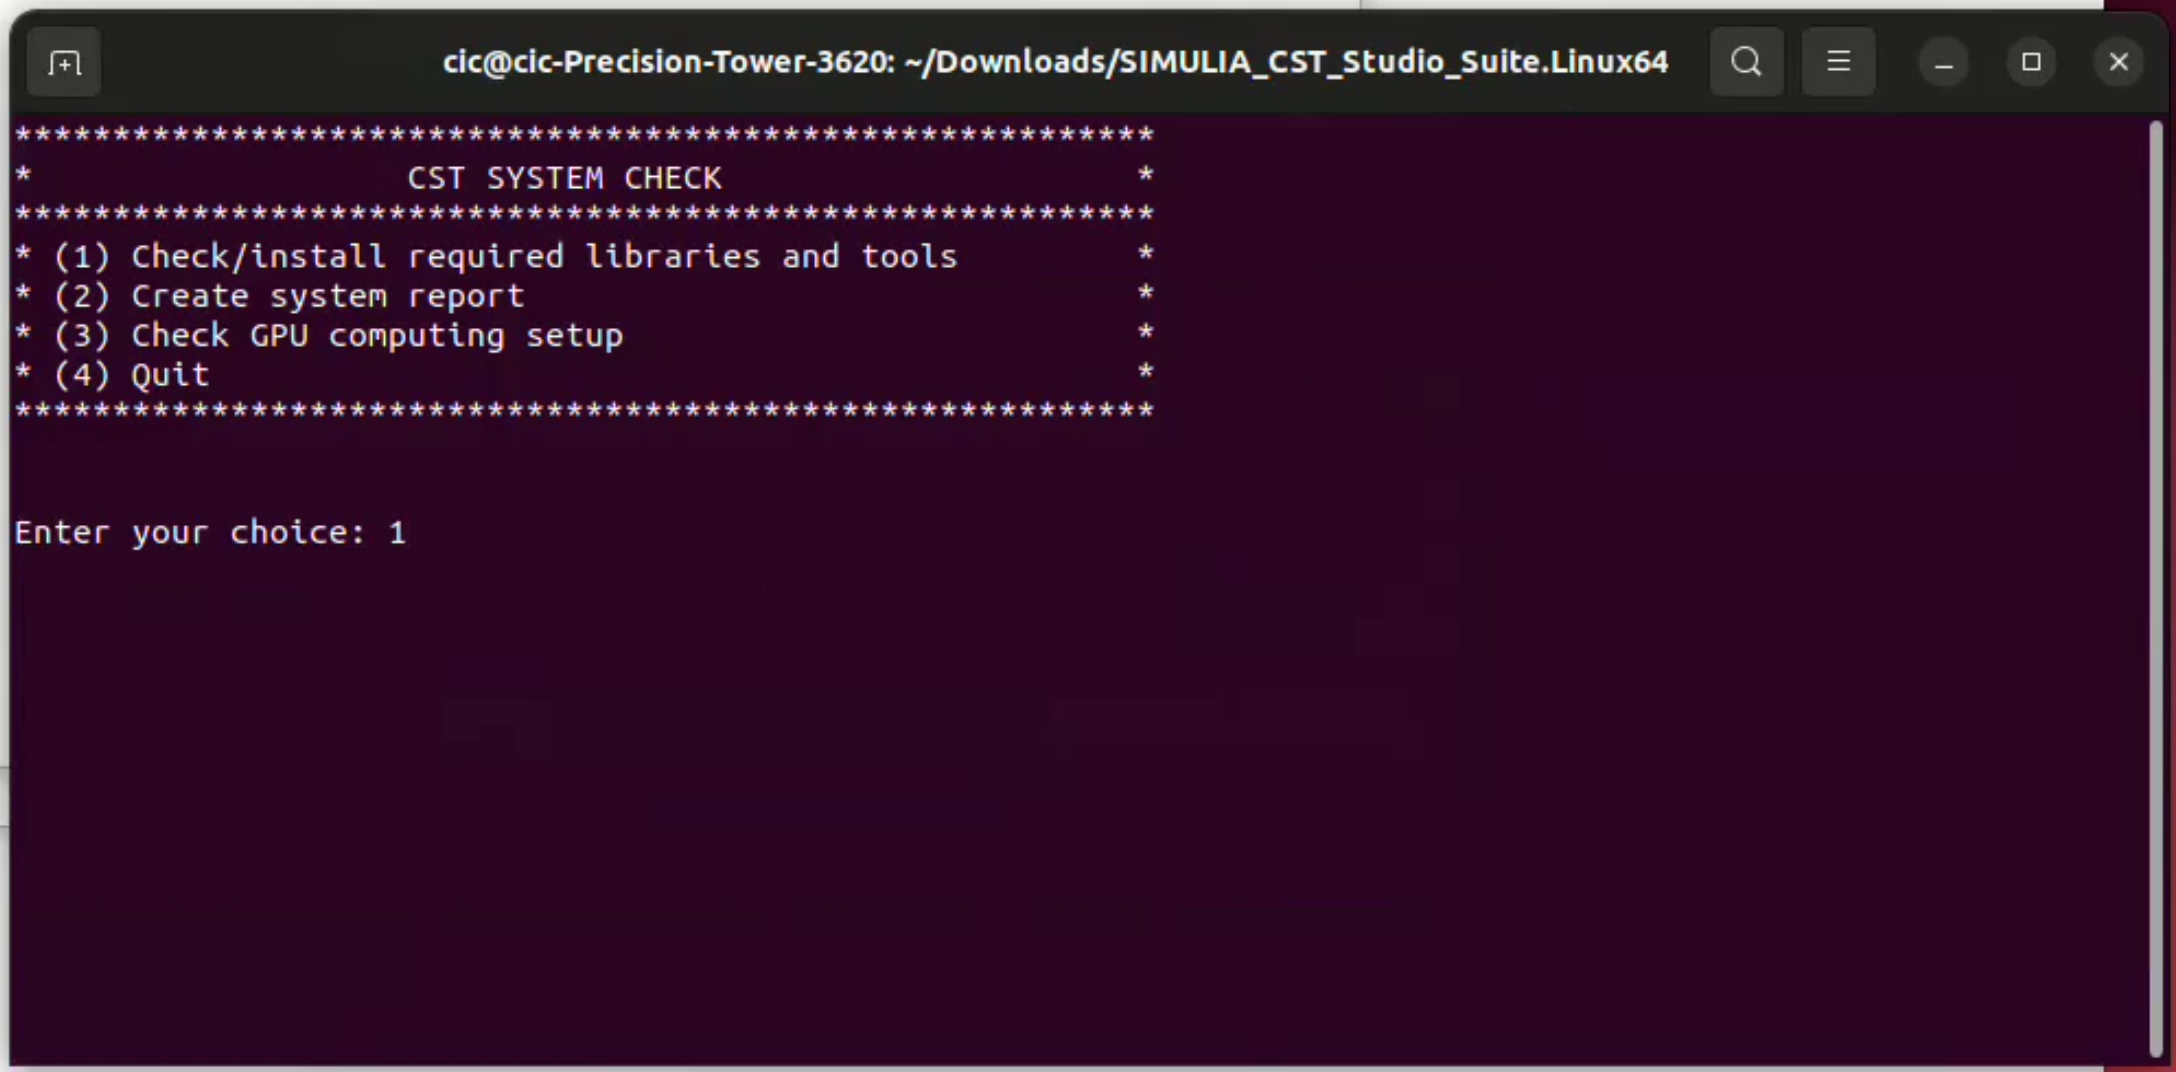
- The CST system check menu will appear.
- Select option 1 to check and install required libraries and tools.
If any required libraries or tools are missing, the system check will display them. In this installation, missing components such as libxcb-cursor.so.0 and Xvfb were detected.
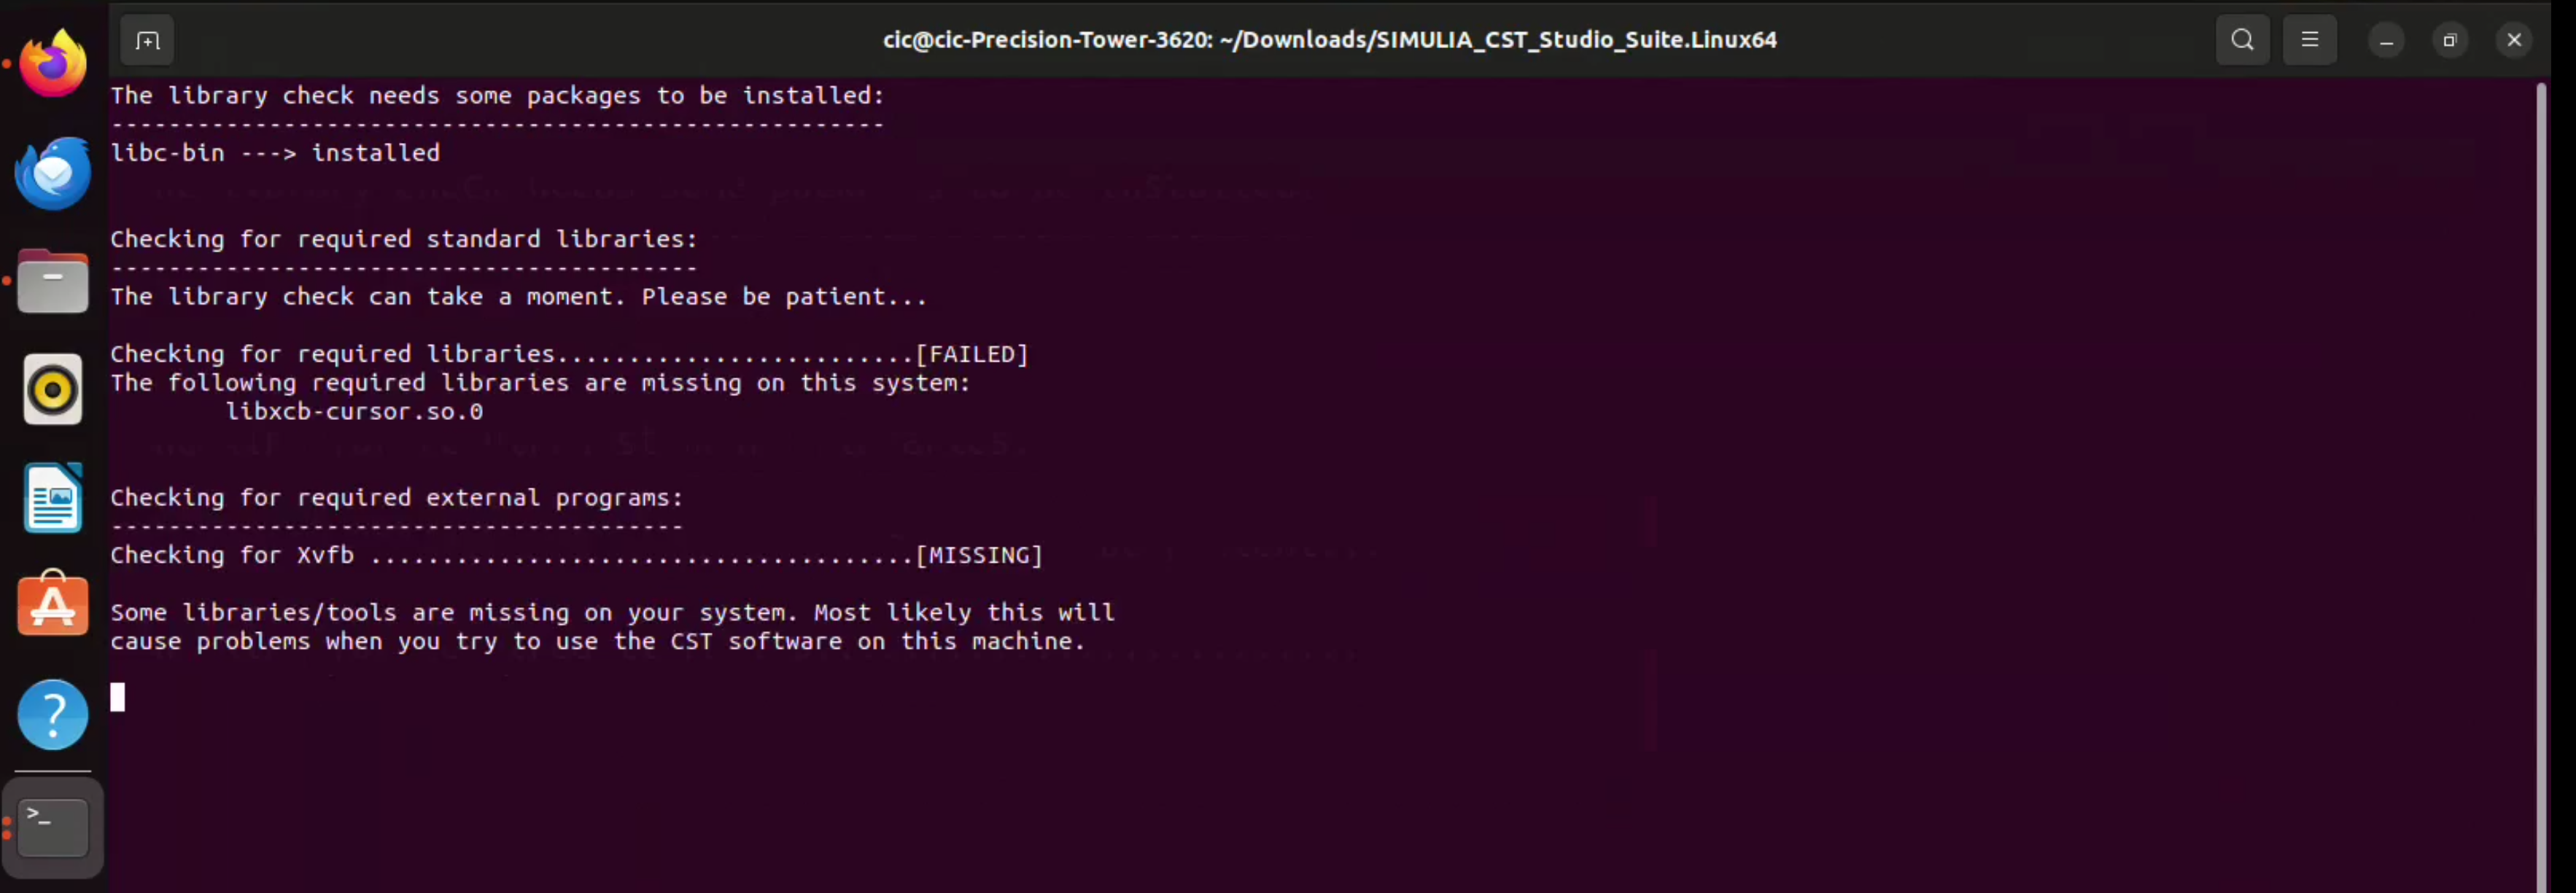
- When prompted, type y to allow the script to install the required dependencies.
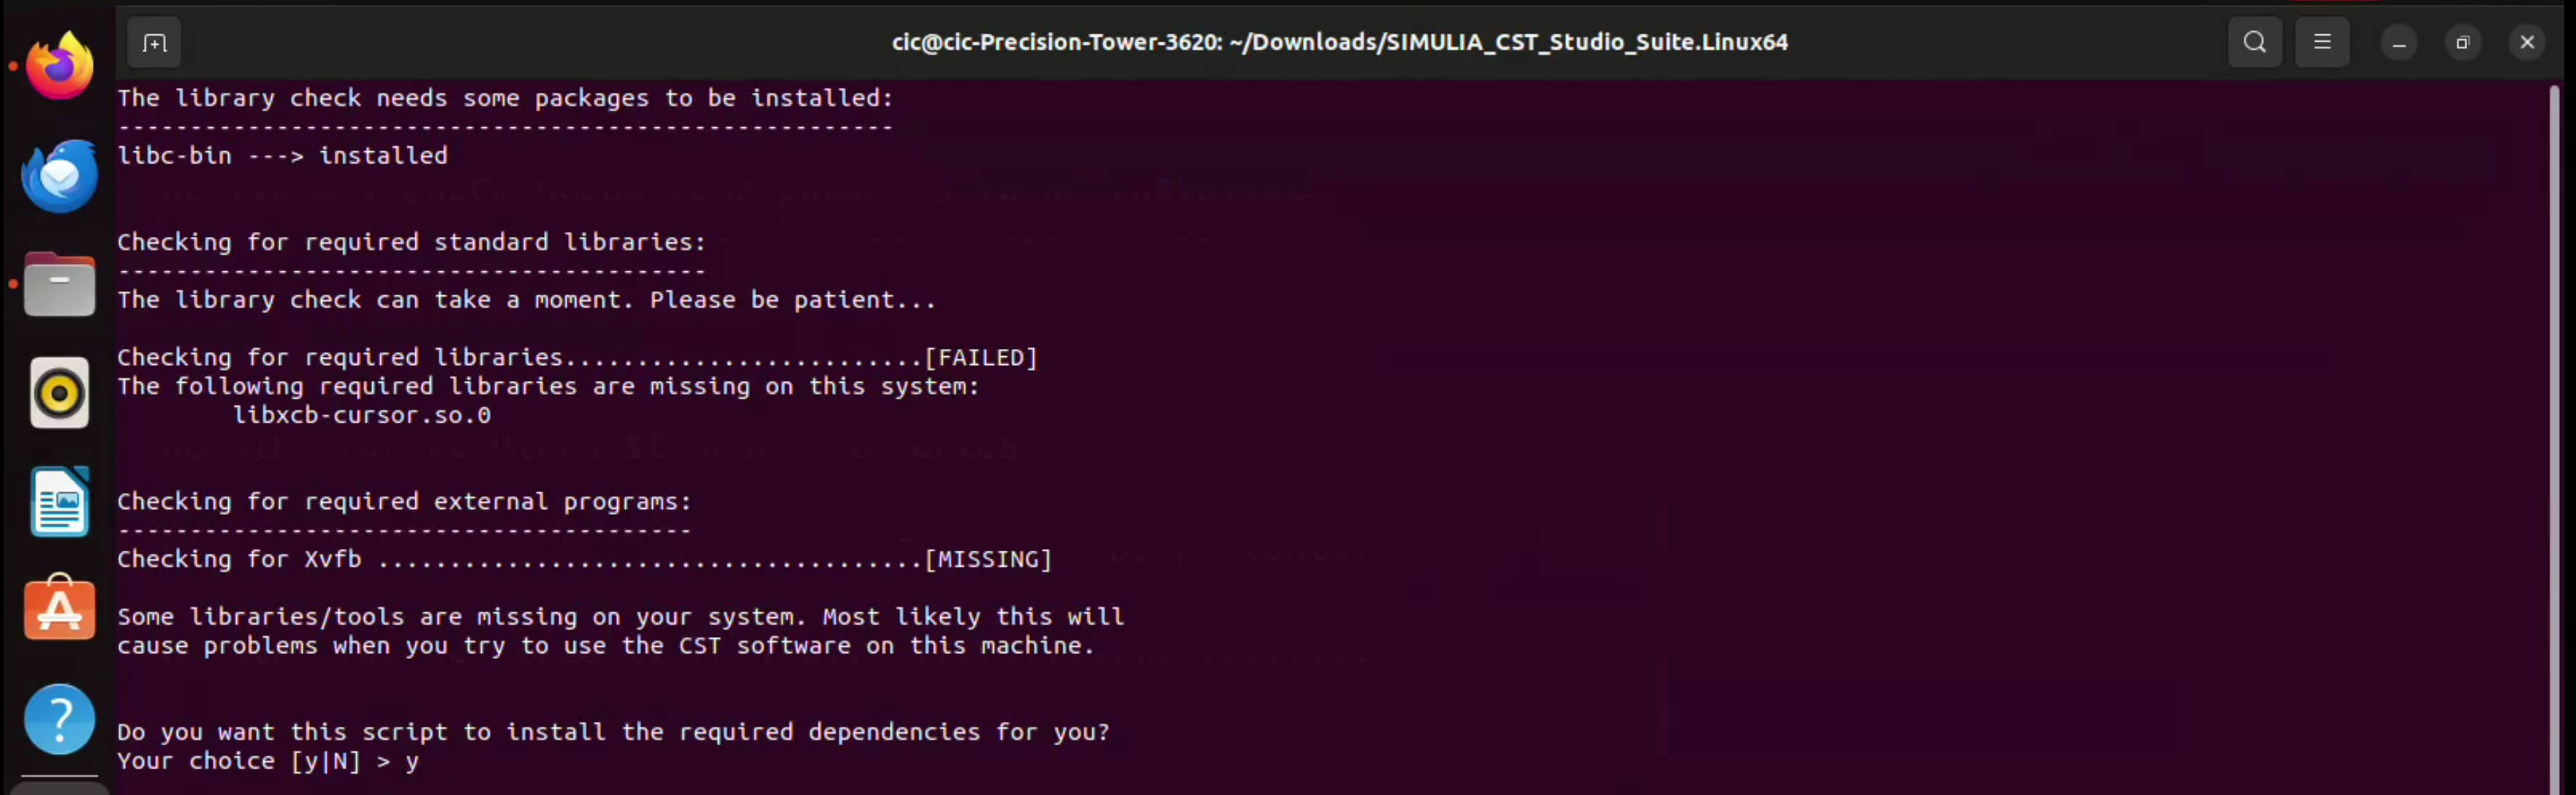
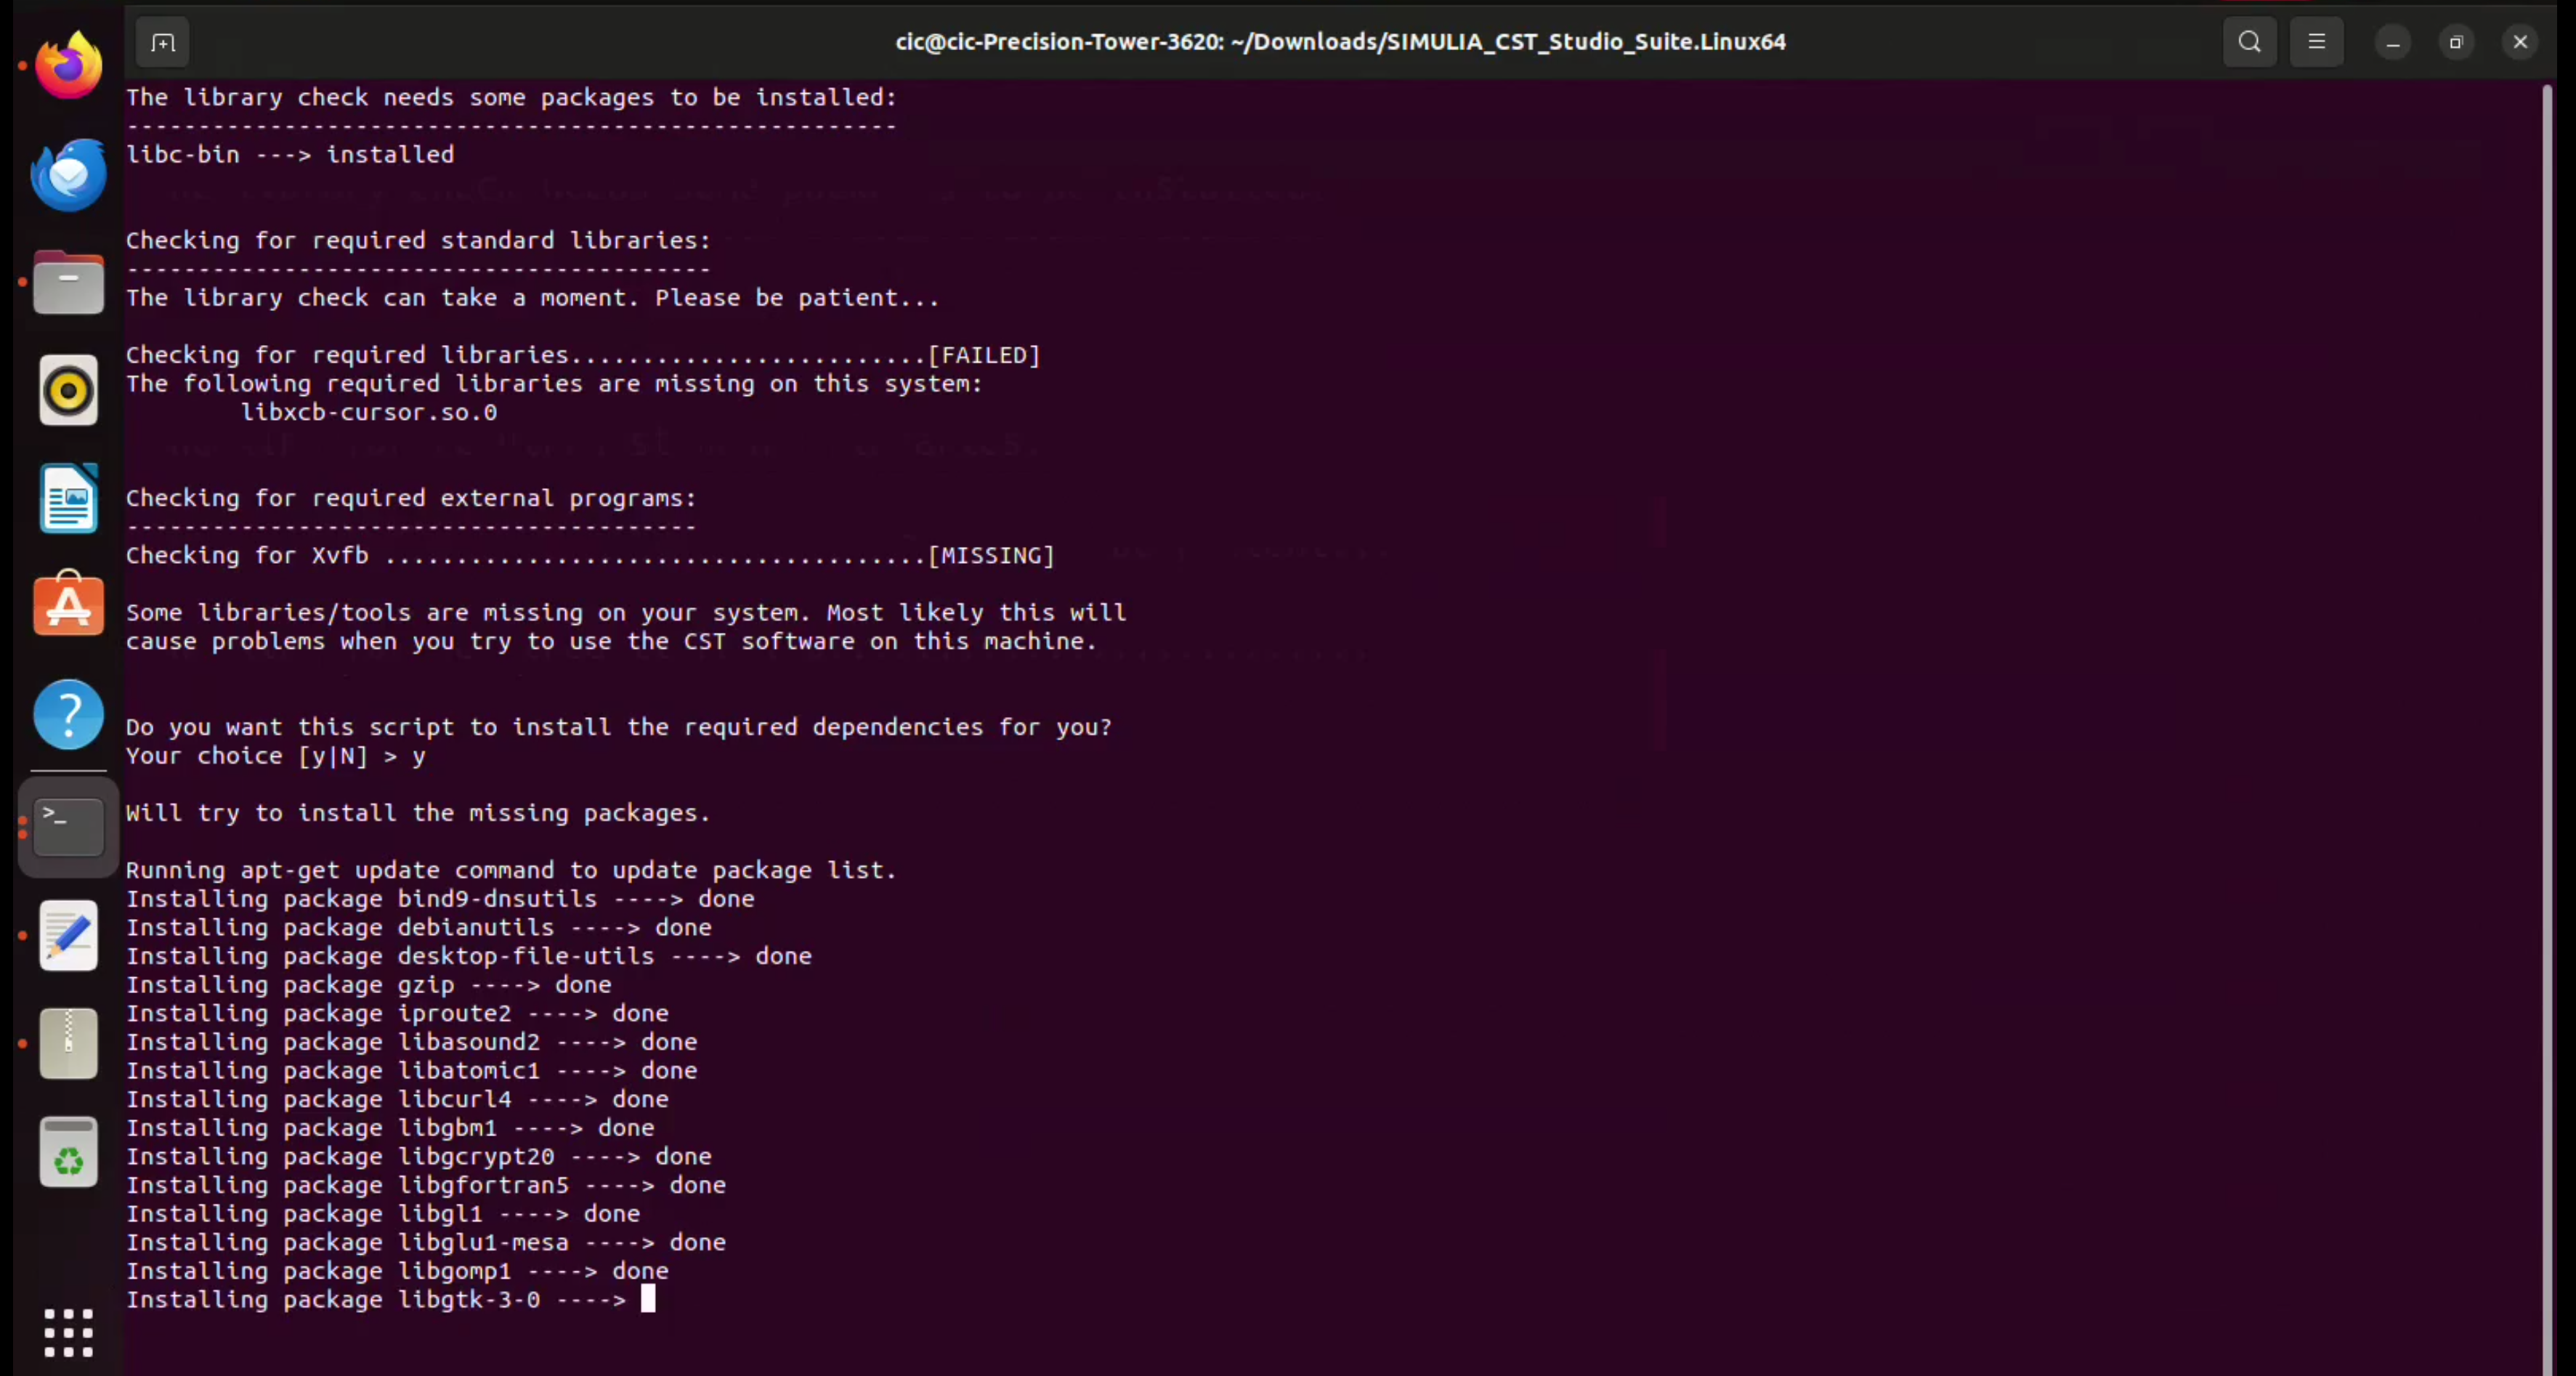
The script will install the missing packages through the package manager. Wait until the installation is completed.
Launch CST Studio Suite 2026
- Open the Ubuntu application launcher.
- Search for CST.
- Select CST Studio Suite 2026.
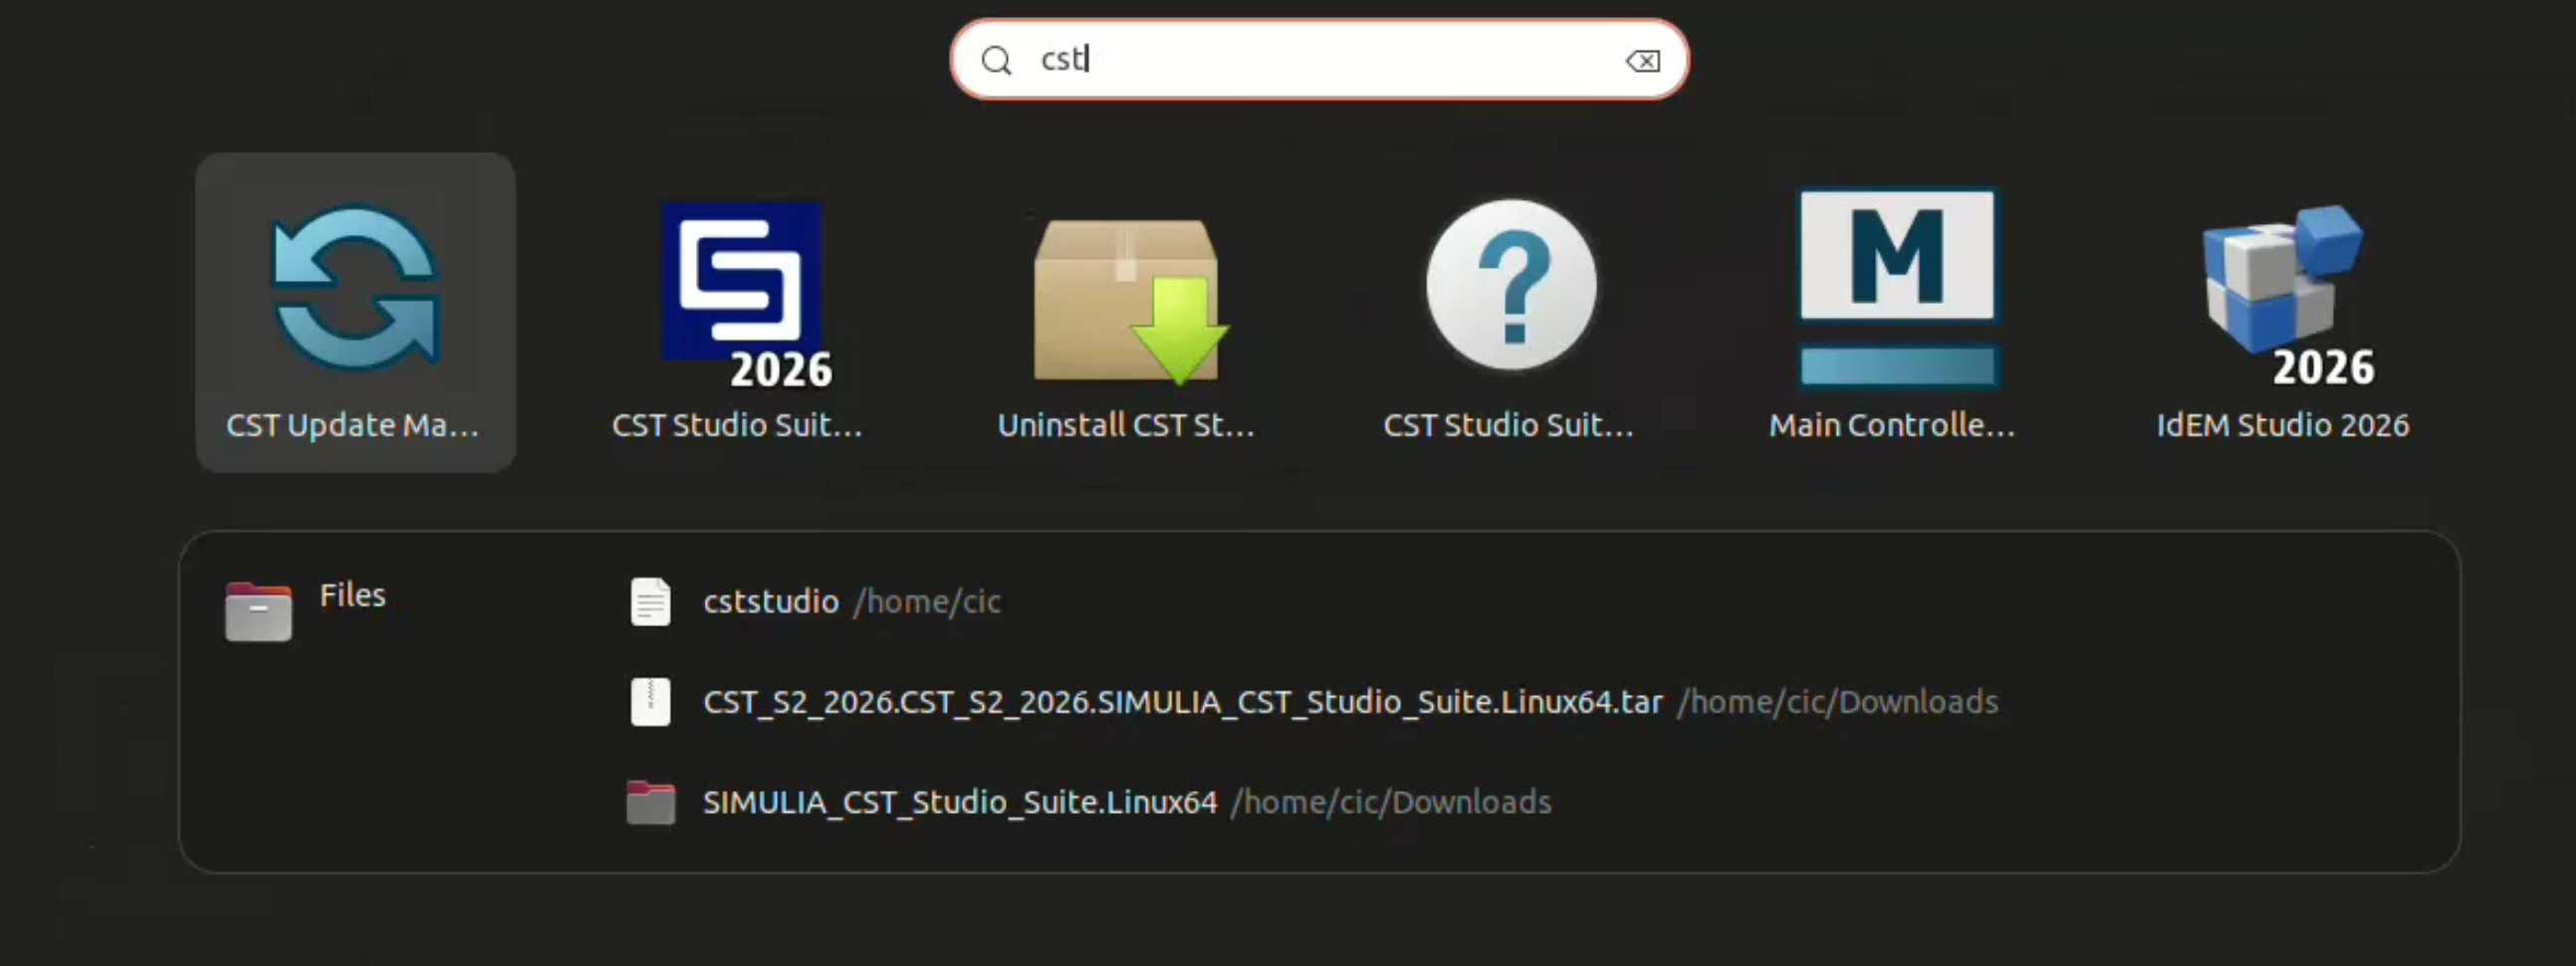
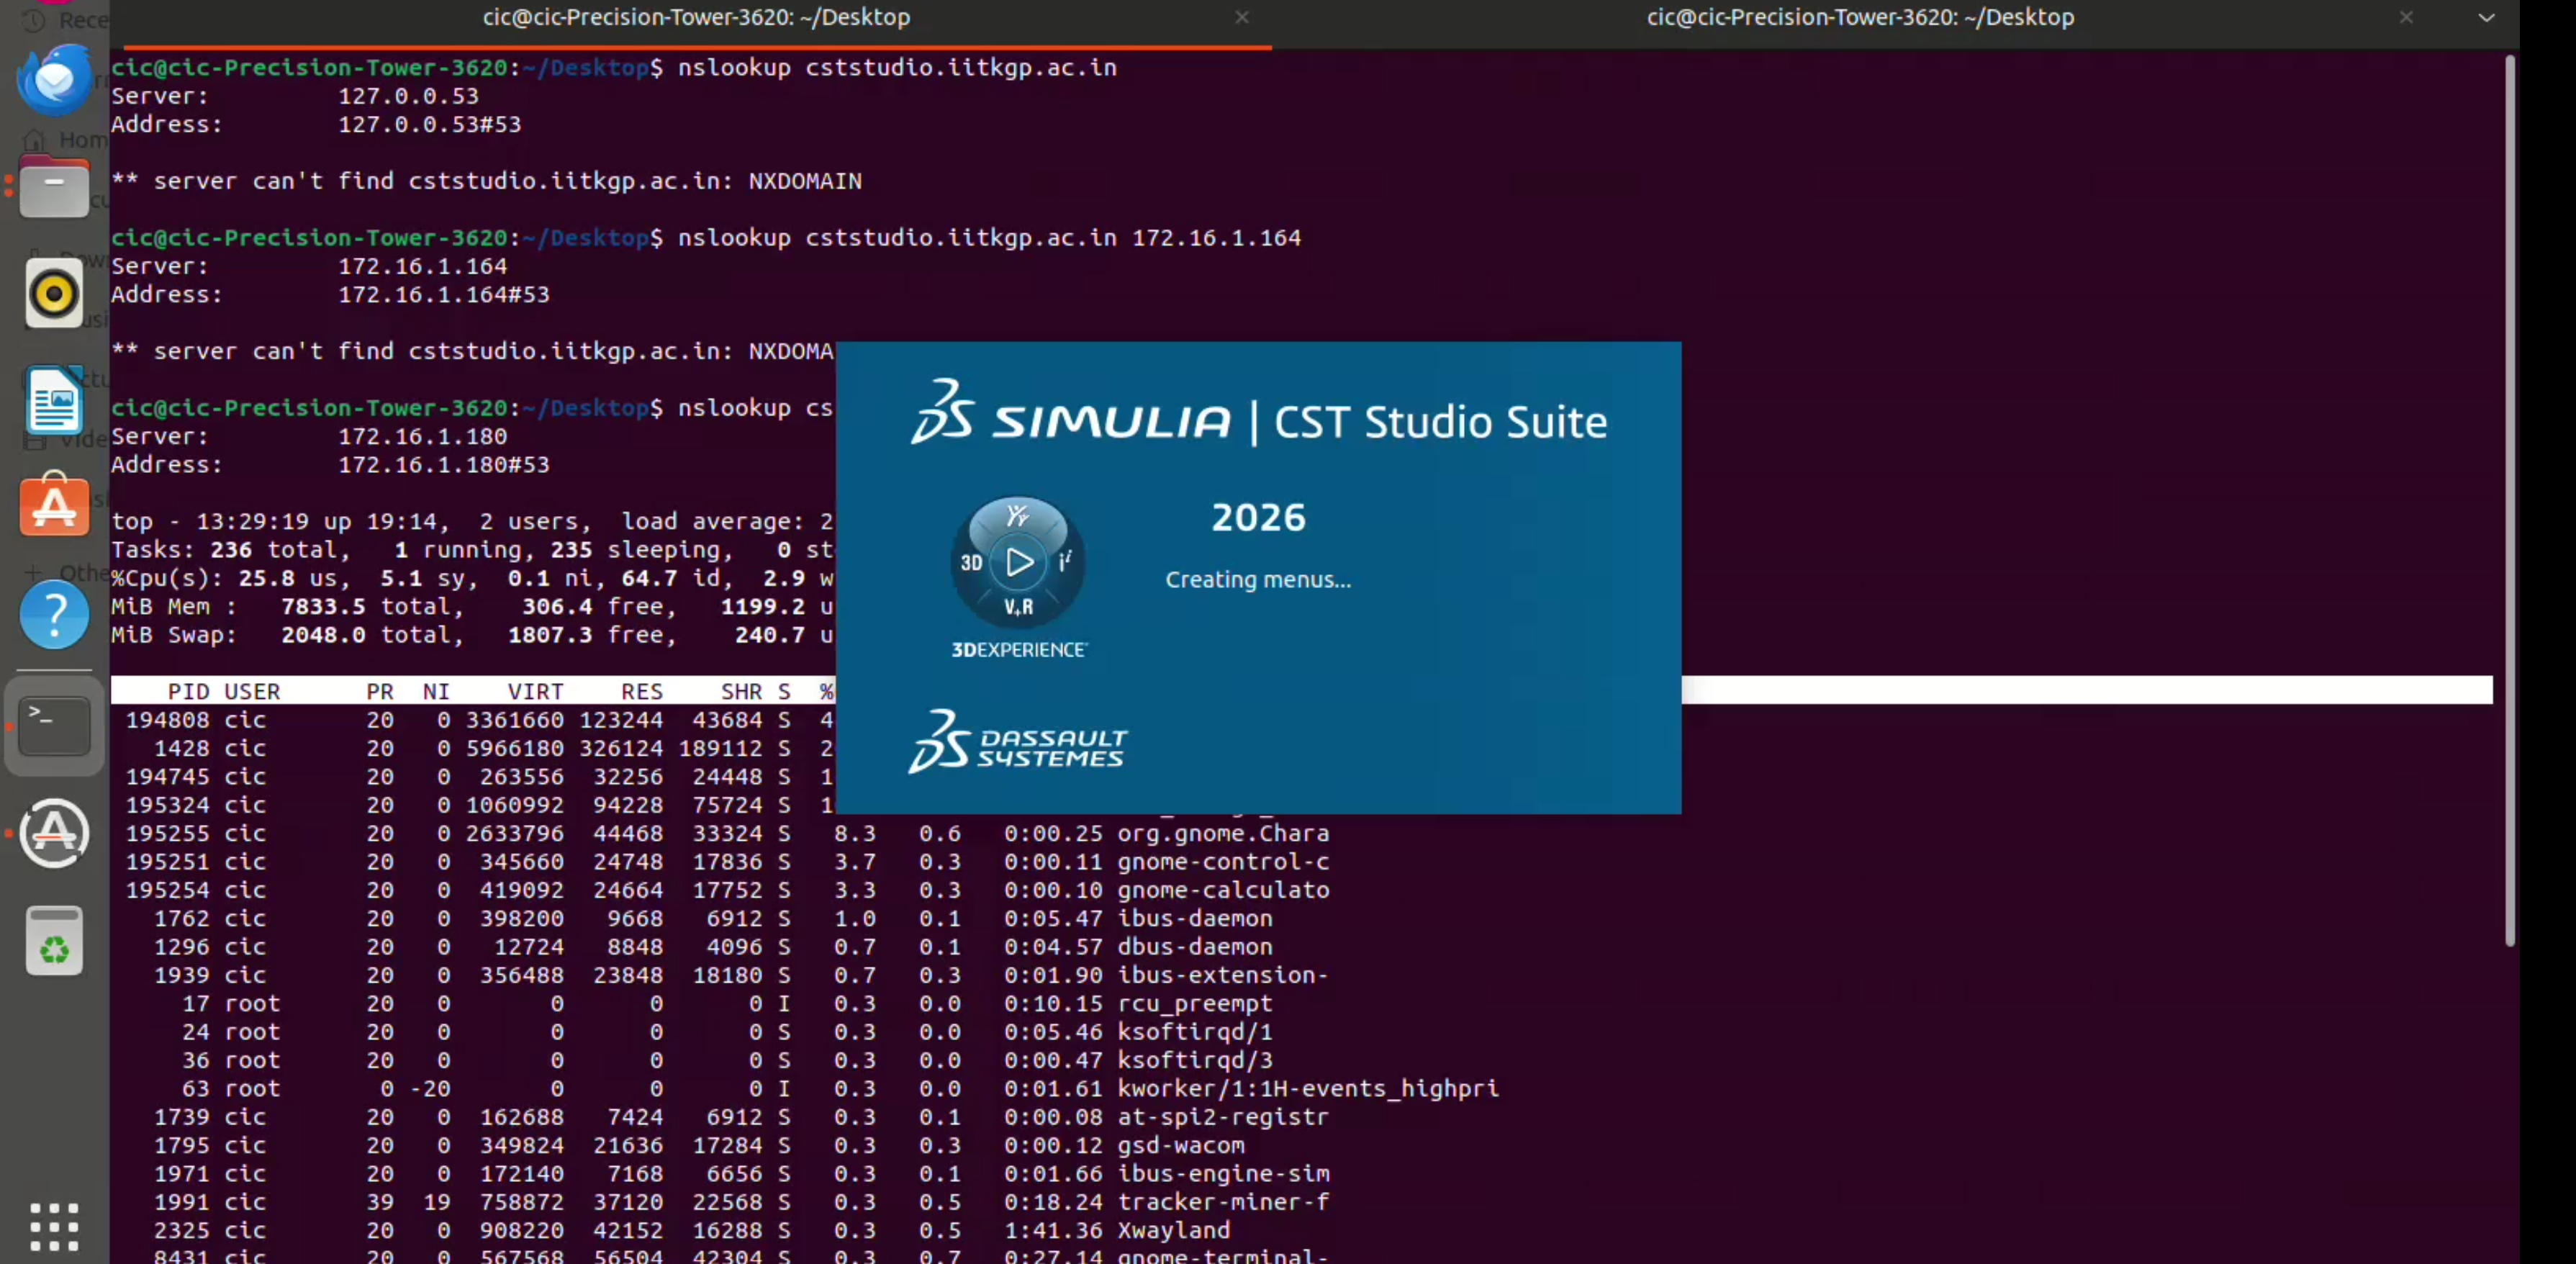
CST Studio Suite 2026 will start and show the splash screen while loading the modules.
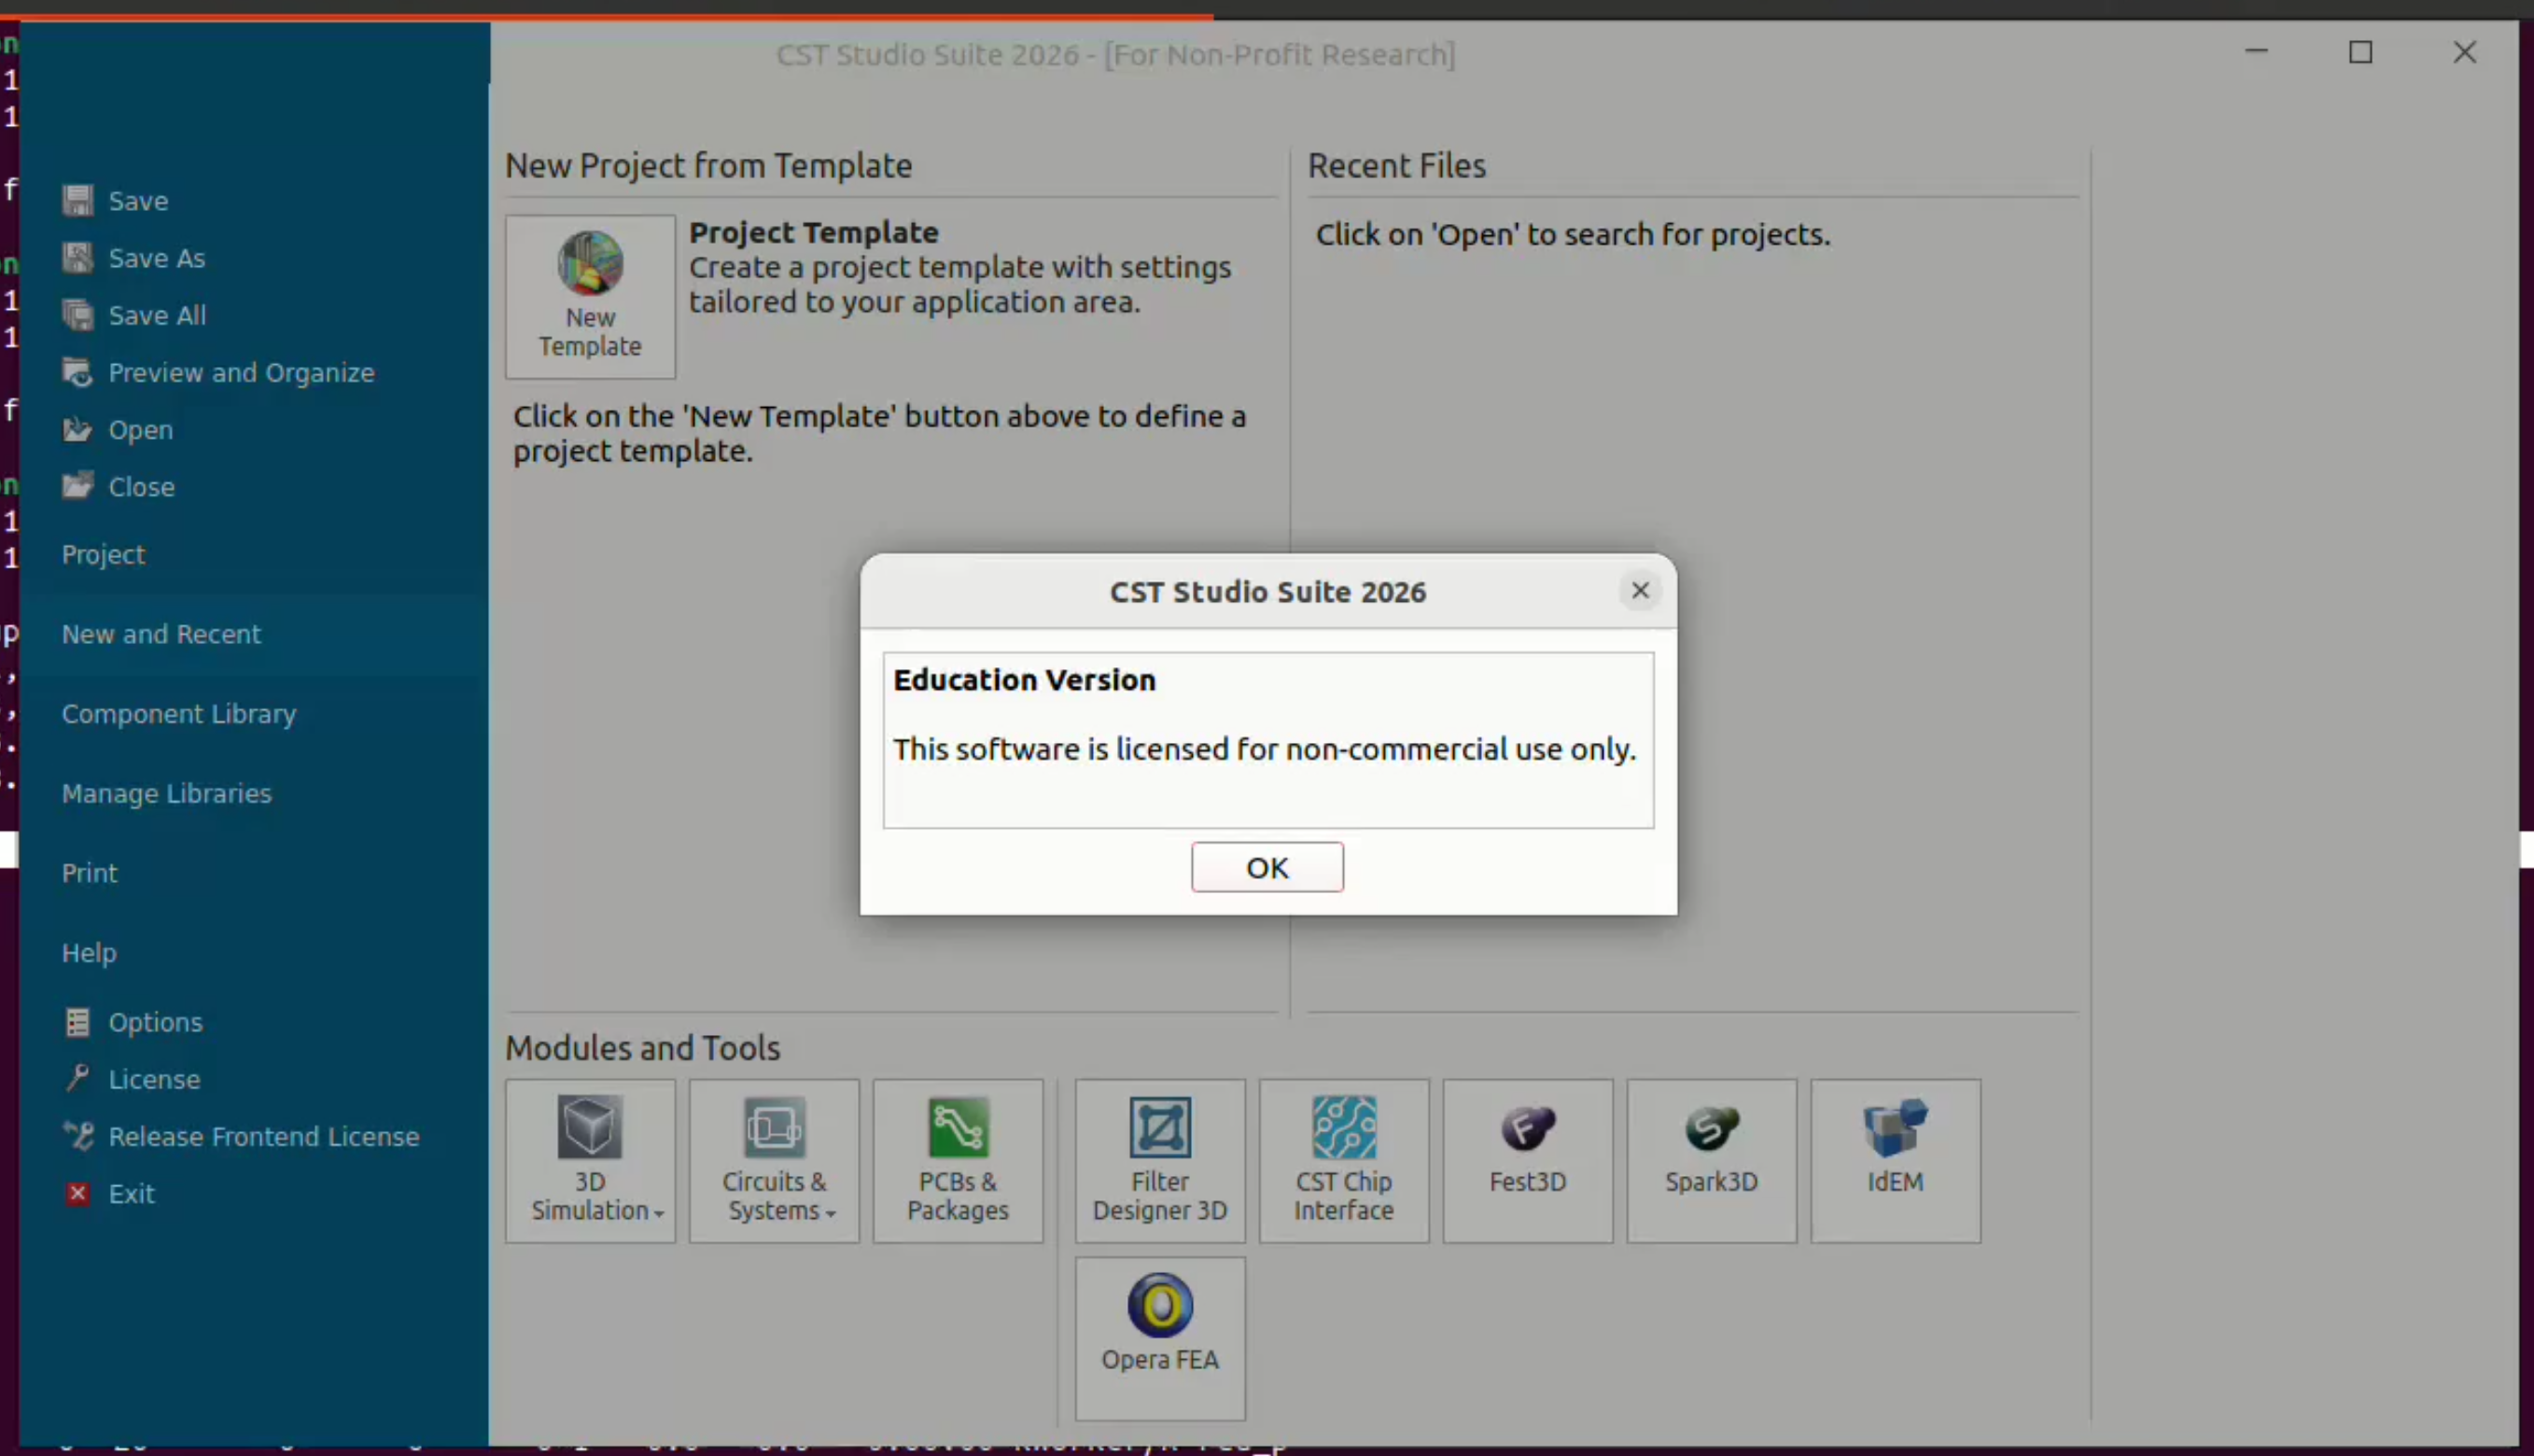
On first launch, an Education Version dialog may appear. This indicates that the software is licensed for non-commercial educational use. Click OK.
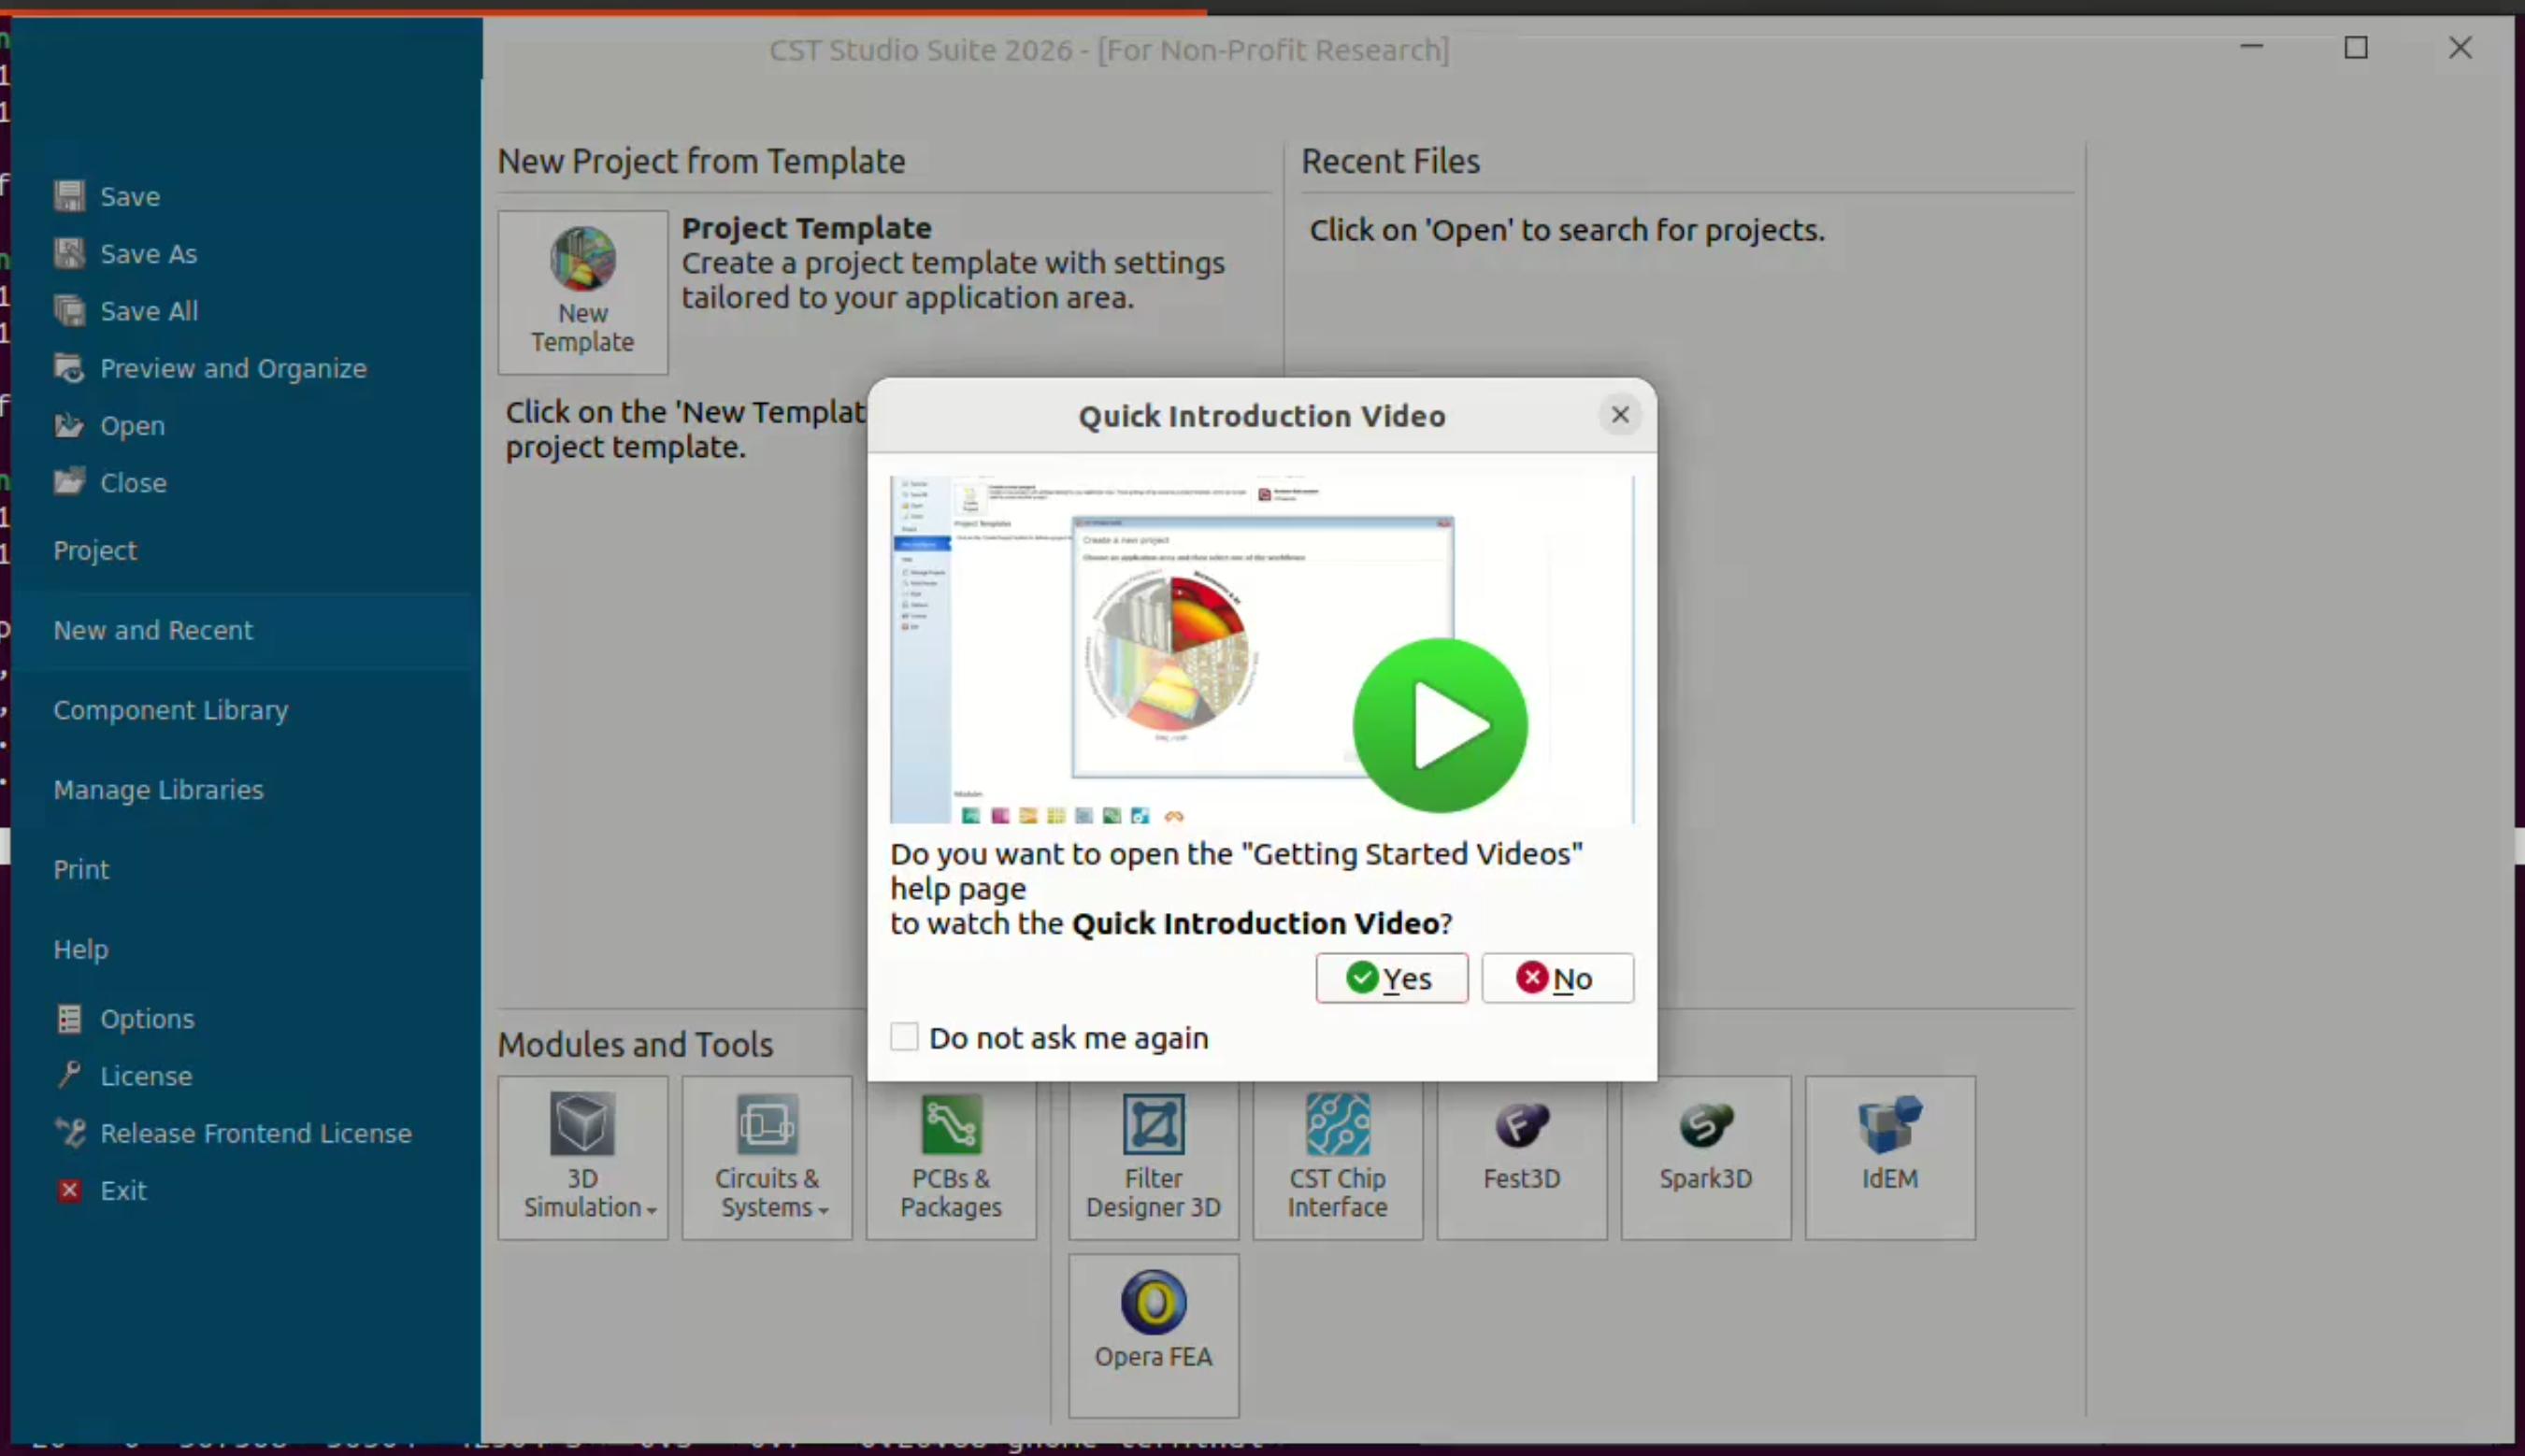
The software may ask whether to open the Quick Introduction Video or Getting Started videos. Select Yes or No as preferred.
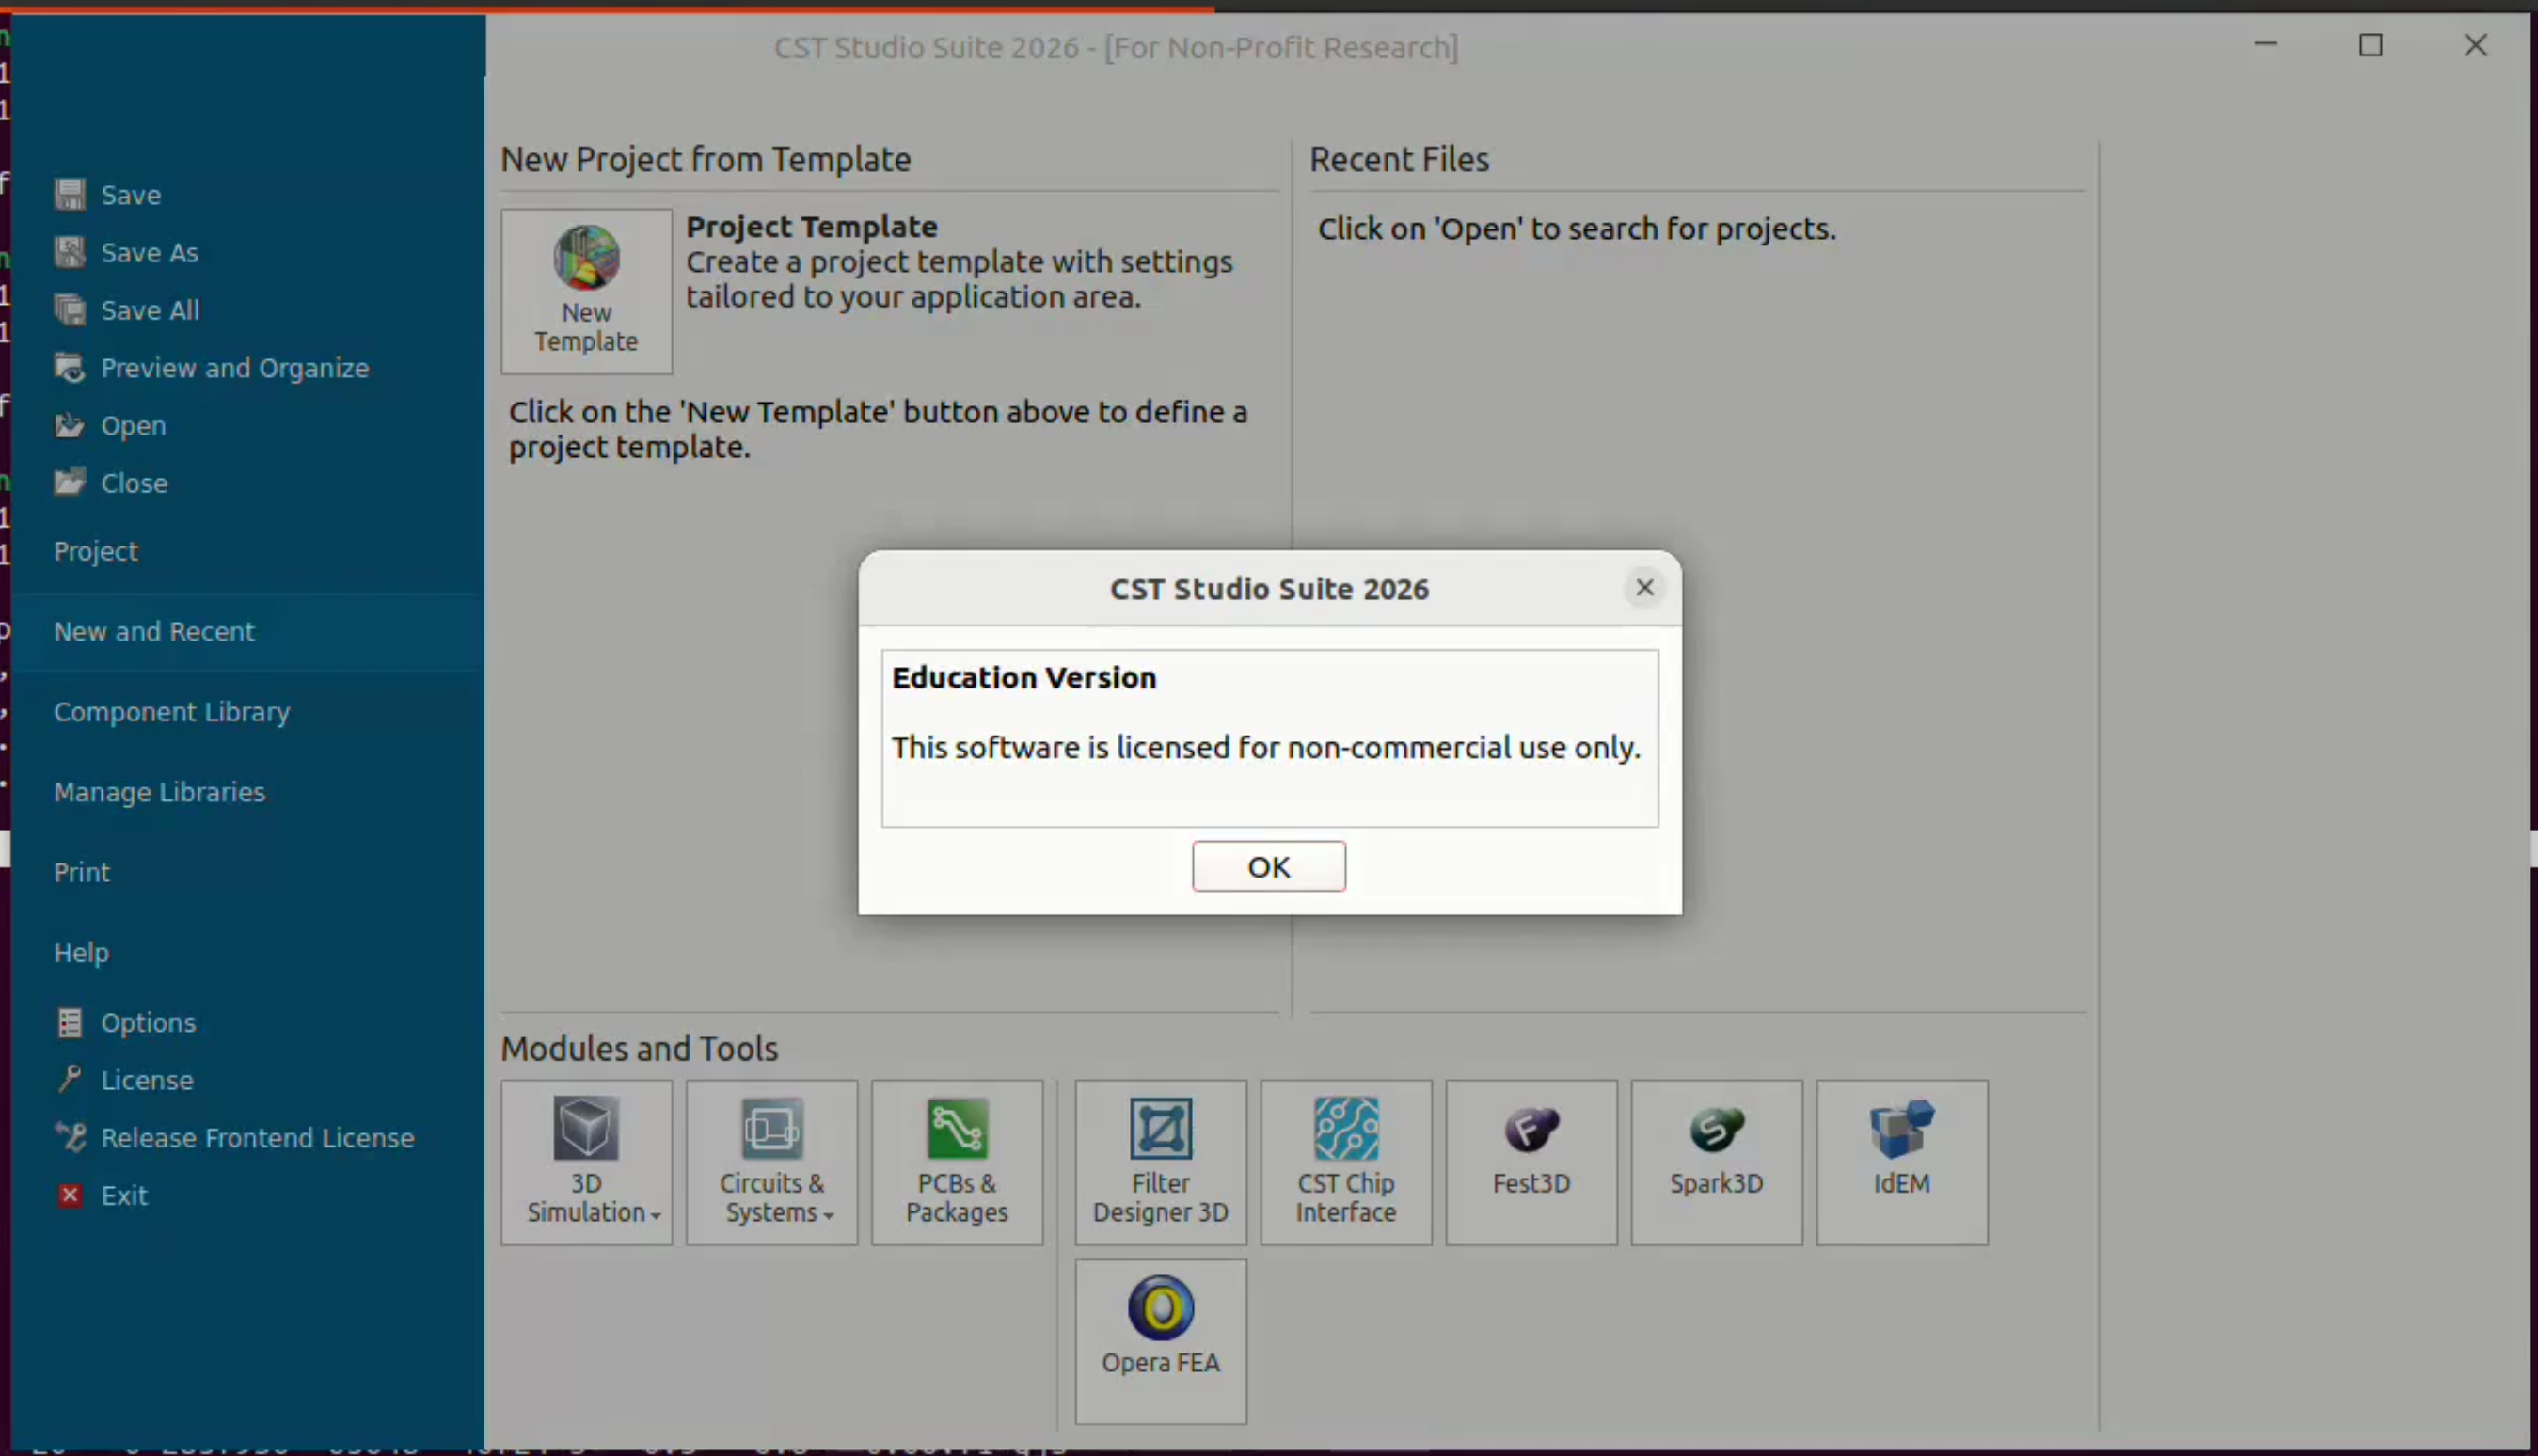
After the first-launch dialogs are closed, the main CST Studio Suite interface should open successfully.
Quick Command Summary
# Go to the extracted installer folder
cd ~/Downloads/SIMULIA_CST_Studio_Suite.Linux64

# Start the installer
sudo ./install.sh

# Run post-installation system check
sudo /opt/cst/CST_Studio_Suite_2026/cst_system_check
Troubleshooting Notes
Installer Does Not Start
If the installer does not start, ensure that the installation script has execute permission:
chmod +x install.sh
sudo ./install.sh
Unsupported Linux Distribution Warning
If the installer displays an unsupported Linux distribution warning, continue only if the graphical installer opens properly.
After installation, run the CST system check to verify and install the missing requirements.
sudo /opt/cst/CST_Studio_Suite_2026/cst_system_check
Missing Libraries or Tools
If the system check reports missing libraries or tools, type y when prompted so that the installer can install the required dependencies.
License Server Cannot Be Reached
If CST reports that the license cannot be obtained, check the following:
- Ensure that the system is connected to IIT Kharagpur network or approved VPN.
- Ensure that the license server is entered correctly as cststudio.iitkgp.ac.in.
- If a port is provided, enter it as 27000@cststudio.iitkgp.ac.in.
- Confirm DNS and network reachability with the system/network administrator if the license server cannot be reached.
First Launch Dialogs
The Education Version dialog and Quick Introduction Video prompt are normal during first launch.
Click OK on the education license message and choose Yes or No for the video prompt according to preference.
Installation Completion Checklist
- The Linux installer archive was downloaded from CIC software repository.
- The installer archive was extracted successfully.
- The installer was launched using sudo ./install.sh.
- Full install was selected.
- Flexnet-based licensing was selected.
- The CST license server was entered correctly.
- CST Studio Suite was installed under /opt/cst/CST_Studio_Suite_2026.
- The CST system check was run successfully.
- Missing dependencies were installed, if any.
- CST Studio Suite 2026 opens from the Ubuntu application launcher.
- The CST Studio main window opens successfully.
Installation completed.